
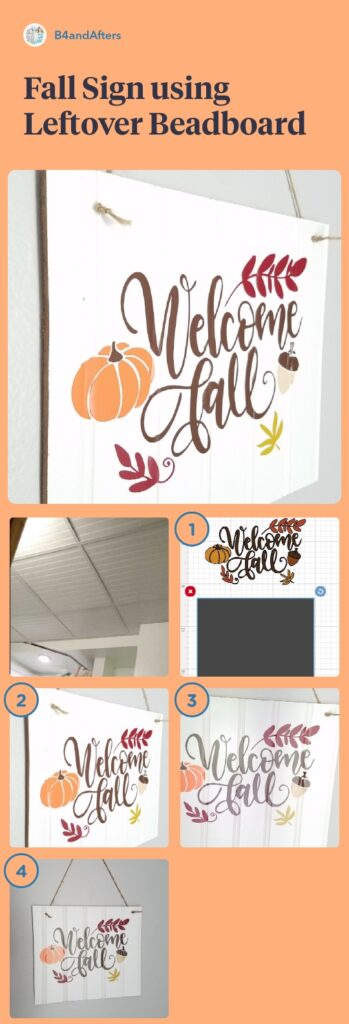
Fall Signs using Leftover Beadboard
If you follow me on social media, you have seen me sharing how I made a Fall Sign using Leftover Beadboard. I used my Cricut Maker to make the first sign, but I realize not all people have access to a Cricut Maker.
So I made another sign using Dollar Tree items. Now anybody can make a Fall Sign for their home! I hope you like it!
Feel free to either watch the video below or scroll through to read about this project at your own pace.
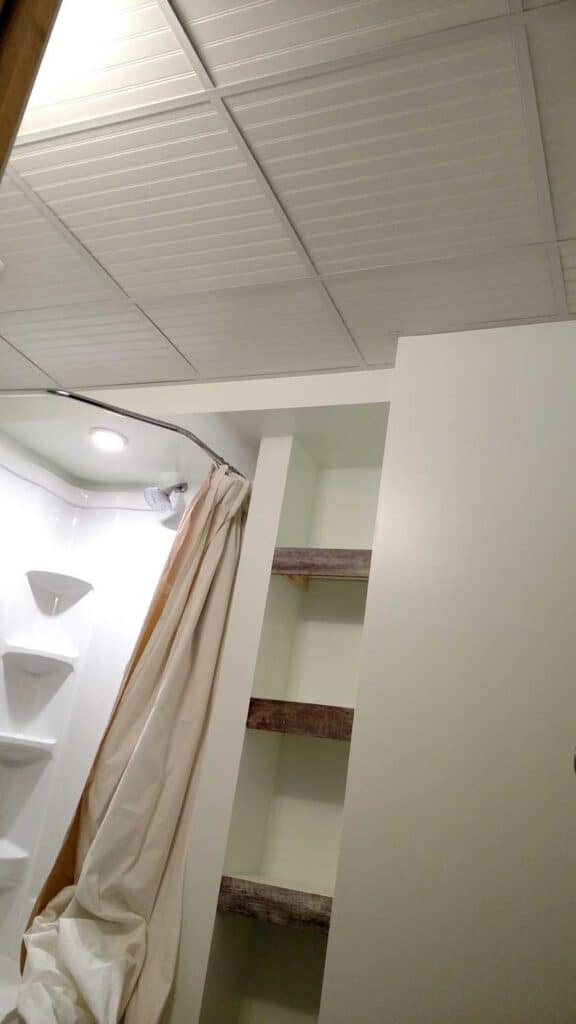
I had a bunch of beadboard leftover from our ceiling project. I wanted to make some cute signs.
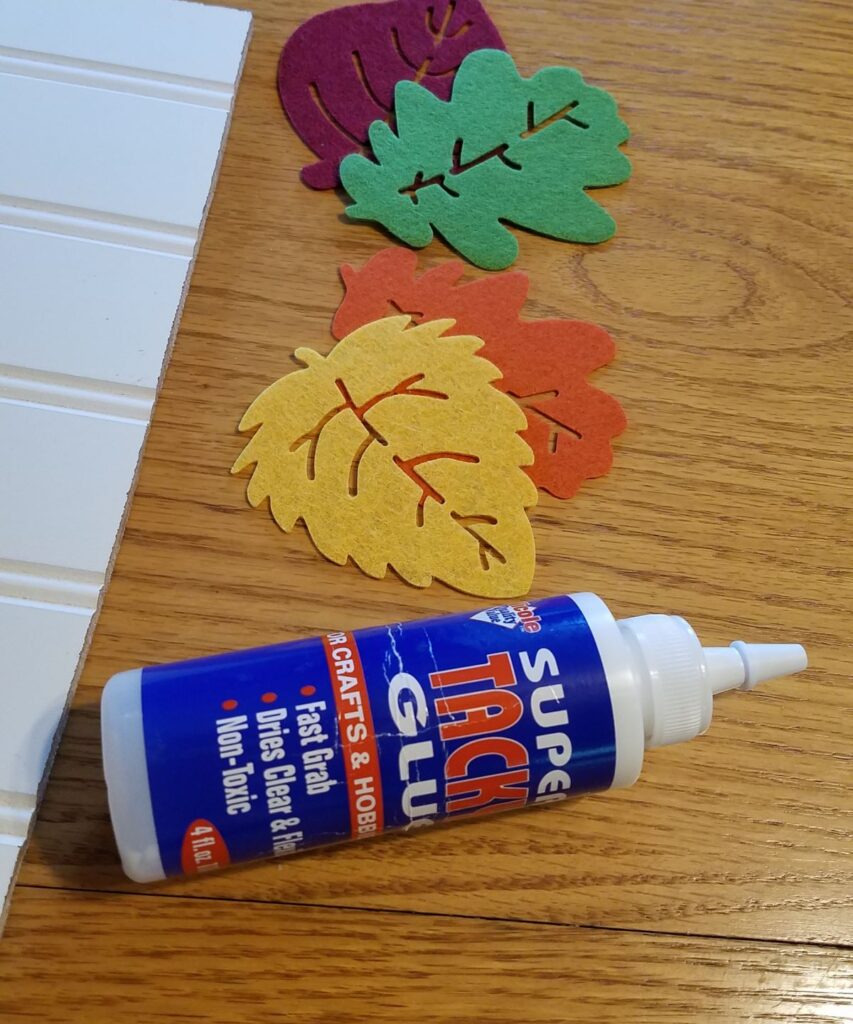
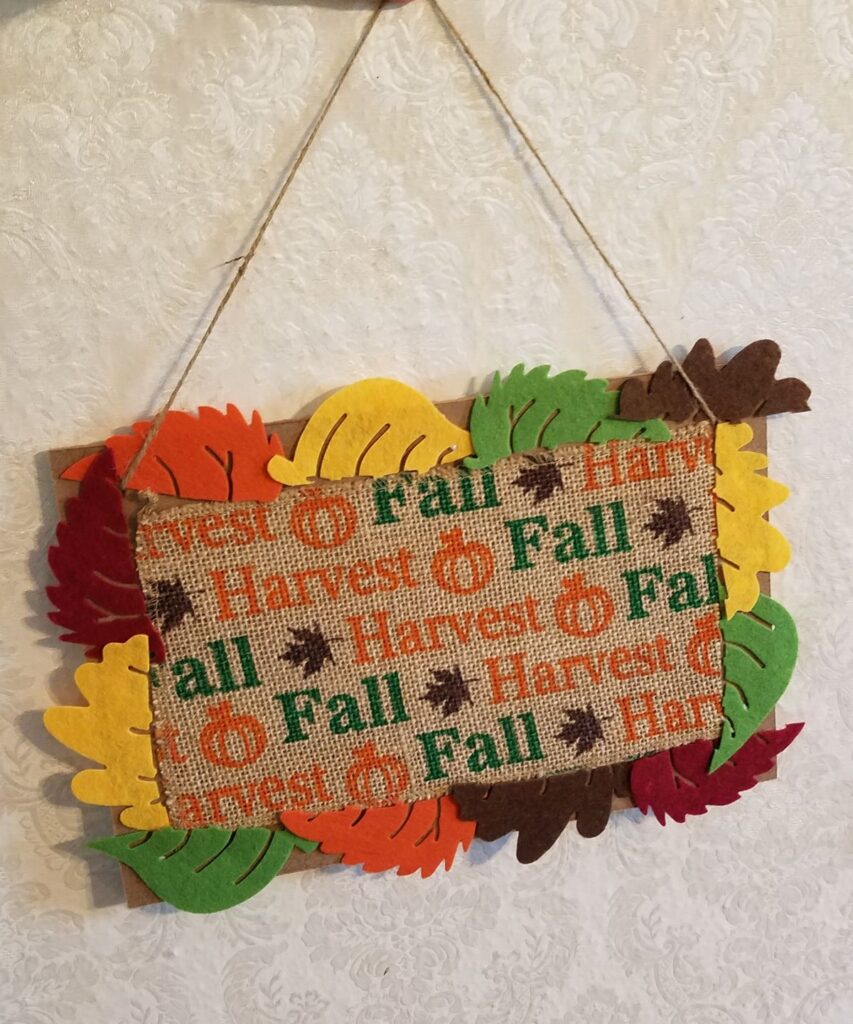
For my 1st sign, I used felt leaves, wide burlap ribbon, and a metal word that I found at the Dollar Tree.
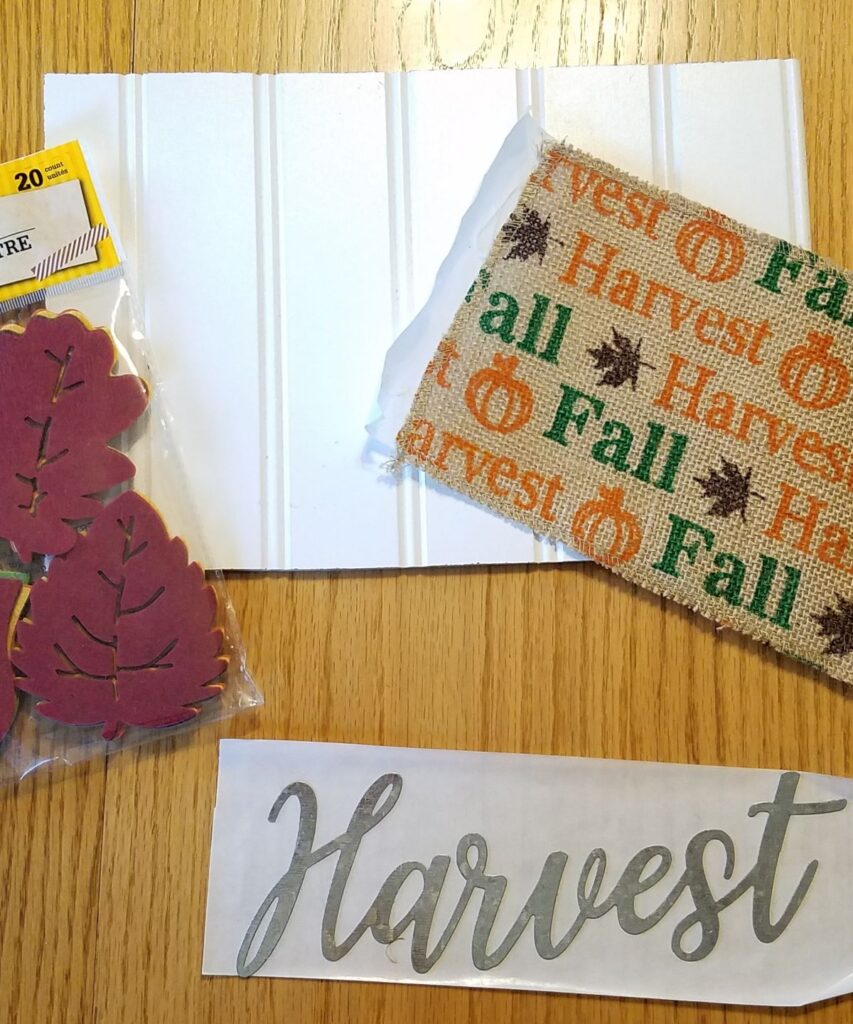
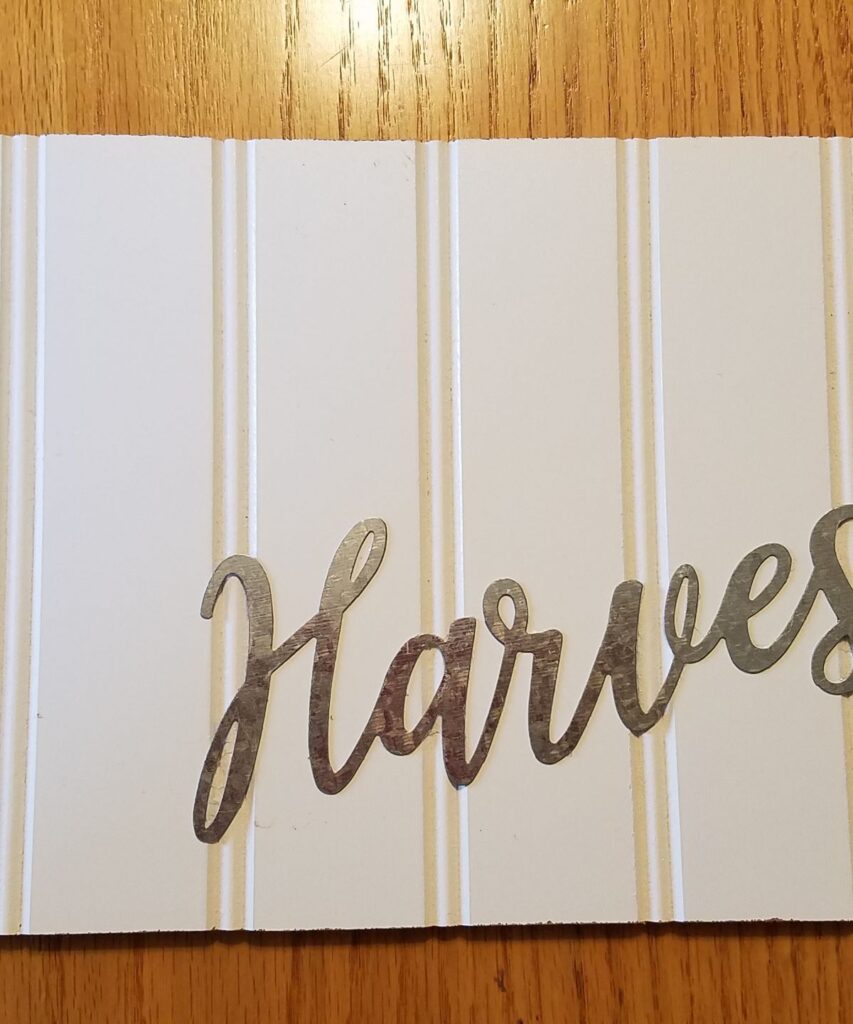
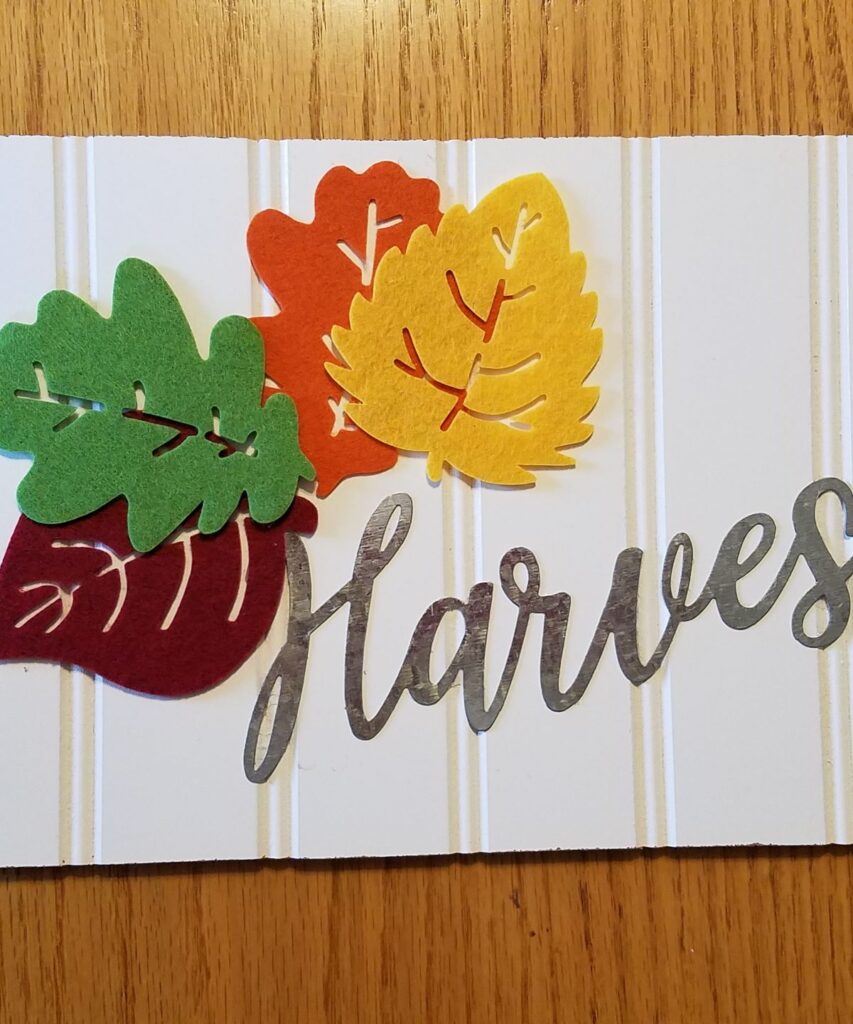
I attached the metal word to my white bead board after running the word through a Xyron stickermaker, the Creative Station Lite, which added adhesive on the back of the word. It was so much fun making my own metal word sticker!! (You can see how I did that here.)
Then I used tacky glue to attach the leaves.
Let it all dry.
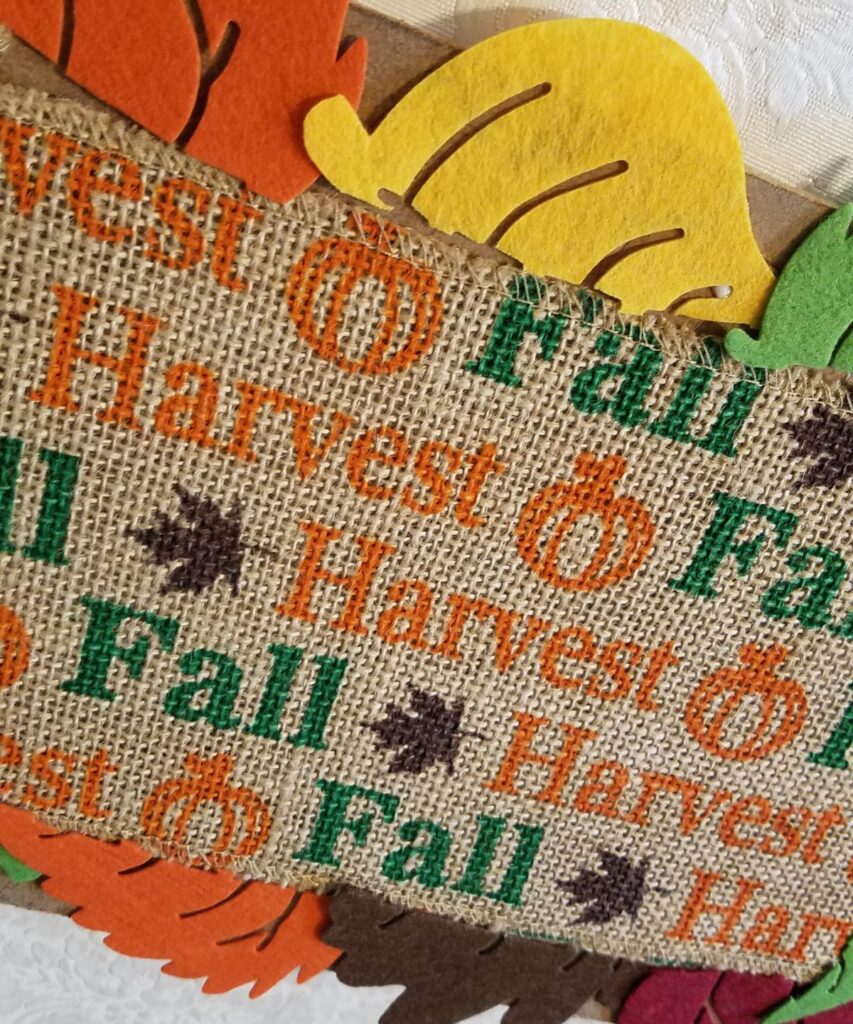
On the back of the beadboard, I attached the wide burlap ribbon again using the Xyron Creative Station to put adhesive on the back of the ribbon. I cut some felt leaves in half and blued them around the ribbon for a border.
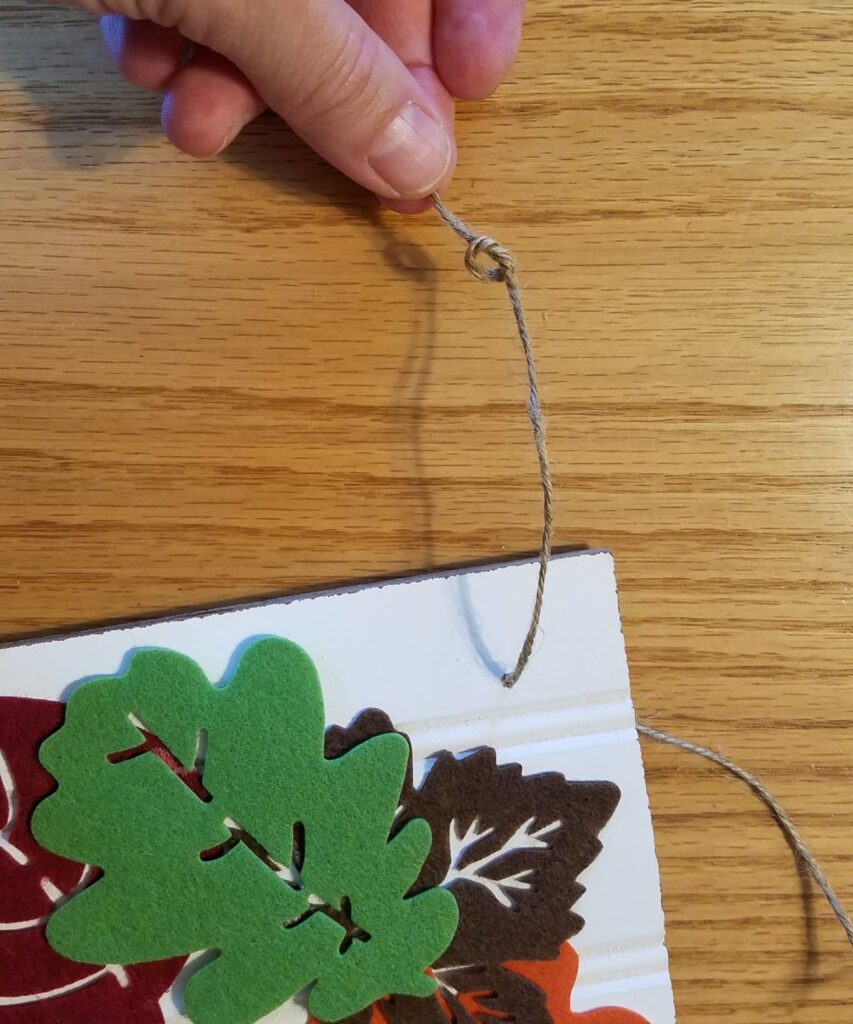
Then I drilled holes in each upper corner, slipped a jute twine string through the hold, and tied knots to hold the string in place.
So here is the front:
And here is the back– two signs for the price of one!
Sign Number 2
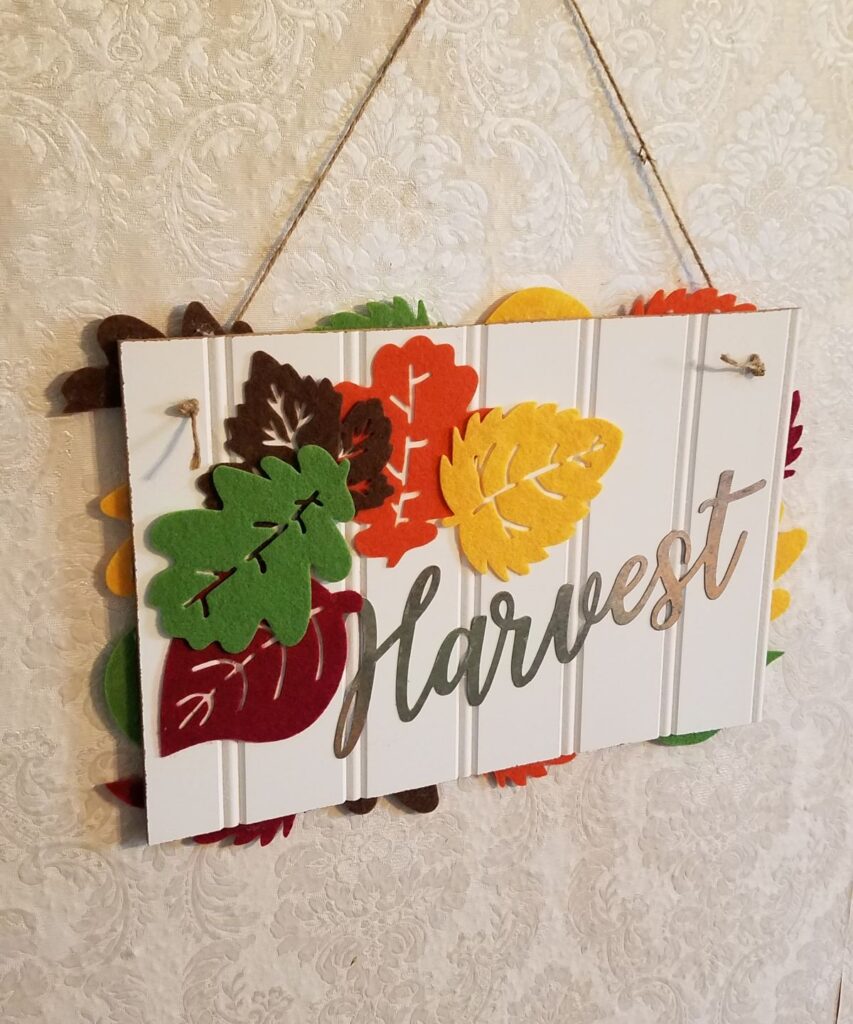
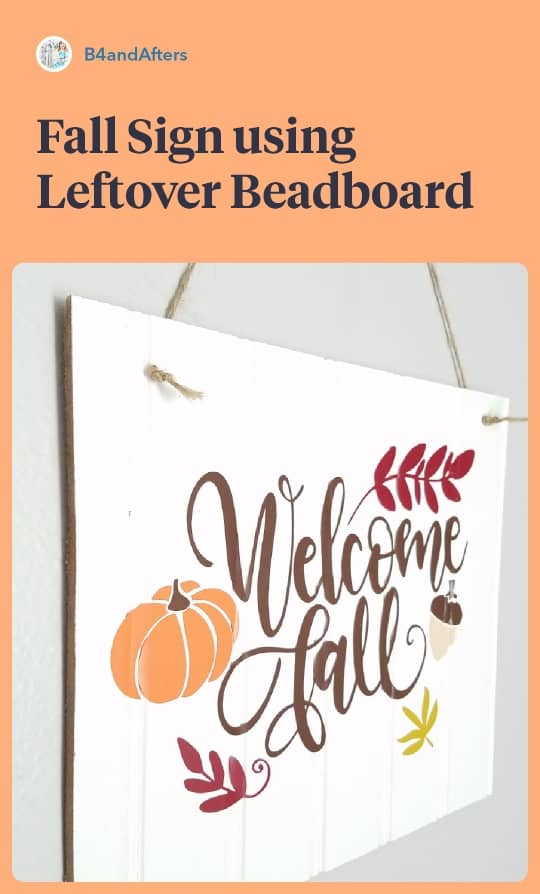
For my 2nd sign, I used my Cricut Maker!
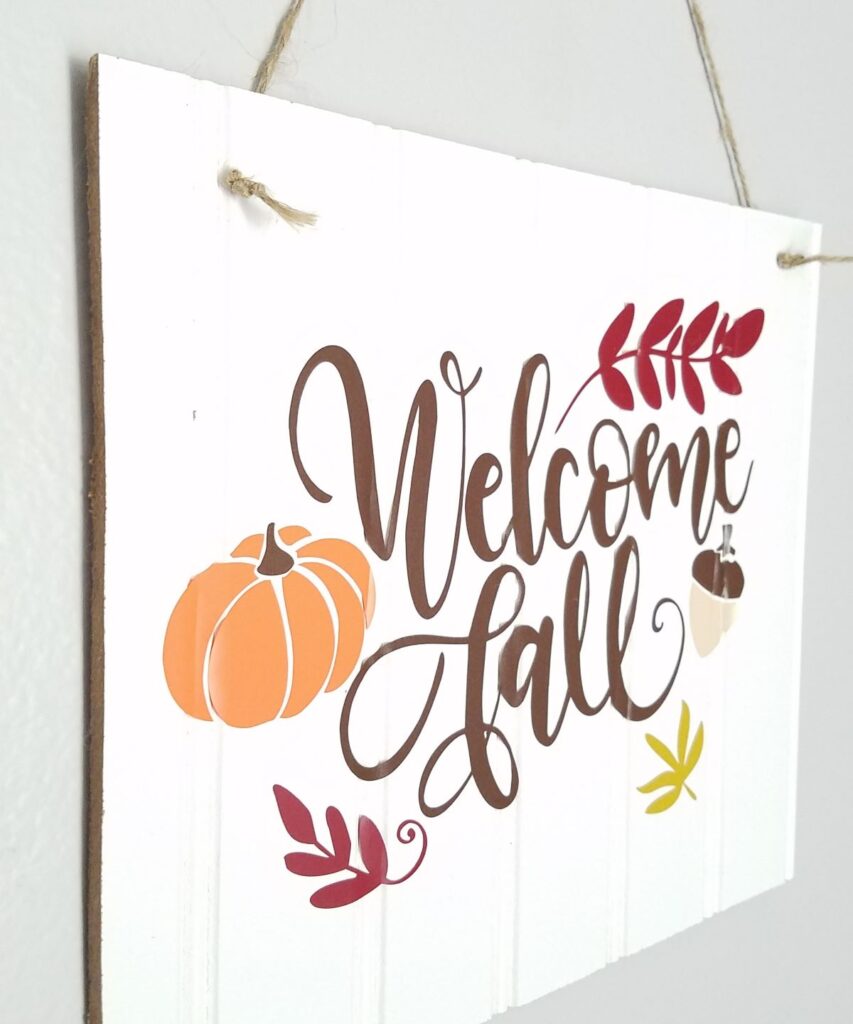
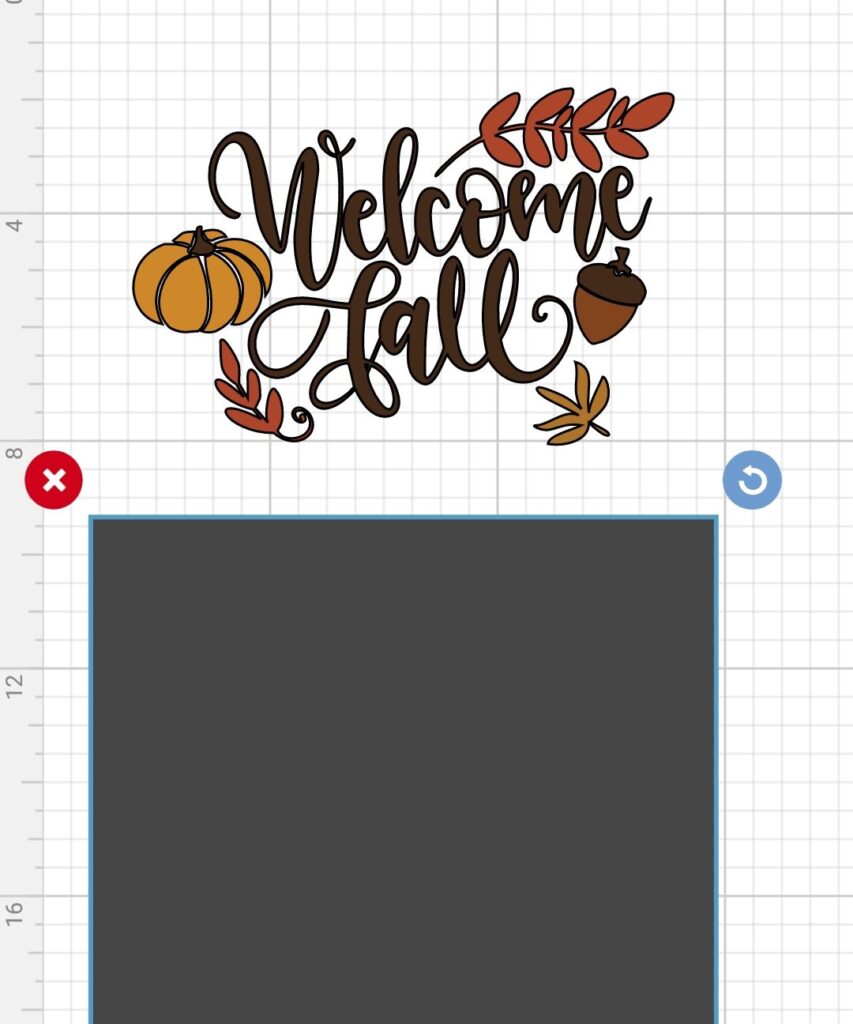
Using Cricut’s Design Space, I made a rectangle shape the size of my sign, then sized the Welcome Fall design to fit into the rectangle. I cut the vinyl in various fall colors.
Then it was as easy as sticking the vinyl to the beadboard, drilling two holes, and threading the jute thread through and knotting it just like I did the first sign.

I gave both of my signs away as gifts. You know what that means, don’t you? That means I need to make some more signs! : )

What would you make with leftover beadboard?
- 💼 Travel and Road Trip Ready 💼


- 🎉🌤️Summer Party Ideas🌤️🎉
- 🌤️ Beat the Heat 🌤️
- Six Summer Kids Activity Ideas
- 2026 Grand Canyon Hike

- 💙❤️🌟4th of July Party Ideas 🌟❤️💙
- Fireworks Dried Flower Bouquet

- Fourth of July Blog Hop

- 🎓🌷Graduation Party Ideas 🌷🎓
- 🍰🌷Mother’s Day Brunch and Desserts 🌷🍰
- Abigail

- 🌼🌷Mother’s Day Gift Ideas 🌷🌼
Cute idea, Liberty! It always feels good to make use of leftover scraps!
Yes, it sure does feel good when I can upcycle. I love doing that!
These signs are great projects for fall.
Cindy