
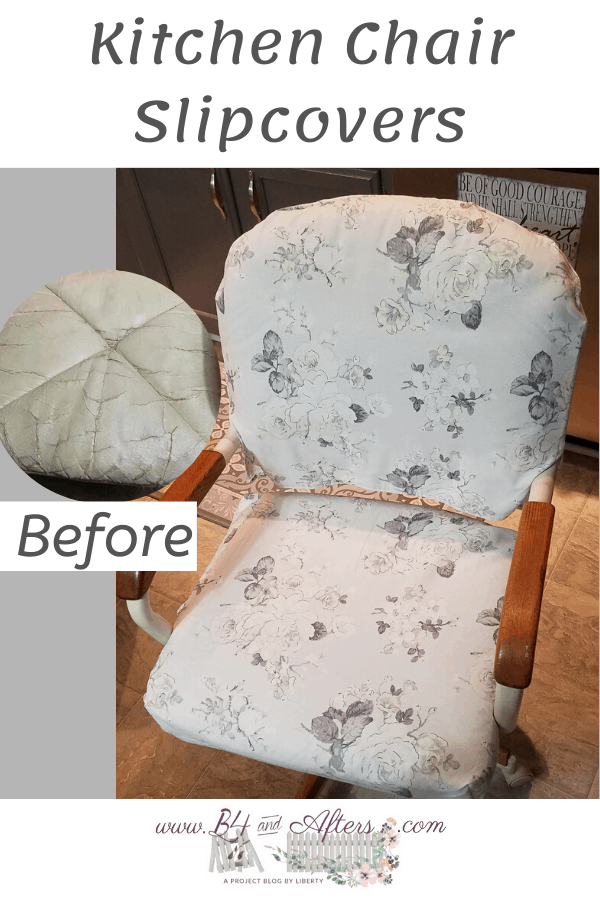
Removable Kitchen Chair Slipcovers
I finally did something that I’ve been wanting to do a long time, when I finished these Kitchen Chair Slipcovers! You, too, can make slipcovers for your chairs with my directions found below. But if you would rather purchase them instead– you will find them here.

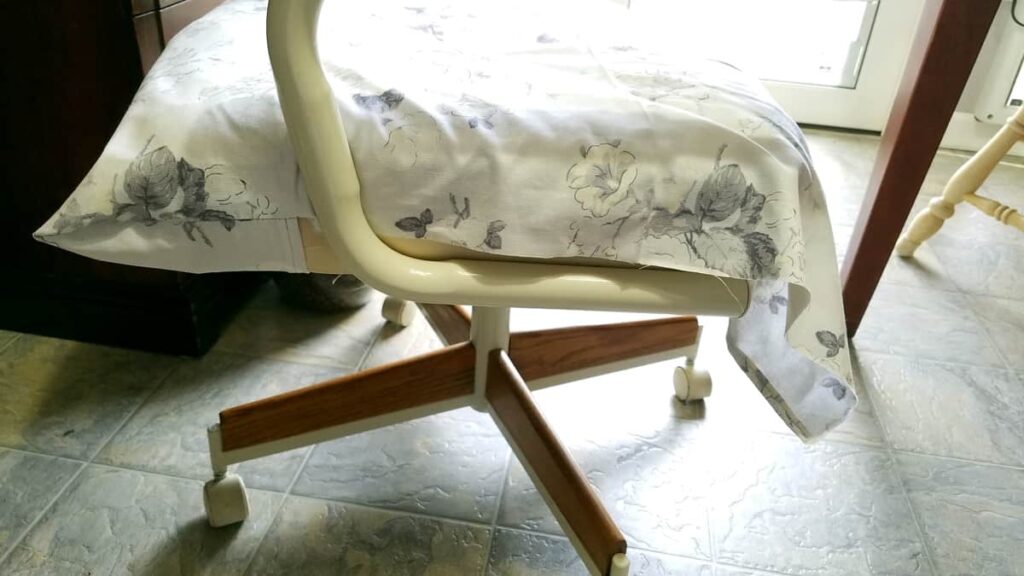
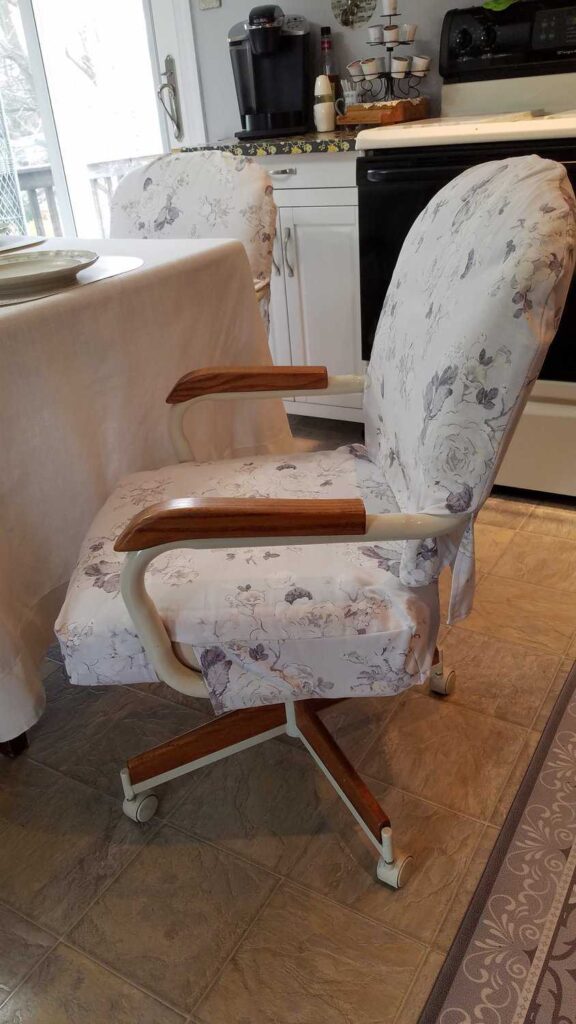
Let me introduce you to these marvelous chairs. I bought these four chairs around 7 or 8 years ago for about $10 apiece from a lady who was moving. The chairs swivel, roll, and tilt back. They are covered in vinyl, so they are easy to wipe off and clean. They are also very comfortable, and I love them!
It really helped that they matched my table with their cream color!
Removable Chair Slipcovers for Chairs with arms

I didn’t realize what a bargain I had gotten when I got these chairs, until I began to write this post. You can find similar chairs to these online. *Update. When I first wrote this post, I thought it was crazy how much a new chair like this cost. But it has been 5 years, and the price of these types of chairs have doubled!!!
*I’ve recently discovered these chair covers that you can buy— no sewing necessary!!
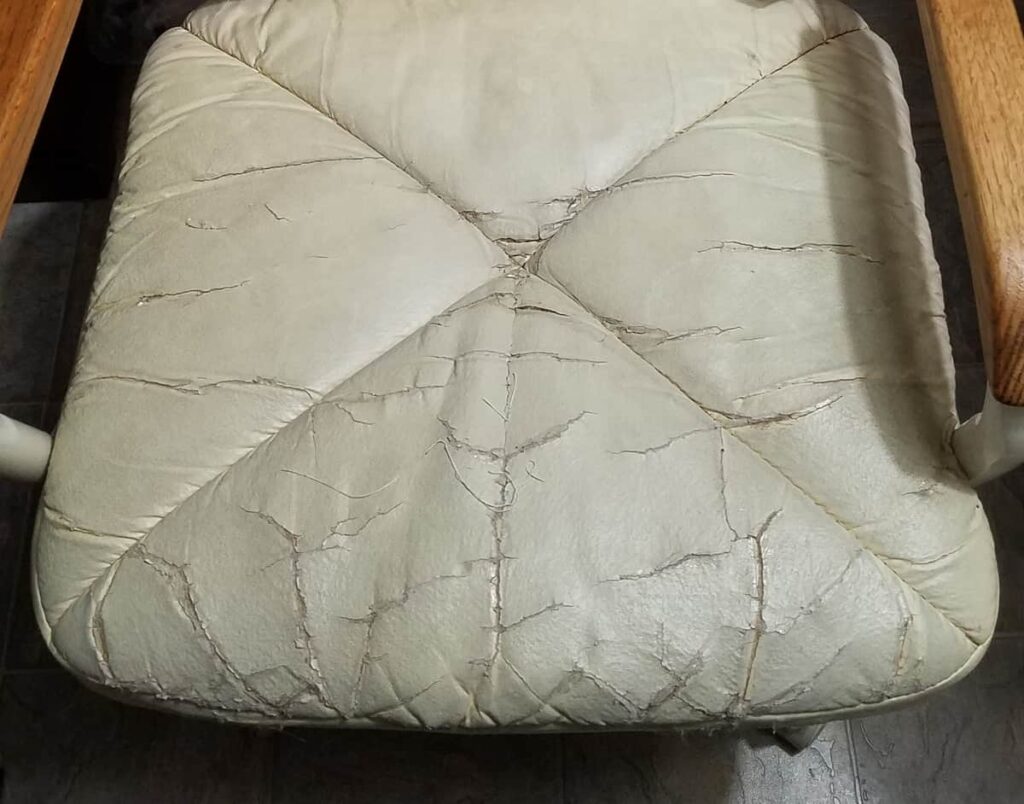
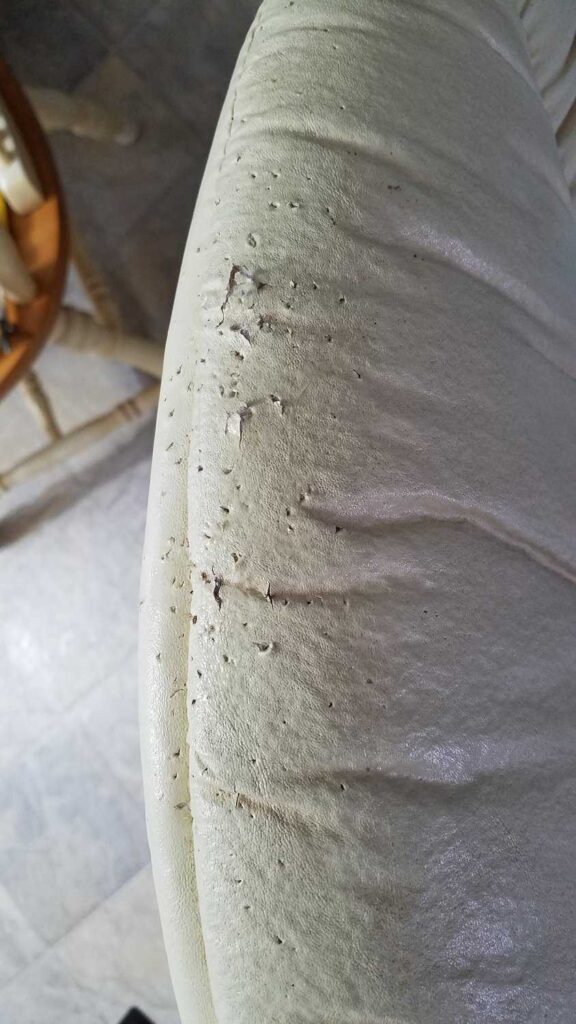
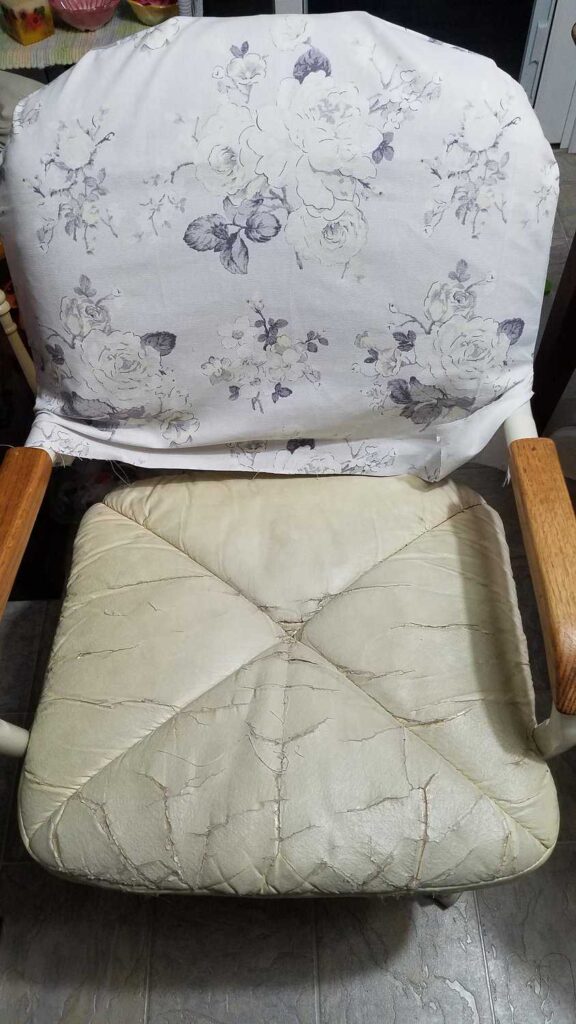
I don’t know how old my chairs are, but they are showing aging signs. The vinyl is cracking on the seats. For awhile I tried repairing the cracks, but they just got way too bad to repair.
How to Cover a Chair Seat
Another problem I had was that the cat sometimes jumped onto the back of the chairs— leaving lots of claw marks!
I thought about taking them all apart and recovering them with vinyl. But I knew that new vinyl could easily be damaged by the cat again. So I decided to make cloth slipcovers that I can just take off and wash when they get dirty. And I hope that if the cat jumps on the backs, that the cloth will be more forgiving. (By the way, the cat is older now and no longer jumps on the backs of these chairs.)
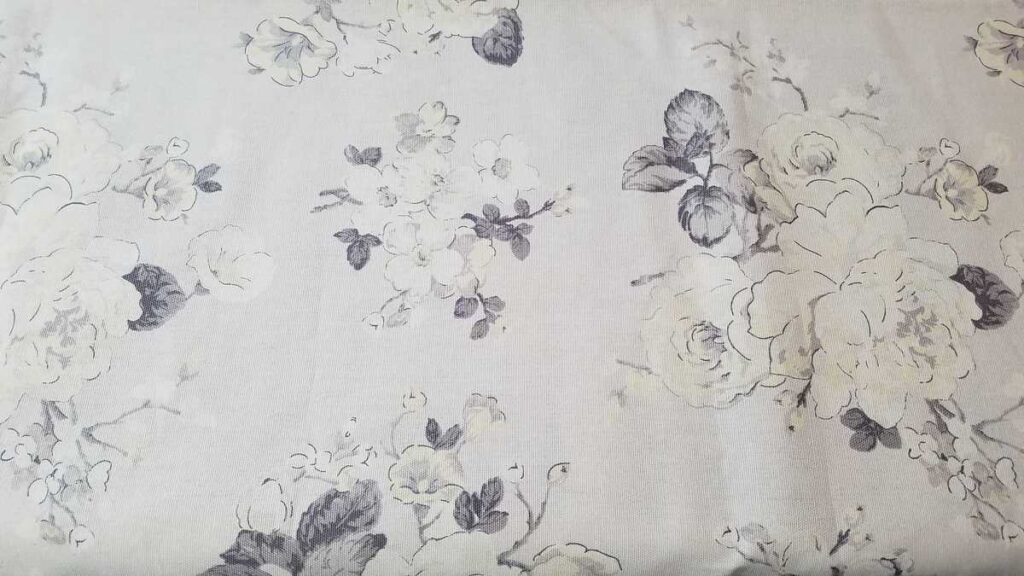
So a couple months ago before we all got stuck at home during the pandemic, I was able to stop at Hobby Lobby and choose some fabric. The texture sort of reminds me of a lightweight outdoor fabric, but it was not in the outdoor fabric section. It is cotton, and not stretchy up and down or sideways– but it does stretch a lot in a diagonal direction. It has larger individual threads that you can see, which is what reminds me of outdoor fabric. I believe it has a low thread count (think sheet sets and how a tighter weave with smaller threads is a higher thread count).
The Process
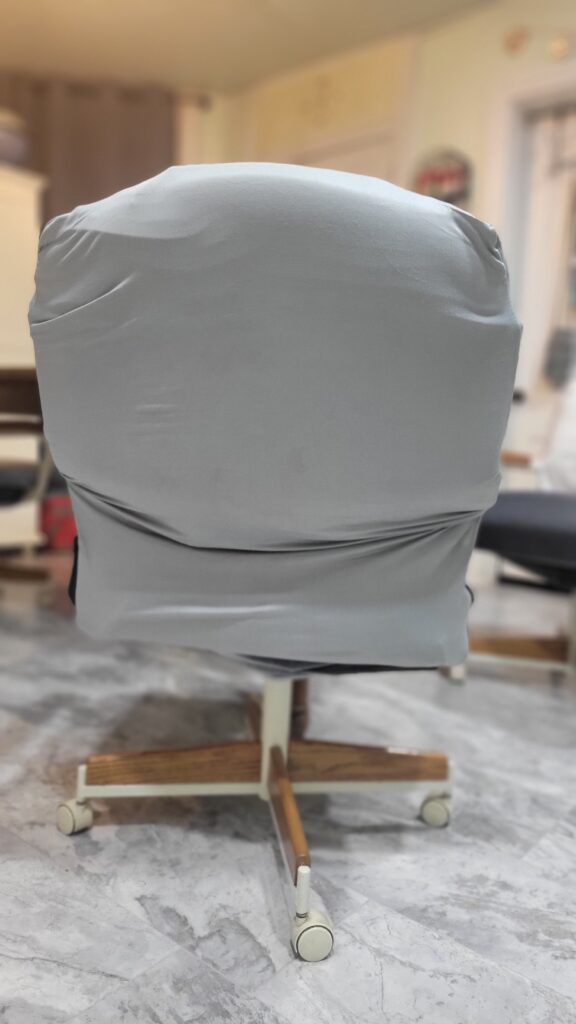
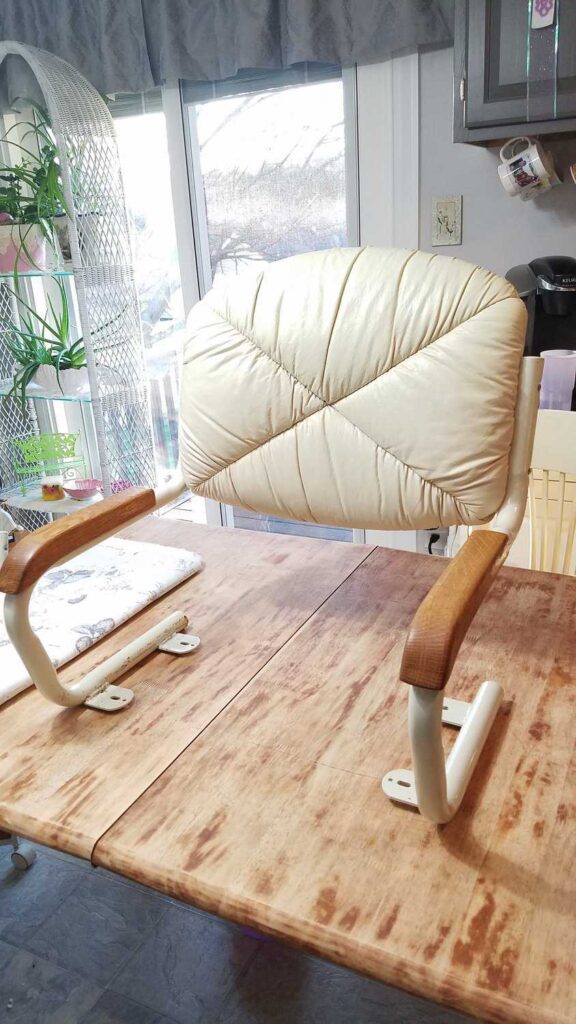
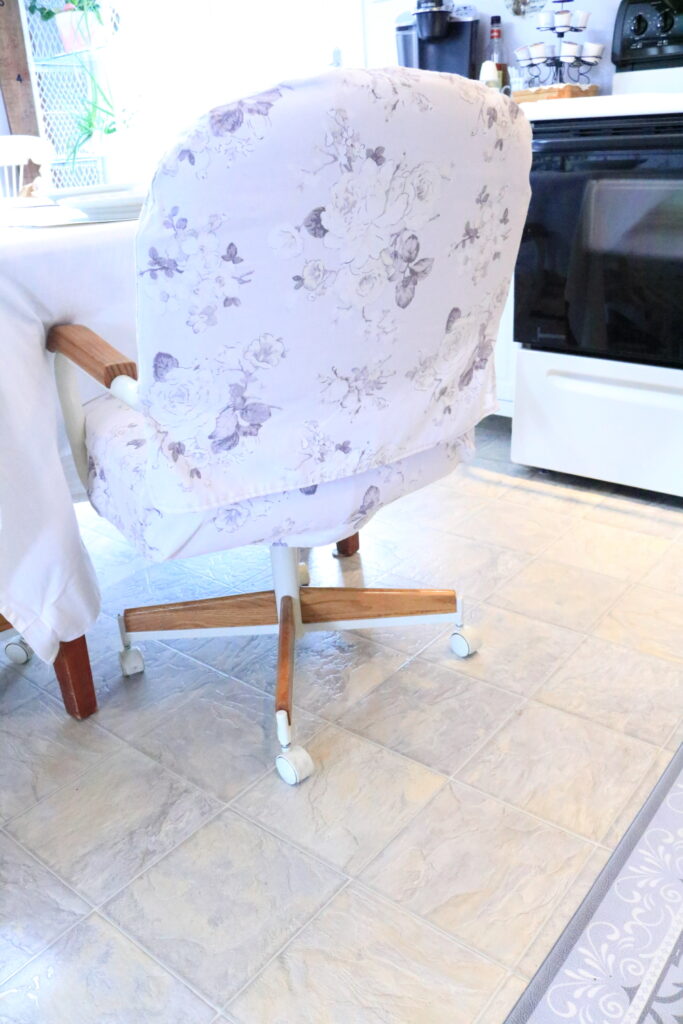
Chair Backs
I started with the chair backs because they were the easiest. I disassembled them from the chair bottoms by removing 4 screws. These are very sturdy chairs!!
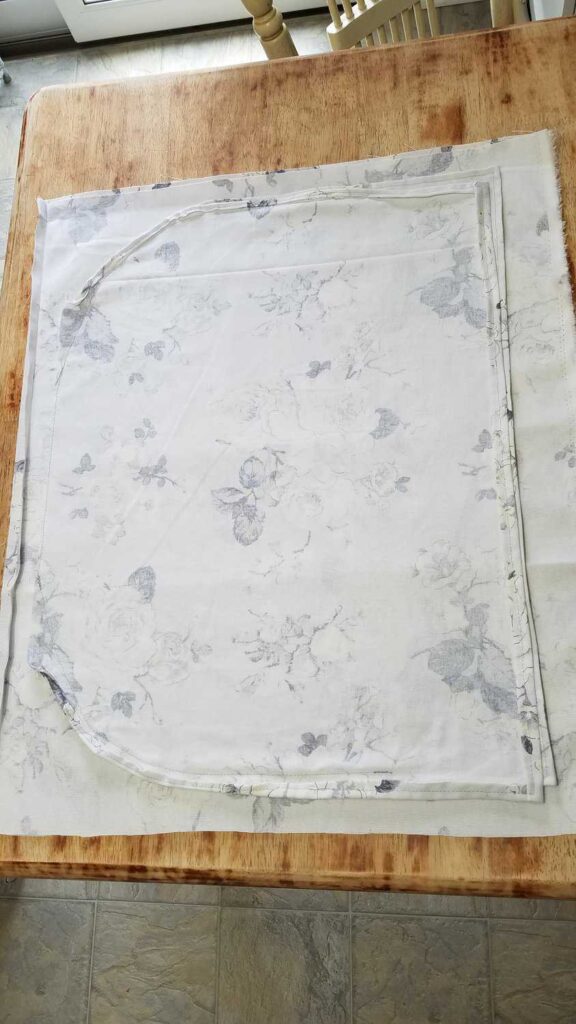
Then I laid the chair back down on the table and traced around the curve with a washable fabric marker.
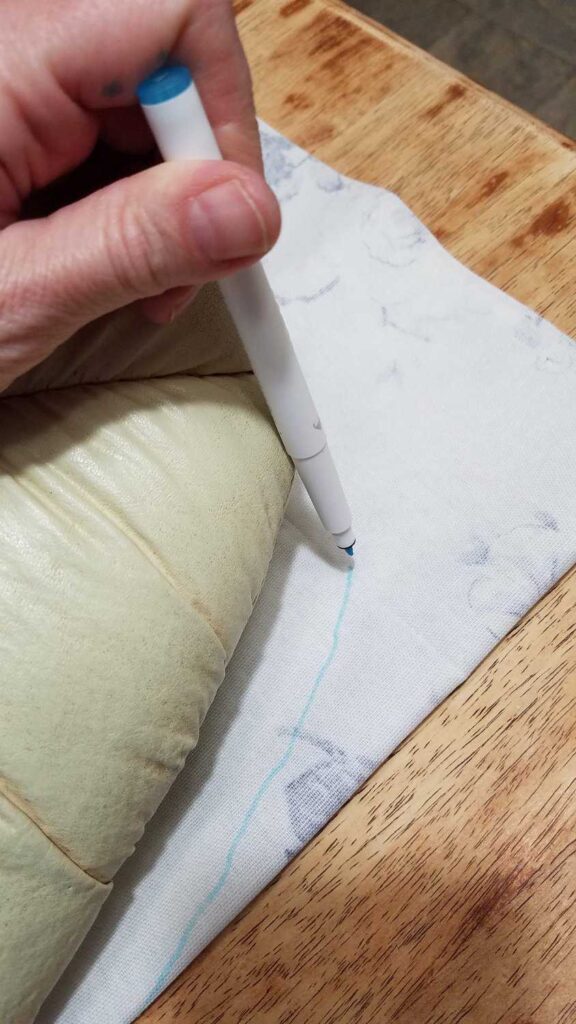
I cut this first one on a fold, but the rest of them I would turn perpendicular on the fabric, cut 2 pieces not on a fold, and sew them all the way around. I had to do that so that I would have enough fabric for the seats. I had only guessed how much fabric I would need– and I barely had enough! (I don’t remember if I bought all there was– I may have. I bought 6 yards for only $4 a yard!! I used every bit, so that comes to about $6 per chair, and about 4.5 feet per chair.)
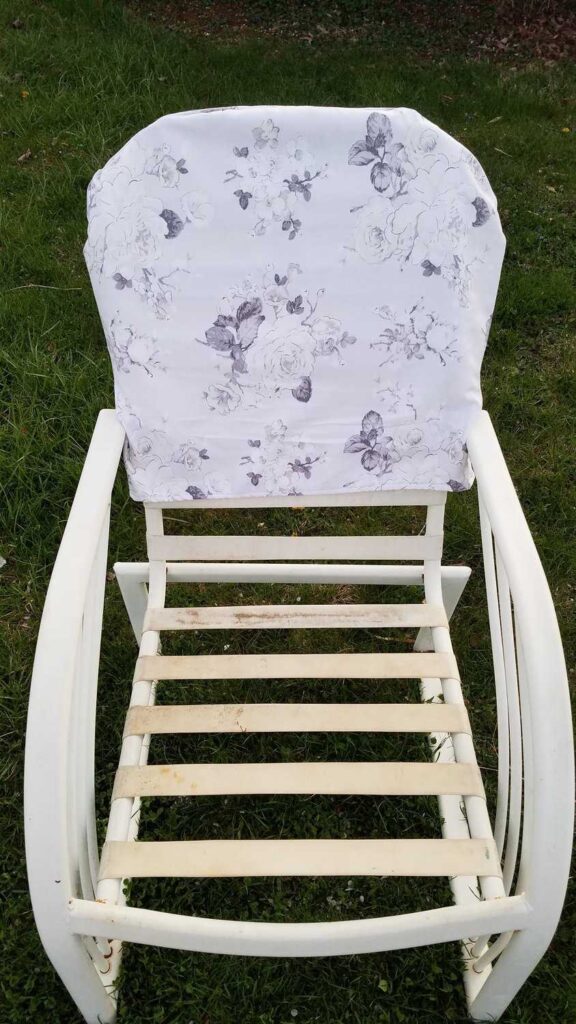
I had never made slipcovers like this before (although I had made some for our recliners.) I fitted the slipcover to the chair to see how I was going to make these slipcovers fit around the curve of the back, and also around the arms of the chair. Here is the first look– and I think it is going to work!
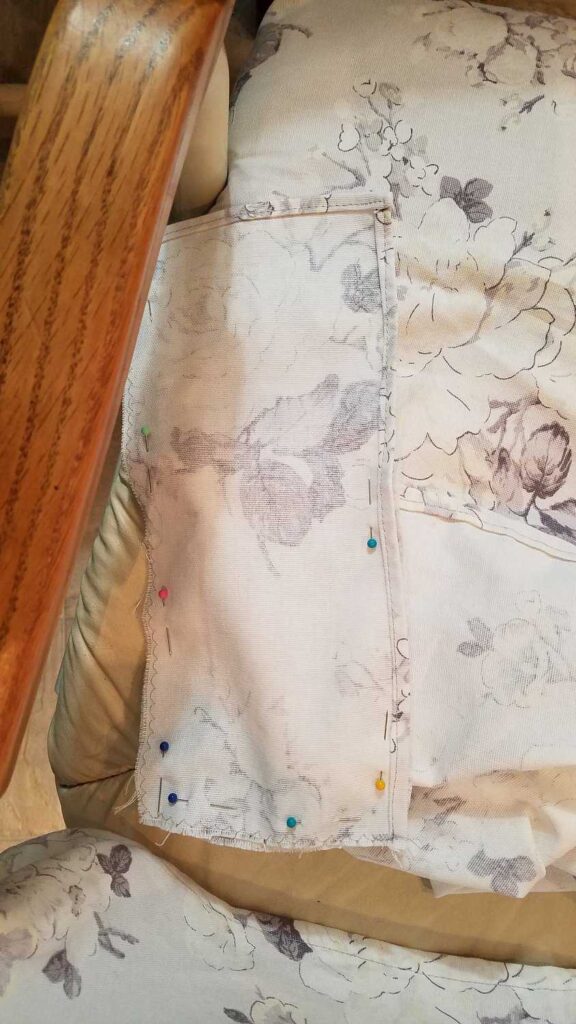
I left a hemmed slit on each side of the chair back, so that it would hang over and around the arm bars. I decided to leave no open hems– I was afraid that they would fray because of the weave of the fabric. So I rolled over the seams and sewed them all closed on the entire inside.
Once I had the first chair back slipcover the way I liked it, then I had to duplicate it without a pattern! So I carefully traced the first one with the washable fabric marker. Then I cut extra for a seam allowance, and sewed on my marker line.
How to Make a Slipcover for a Chair
I had the chair backs all sewn, and the chair seat bottoms all cut out and started when I realized that perhaps my fabric was not “preshrunk.” Nearly all fabric I’ve ever worked with was preshrunk, but what if this fabric was not?
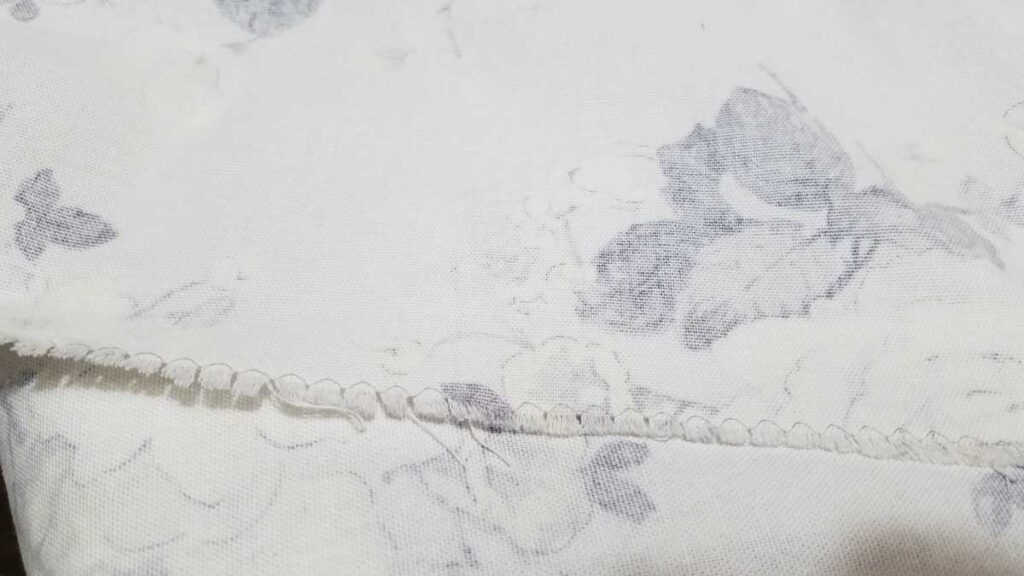
Before washing the fabric, I was concerned that the fabric might fray and shred apart because of its low thread count. I zig-zagged all of the edges just in case– and I was glad I did! I think I would have ruined that fabric completely if I had not sewn all of the edges to keep them from fraying. In the picture below you can see how the edges frayed right up to the zig zag stitching.
So I washed all of my fabric, and sure enough, the chair backs were tight and I had to let out the sides just a bit. I was very glad to have realized this before I sewed the bottoms, because the bottom seat slipcovers were more complicated and would have been much harder to let out if they were too small.
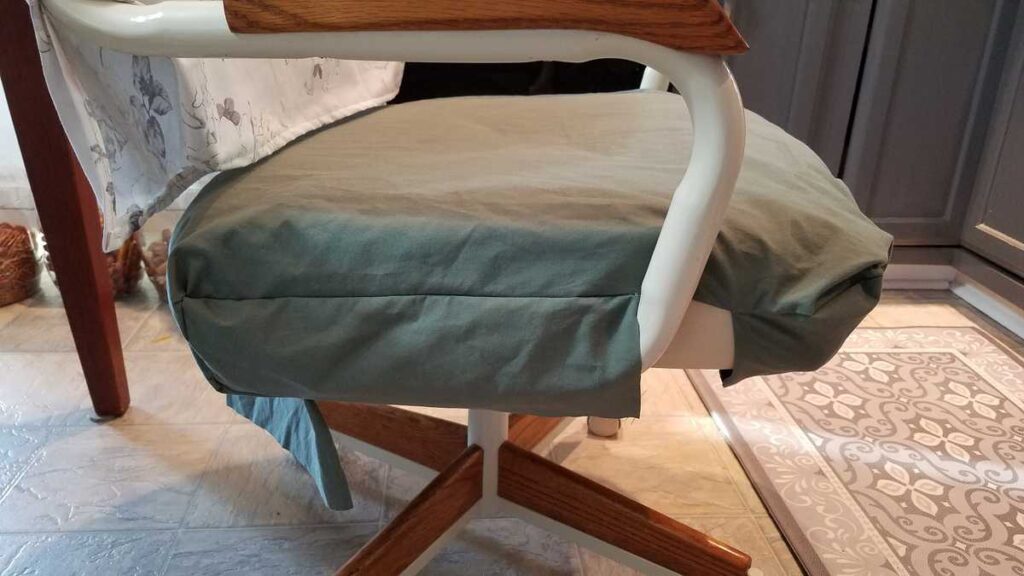
Before I sewed the bottoms, I realized that I really had no idea exactly how I was going to make the seat covers. I wasn’t sure how I would fashion it with the awkward arm piece near the front on each side. I couldn’t afford to waste any fabric by making an irreversible mistake, because I had no extra fabric! The solution came to me– all I had to do was first take the time to make a slipcover with some scrap fabric– a prototype. I suppose professionals do it this way all of the time! Anyway, by using the scrap fabric (which was an old sheet), I was then free and fearless to move ahead. If I made a mistake I could just begin again with another scrap piece– no anxiety necessary! In the picture below is my ugly army green prototype.
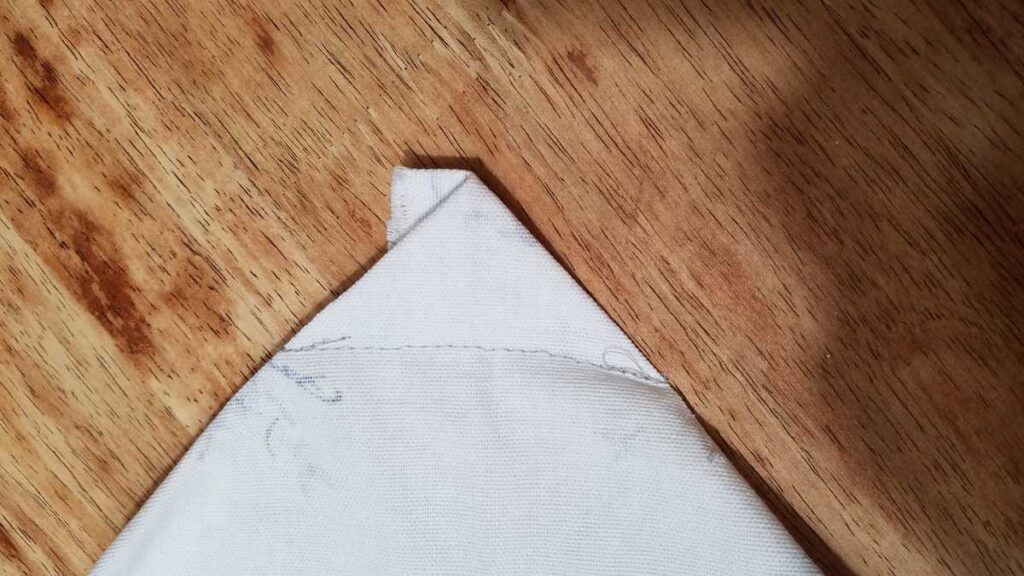
First I made a pocket for the front of the seat by folding it and sewing along the sides 4-5 inches.
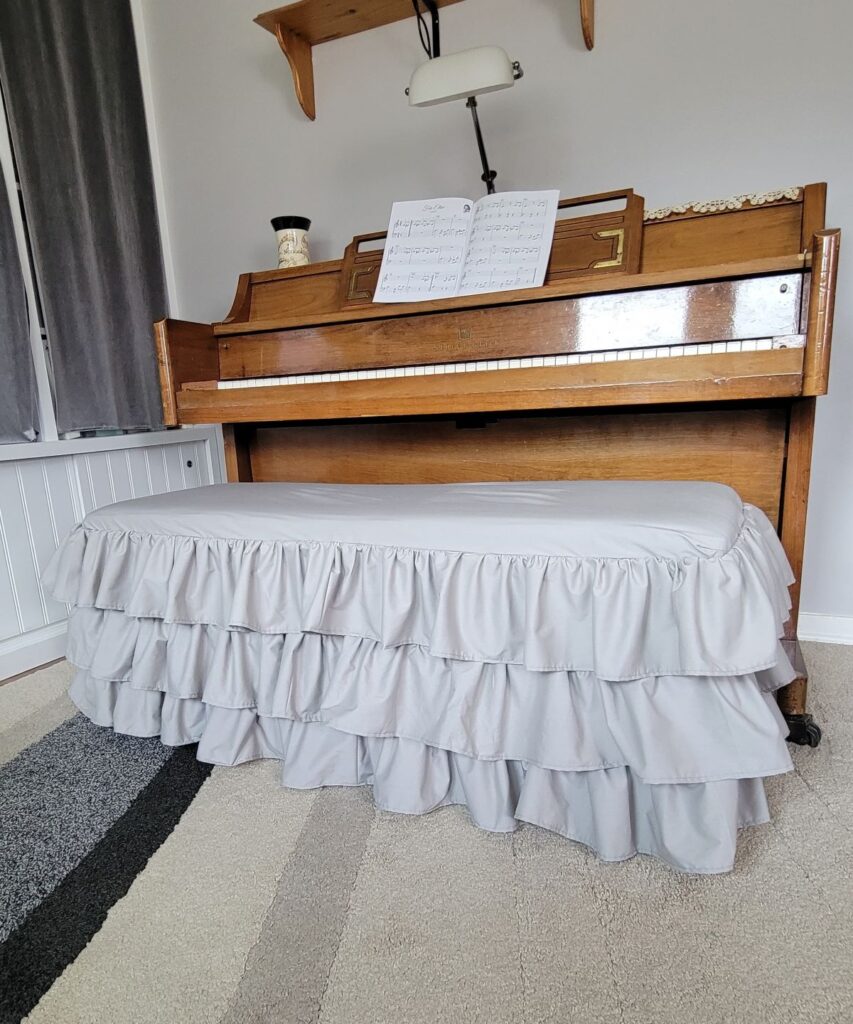
- Ruffled Piano Bench Cover
- Removable Kitchen Chair Slipcovers
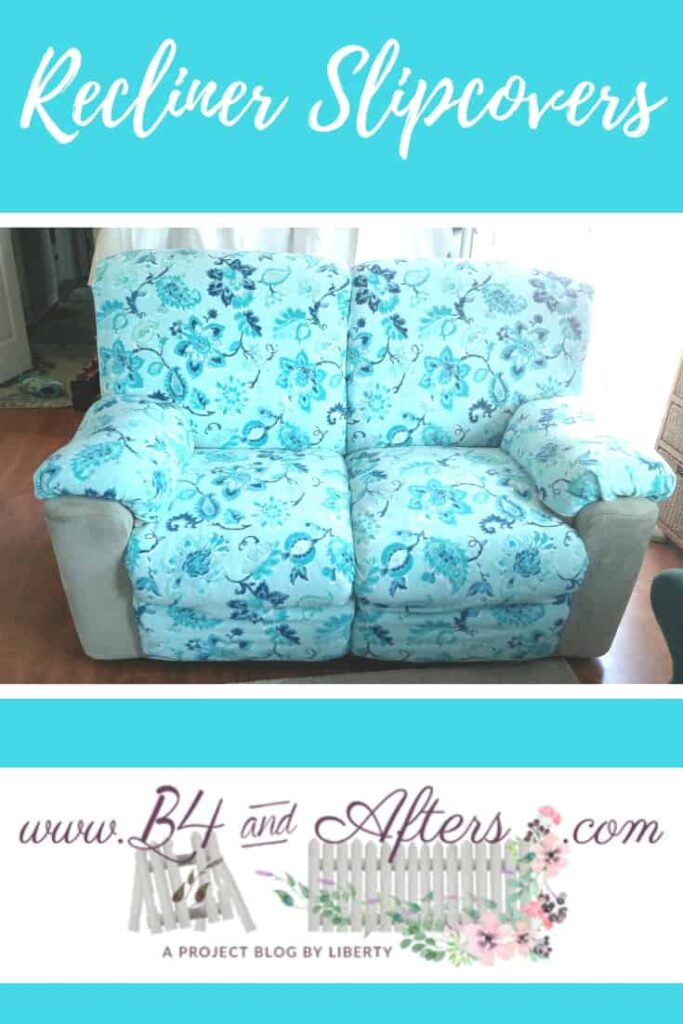
- Recliner Slipcovers
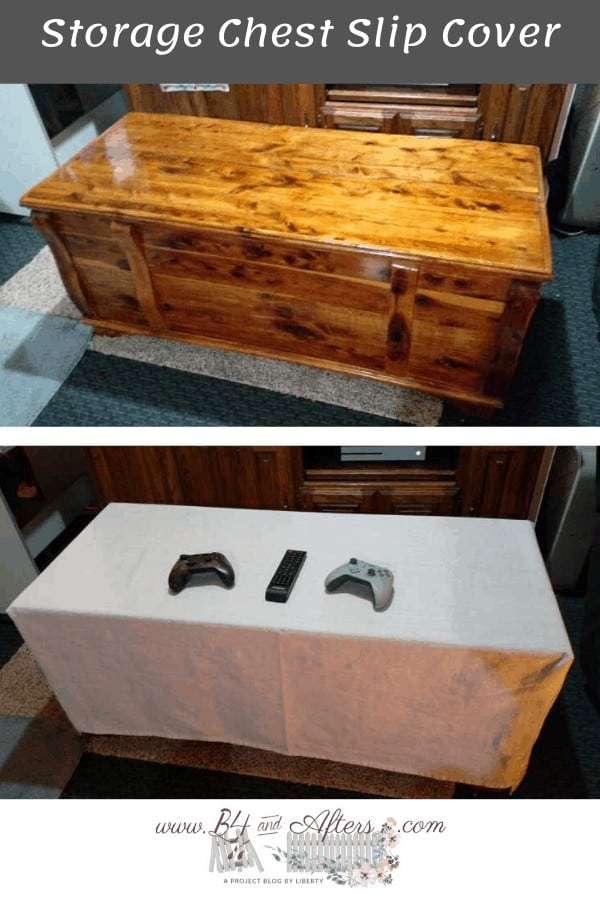
- Storage Chest Slipcover
To make the corners look right, I opened up the pocket and sewed across the corners as shown below. First is one side.
Then this is the opposite side of the same seam across the corner. You could then trim these corners off, but I left mine.
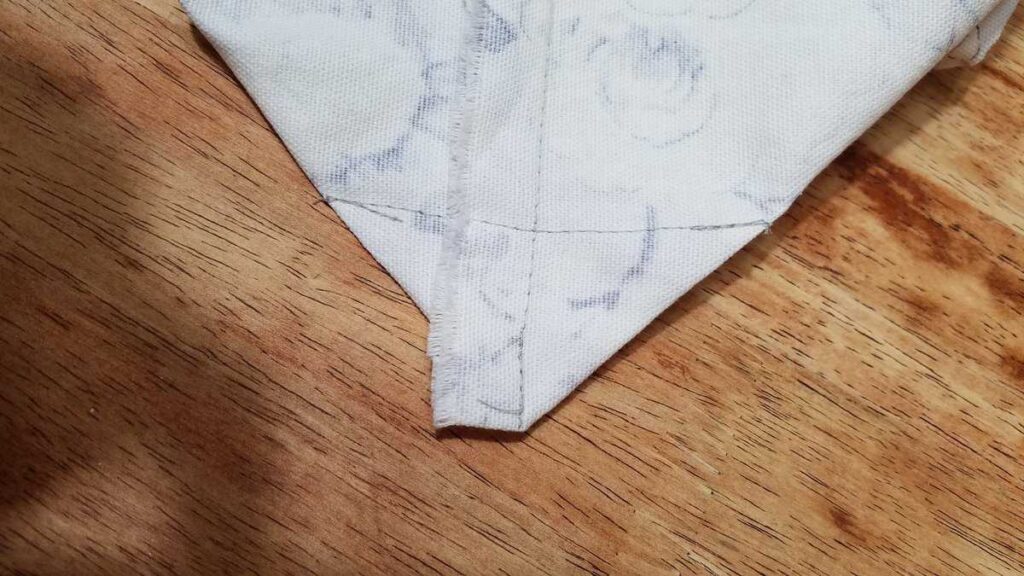
Now instead of a simple pocket, the corners have space for the thickness of the seat.
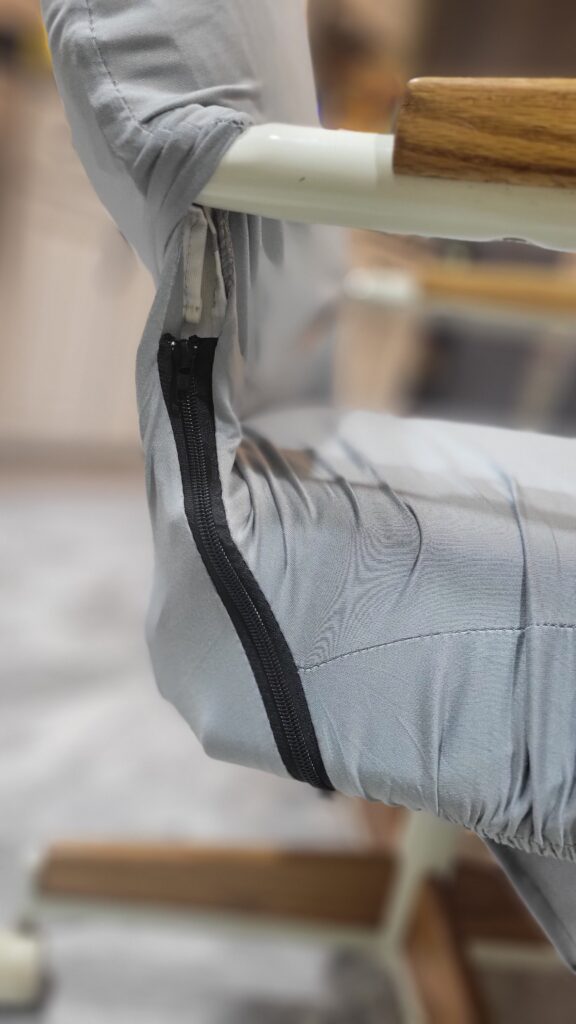
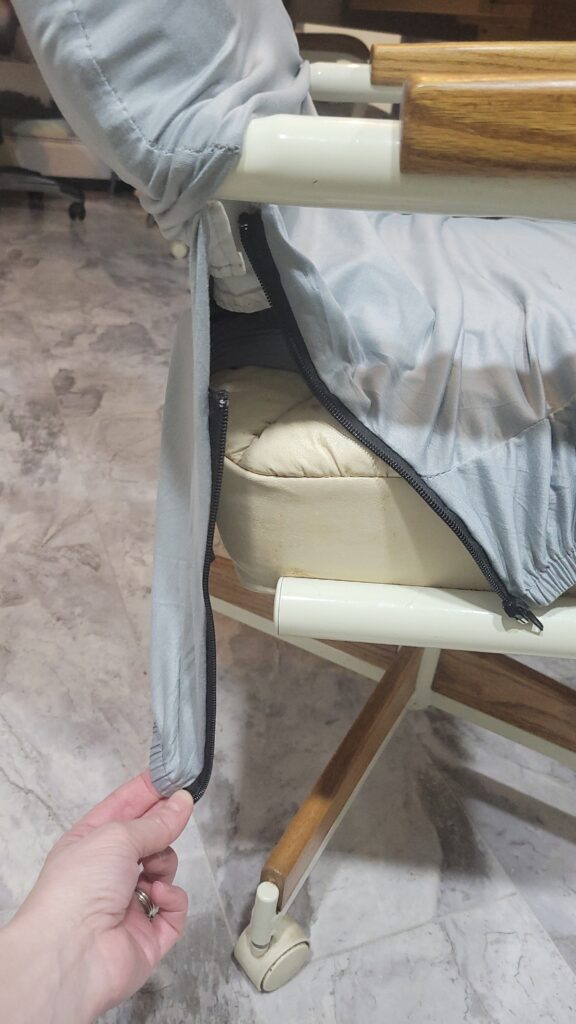
The same technique would not work for the back of the seat covers because the metal arms needed more room. Remember, I am making removable slipcovers to be able to wash them– so they need to be removable!
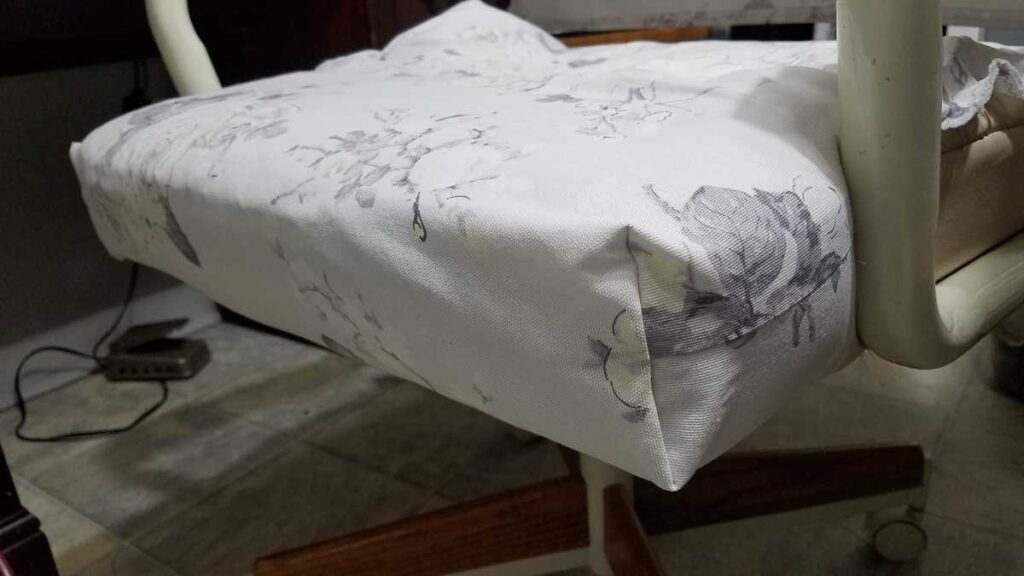
I used an extra fabric rectangle to fashion the back part of the seat cover. This part is where making the prototype first really helped streamline the rest of the process. I knew exactly what I needed to do, in the right order, for a nice finished slipcover. Before adding these rectangles to the sides, I pre-hemmed two of the edges (one each of a short edge and a long edge). Then I pinned the two unfinished edges in place.
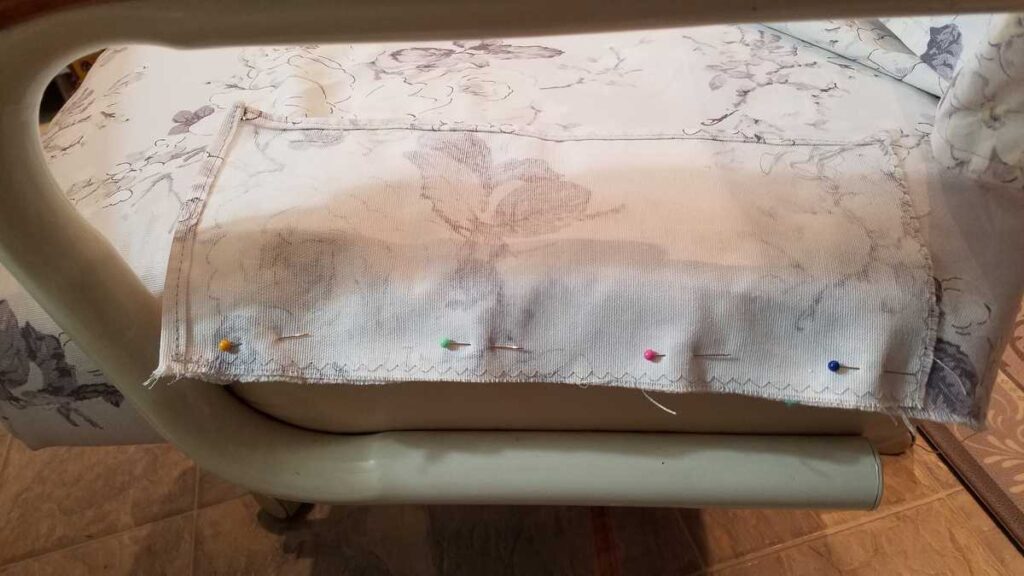
The rectangle piece would become a flap that would hang over the attached metal arm, and also create a pocket on the back side of the seat to hold it in place. The flap blends right in and looks so nice.
How to Protect the Fabric on Chairs
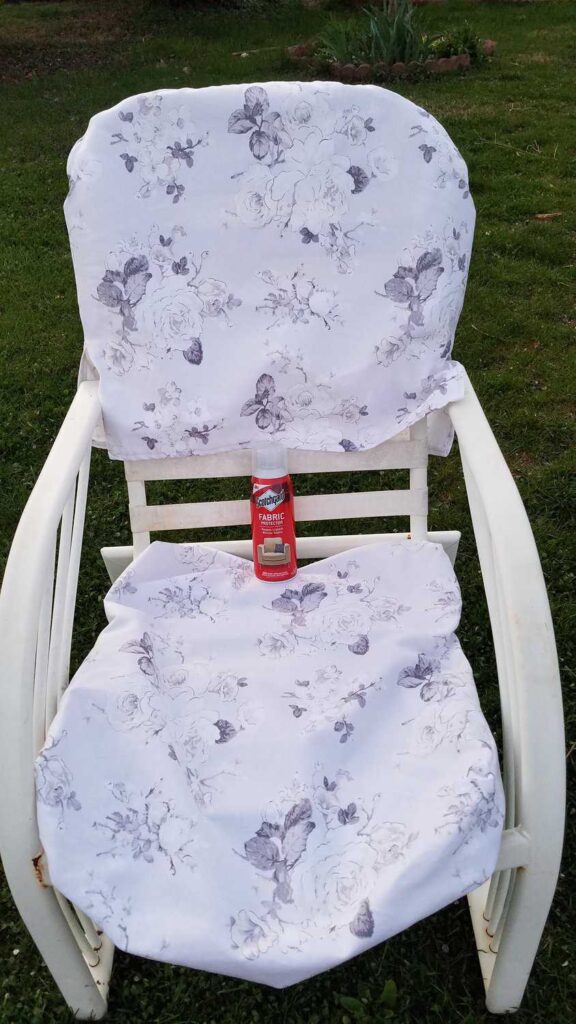
When I chose such a light color for my fabric, I knew that I would be able to wash them when they got spills. They would surely get spills, too, since my two children are still under age ten. But as I finished my slipcovers I realized that ketchup would look pretty awful, and may not wash completely out! So I splurged on some Scotchguard Fabric Spray.
I put my new slipcovers on some outdoor furniture and sprayed away. I used about two cans on all 8 pieces, front and back.
We’ve been using these slipcovers for about a month and I haven’t had to wash them yet. A couple little spills have washed right off. The fabric does collect pet hair, so I’ve used the lint roller on them with great success.
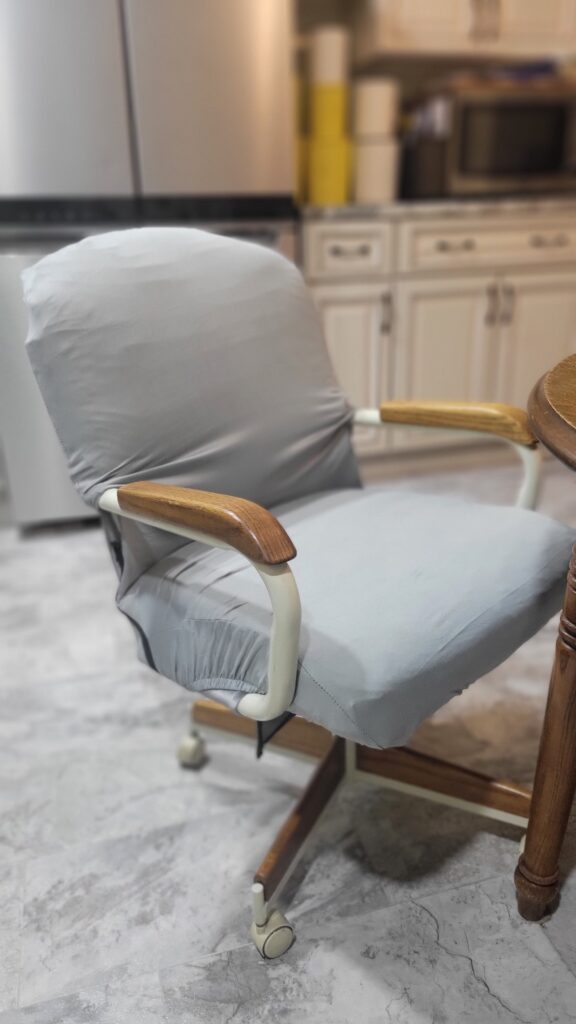
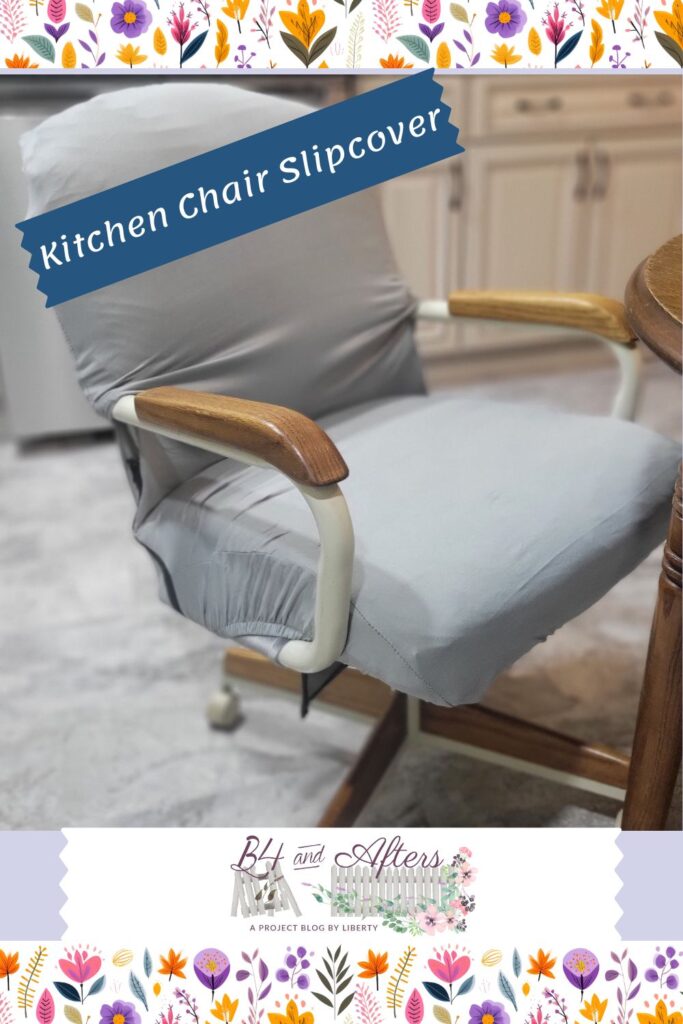
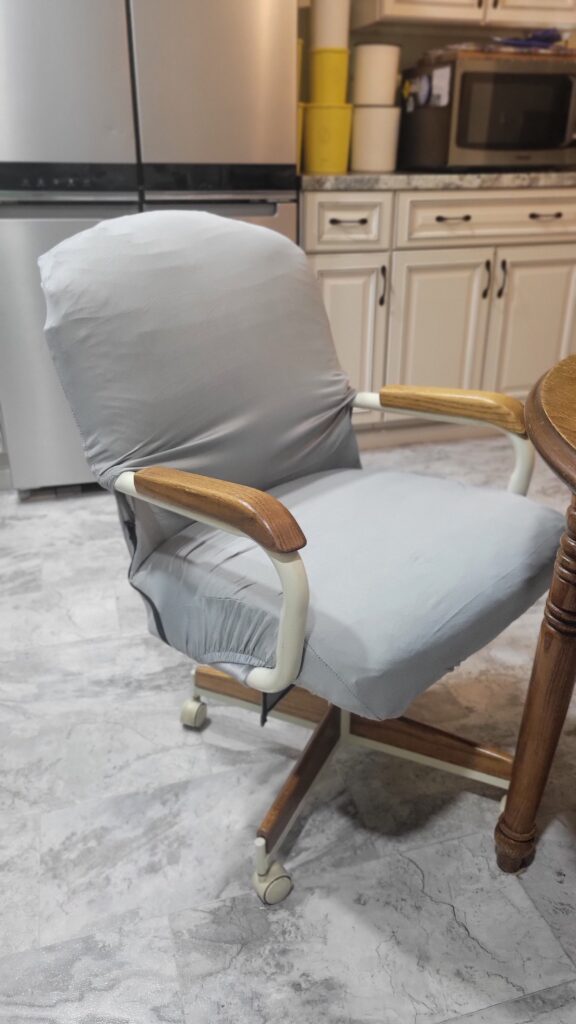
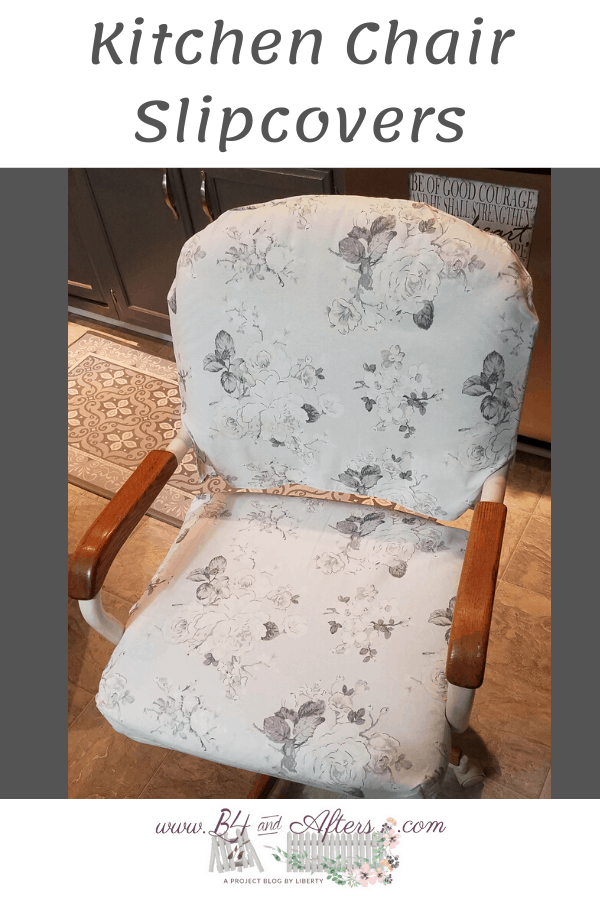
Are you ready to see the finished chairs???
Kitchen Chair with Slipcover
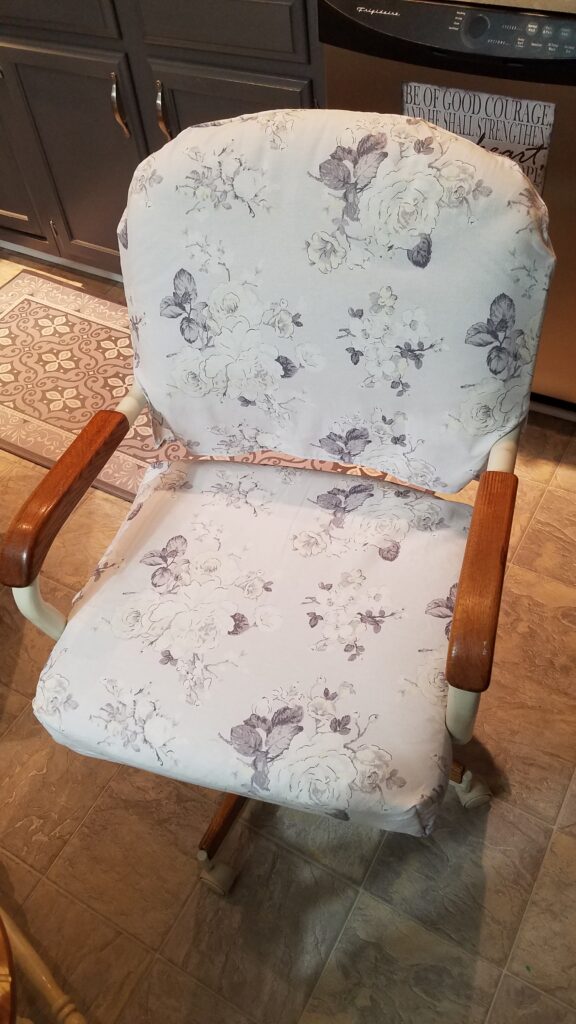
I love how the fabric colors coordinate with the rest of my kitchen. The light color really brightens everything up.
Over the next several posts I will show you some other changes that I made in my kitchen, ending with the updated look of my kitchen with these Removable Kitchen Chair Slipcovers! (Let me tell you –it looks amazing!)
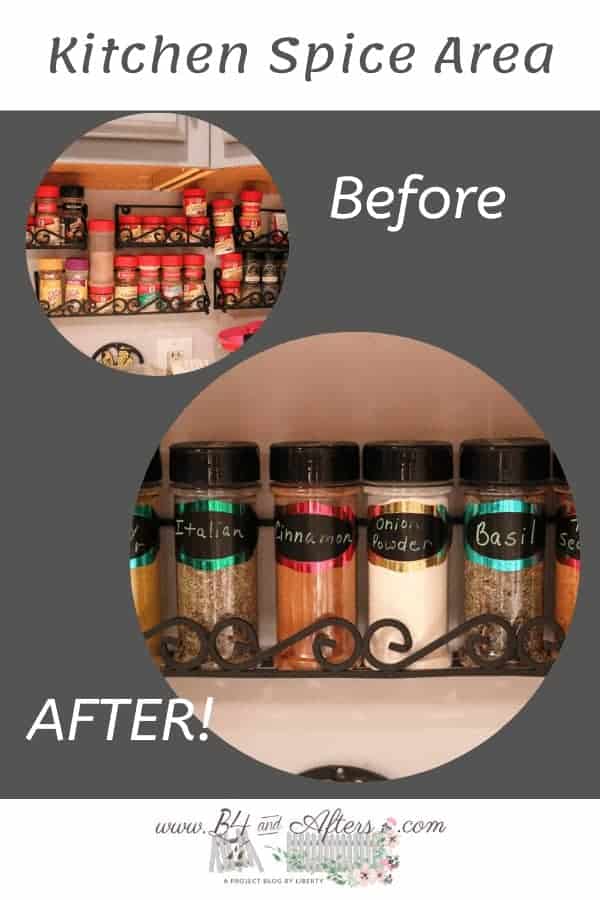
- The Most Neglected Place in my Kitchen
- Kitchen Spice Organization
- Removable Kitchen Chair Slipcovers
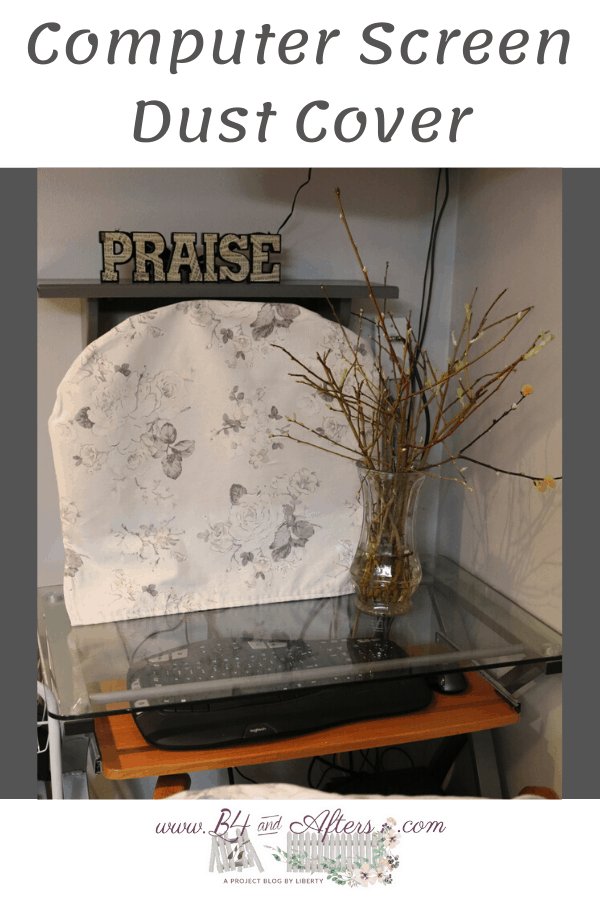
- Computer Screen Dust Cover
- New Kitchen Faucet and Sink
- Refrigerator Cabinet Surround
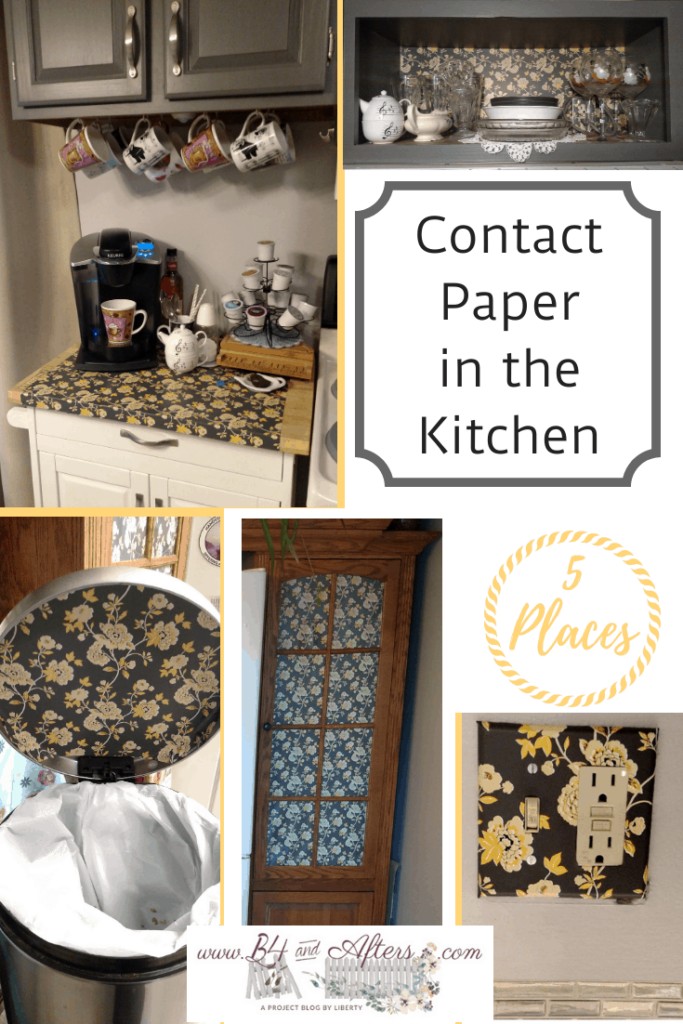
- Contact Paper in the Kitchen 5 Ways


Great tutorial. Slip covers can make something old look fabulous again. Great job.
Hi Liberty! (Love your name, by the way!)
These slipcovers are genius. I agree with you too, the colors really do brighten up the space and add some sweet charm. You’ve done an incredible job with these. It’s easy to see why you’d want to save those chairs. They look comfy — and what a bargain you got!
Thanks for sharing this project. I’m impressed with your skills. Very beautifully done 🙂 Hopefully the cat will behave themselves. I know how crazy our four legged kiddos can get, seeing as how everything in the house belongs to them anyway! We just have to live with this fact, don’t we? 😀 Sending love to you and all of your furry family members!
I’m glad you like it, Holly!