Twinkle, Twinkle, Little Star Photo Booth
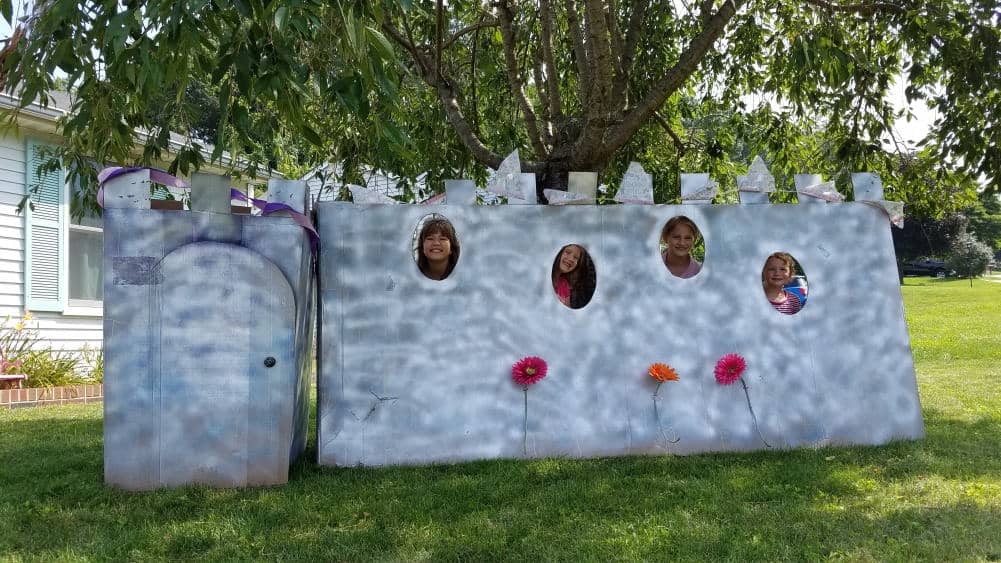
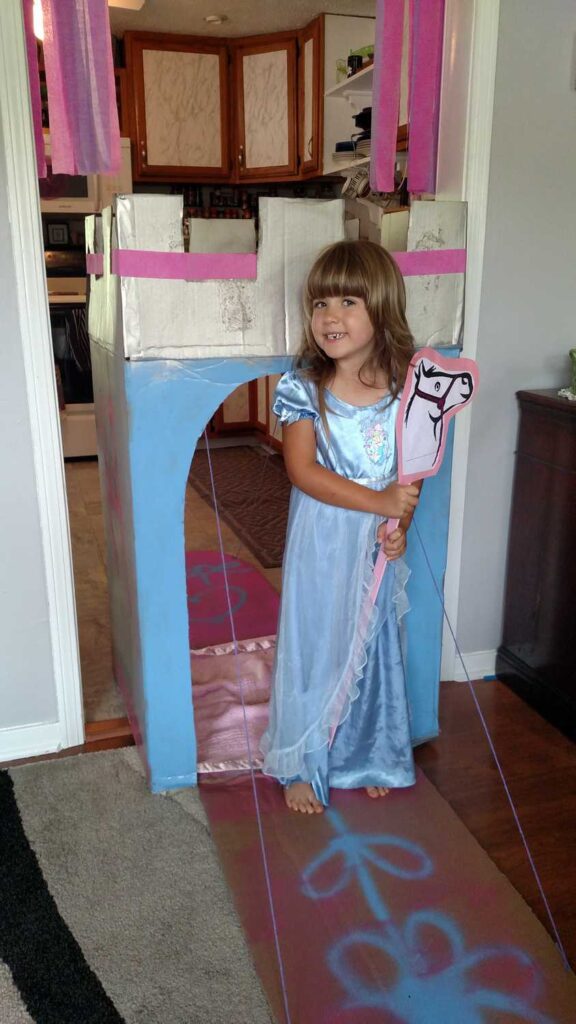
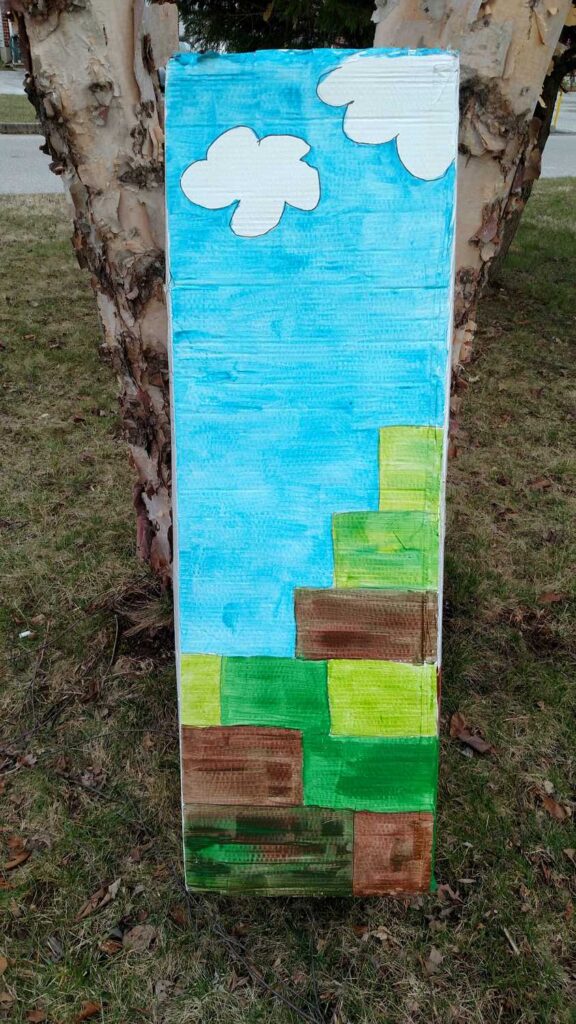
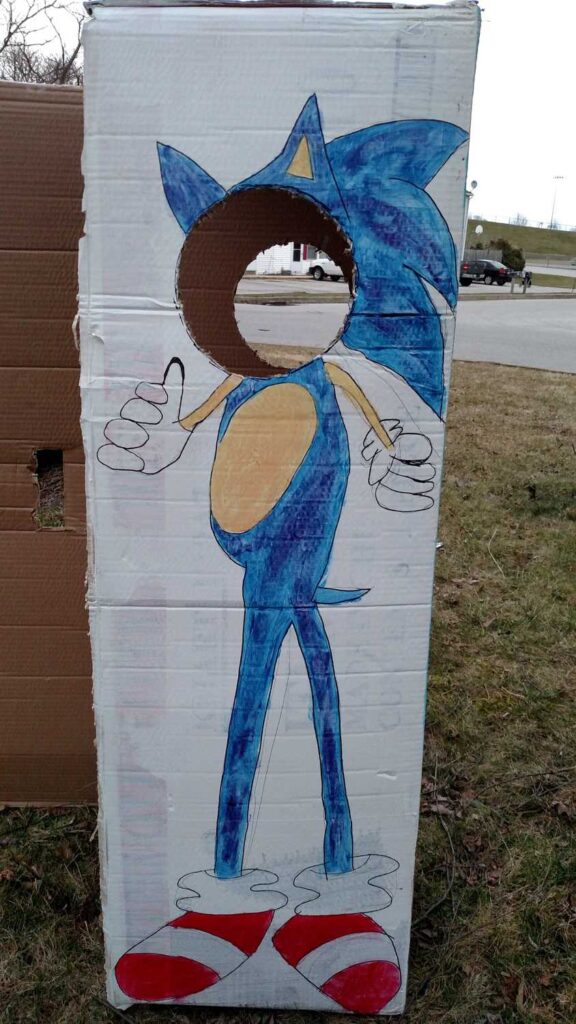
You may remember that last year I shared how I made this Castle Photo Booth. Today I’m going to show you how I reused it for another theme.
A friend of mine was having a gender reveal party with a Twinkle, Twinkle, Little Star theme. She asked me, and I volunteered, to make some stars and moons.
The guests who thought the baby would be a boy would wear a moon, and the guests who thought the baby would be a girl would wear a rose gold/ copper colored star.
It was really easy to design and cut the moons and stars with my Cricut Maker.
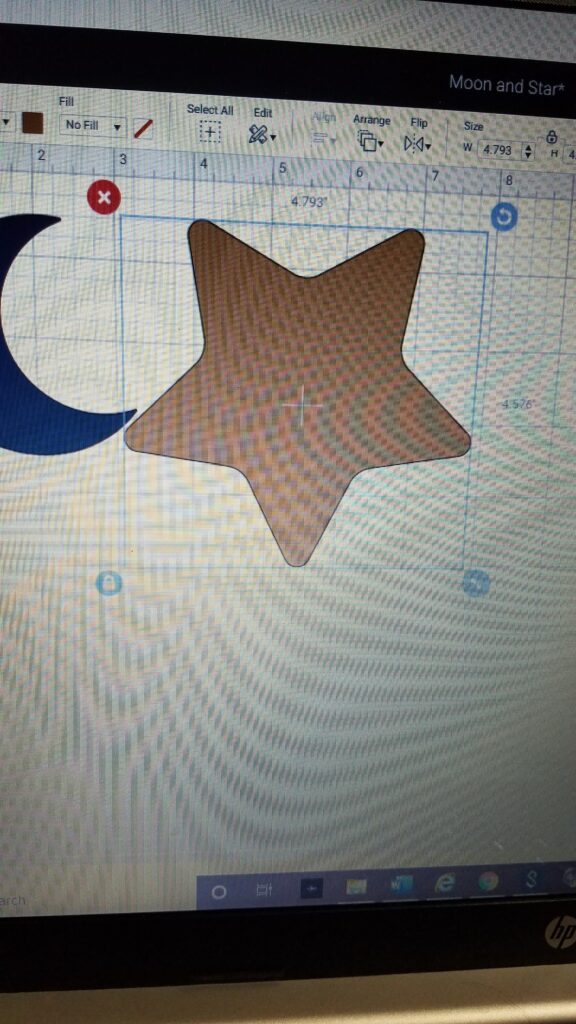
I used cardstock for the moons, and contact paper for the stars. I also used chevron zig zag glitter cardstock for the stars, by sticking the rose colored contact paper on the back– making the stars different on each side.
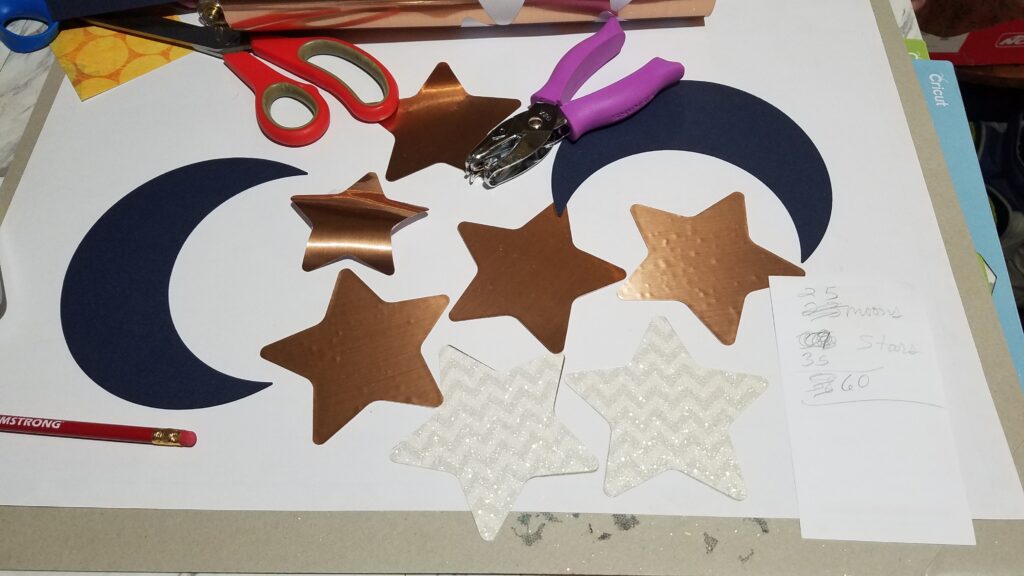
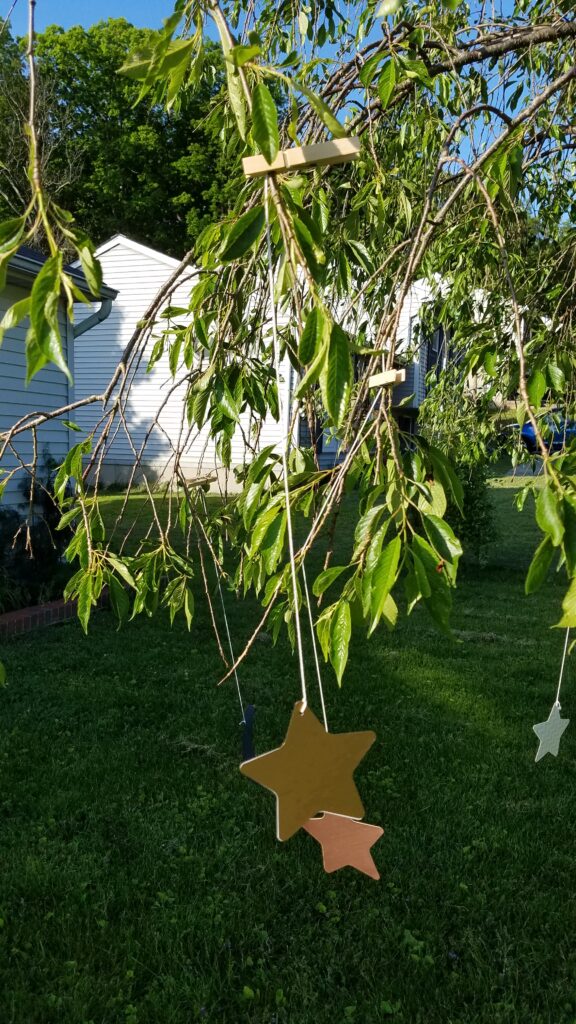
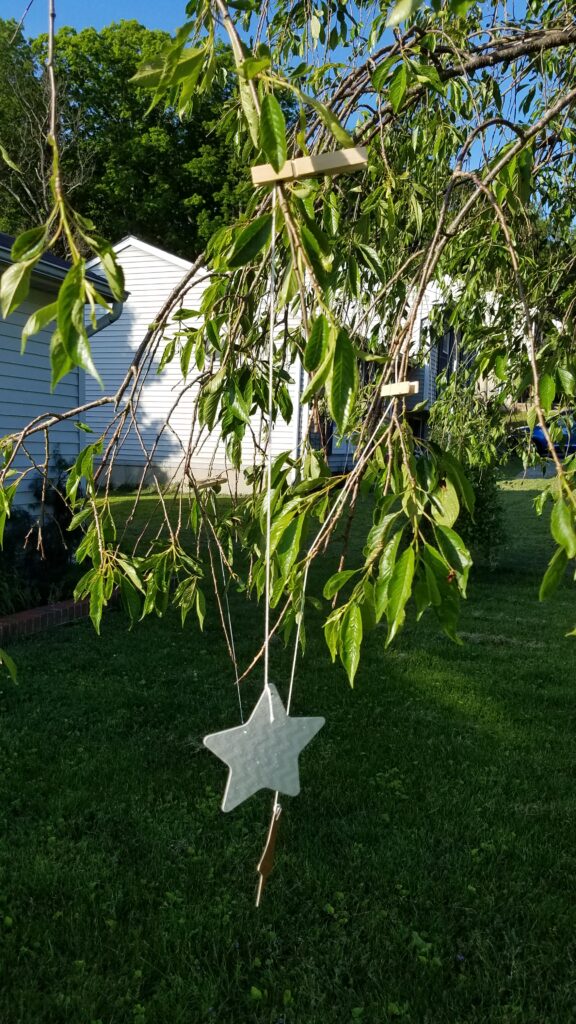
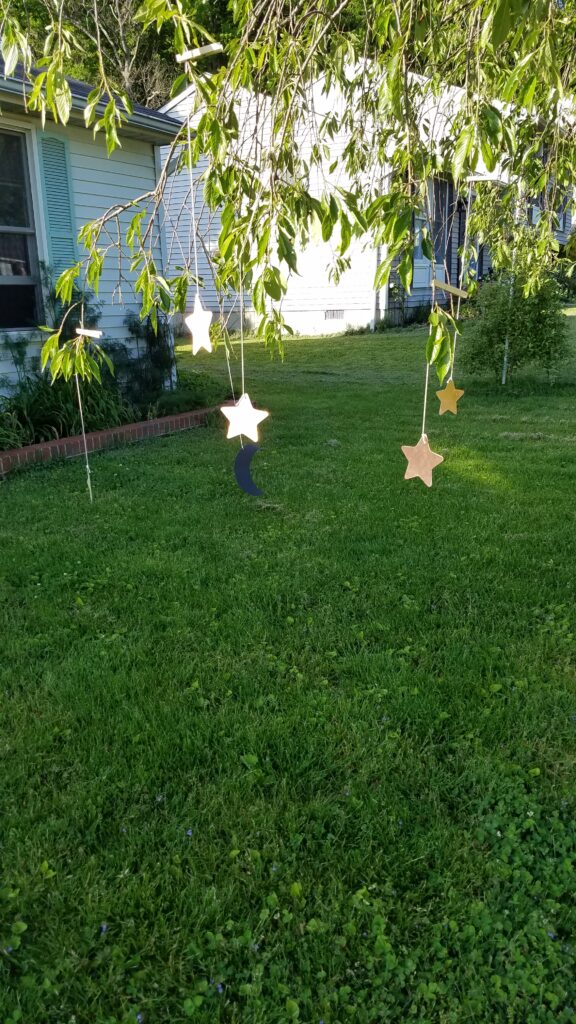
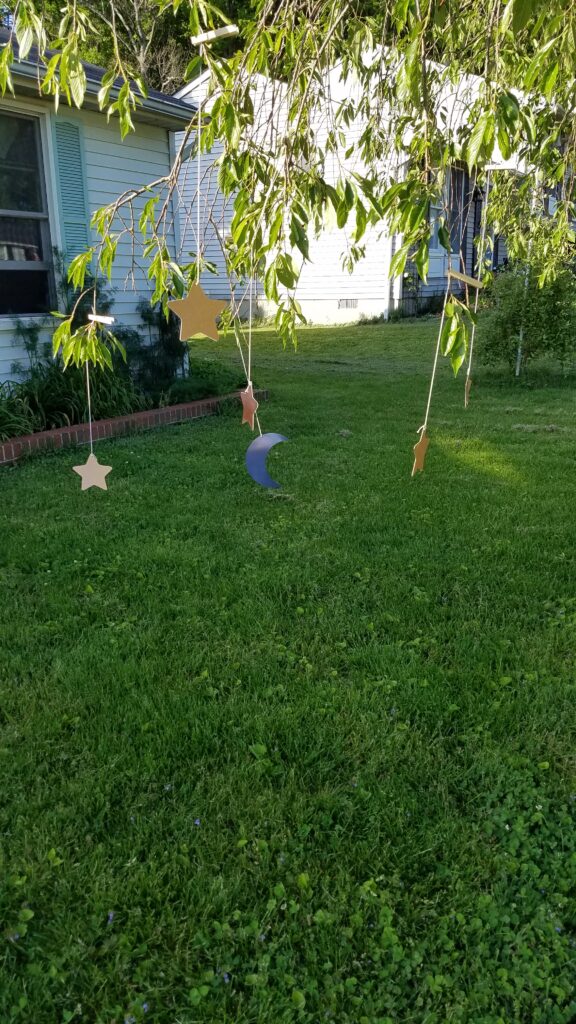
In addition to being given to the guests, the moons and stars were also going to be used for the Twinkle, Twinkle, Little Star Photo Booth! For the photo booth, I punched holes and added strings to my shapes. Before I show you the photo booth though, I want you to see how they looked on my tree!
I used clothespins to hold the strings onto the branches. The wind blew and made the stars “twinkle.” They were very pretty!
What a neat way to decorate your trees for an outdoor party!
Anyway….. are you ready to see the Twinkle Twinkle Little Star photo booth?
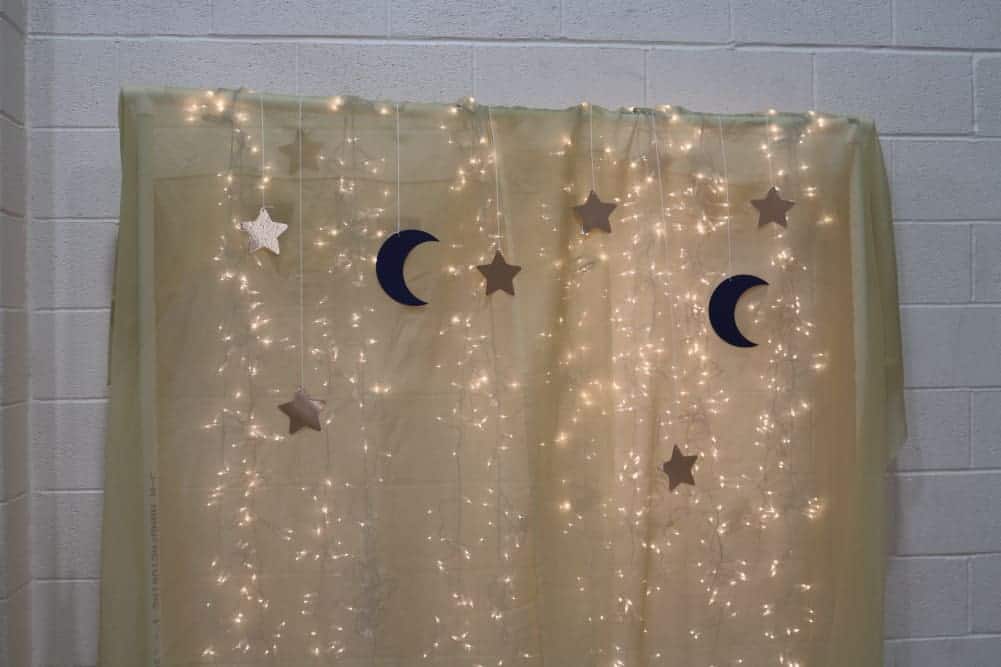
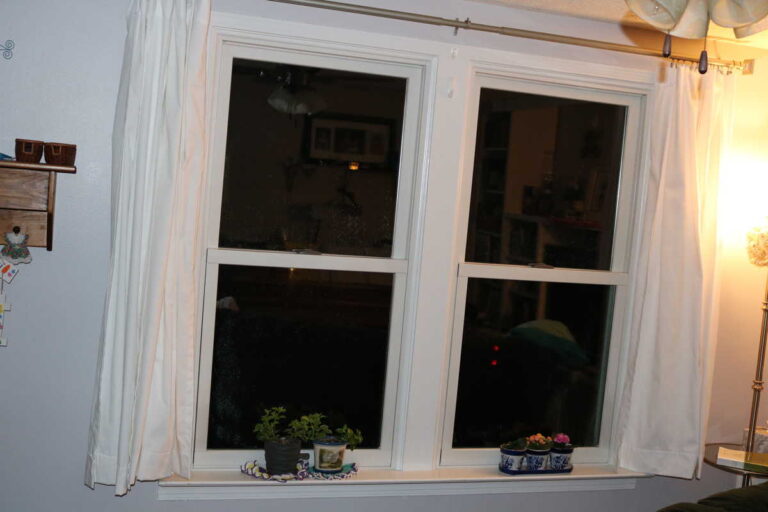
It was so pretty! Ivory Christmas lights with gauzy curtains together with the stars and moons were so beautiful!
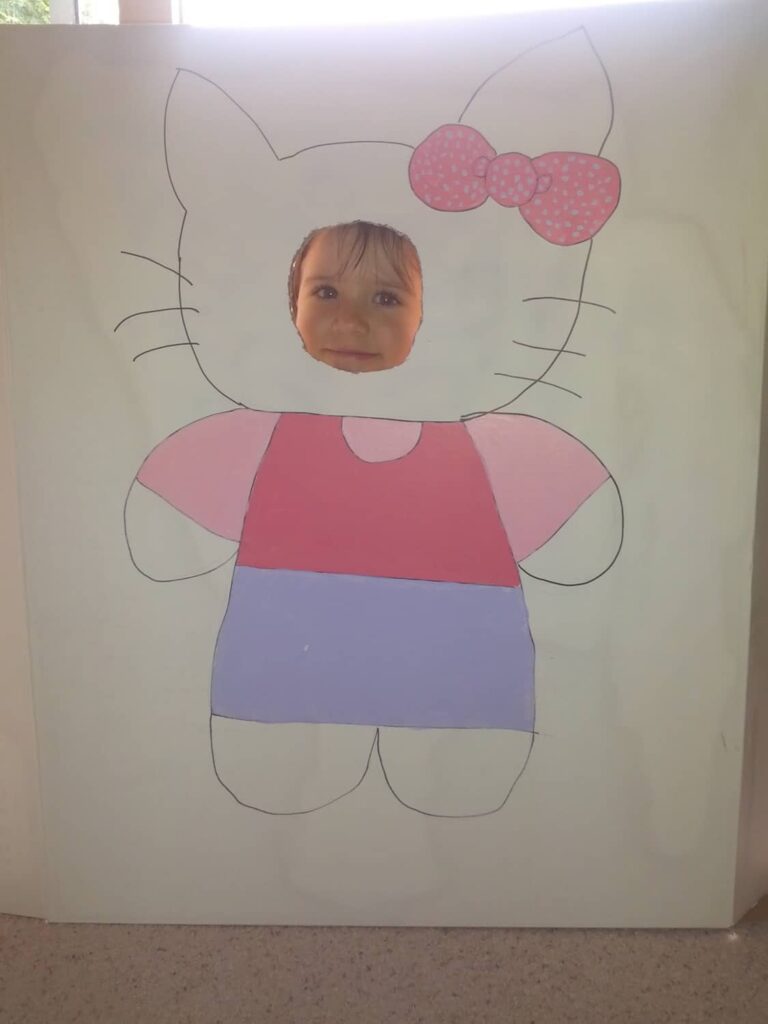
The castle added another dimension for those who chose to use it. Also, face mask props were another fun element.
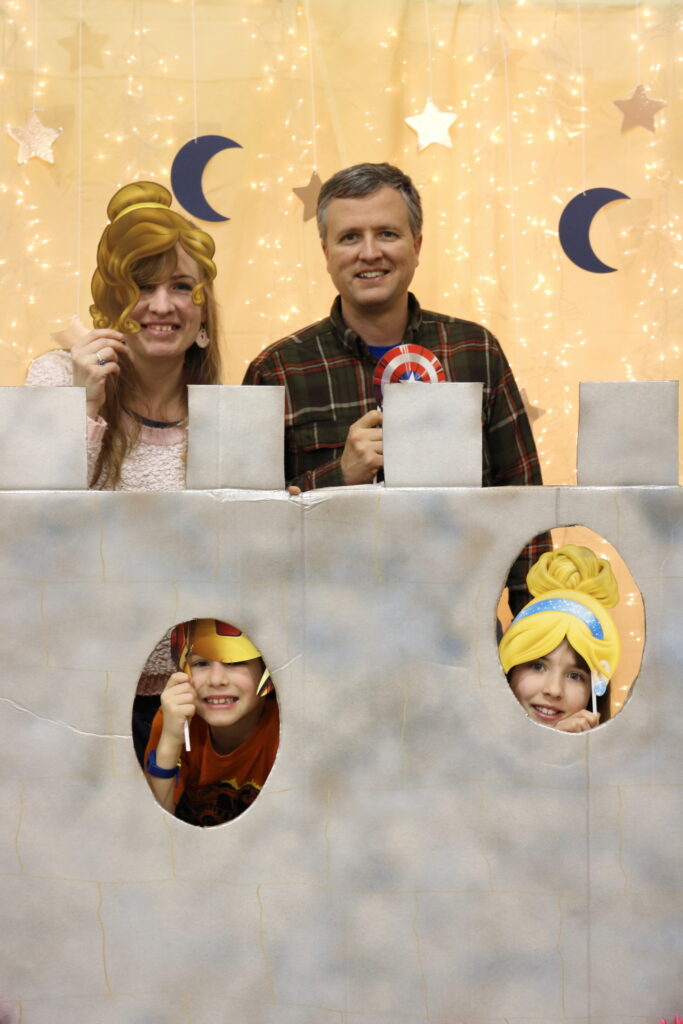
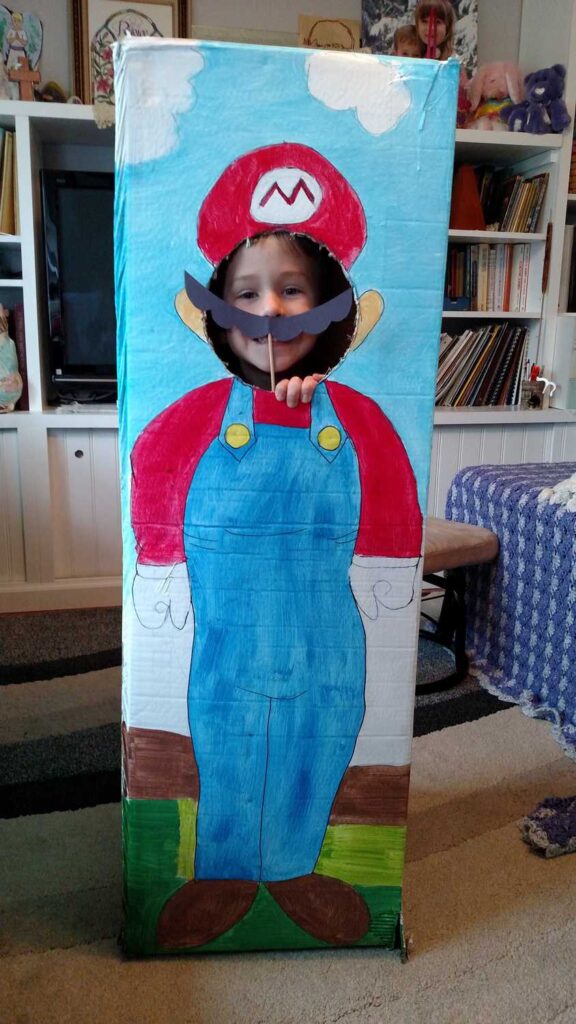
I love using cardboard for photo booths for birthday parties. Check out my other ideas below!

