
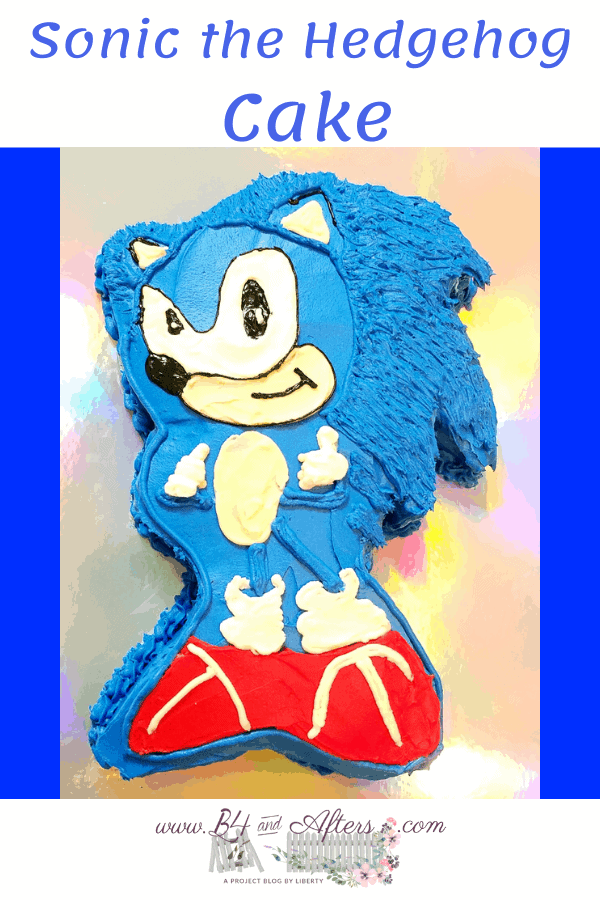
Sonic the Hedgehog Cake
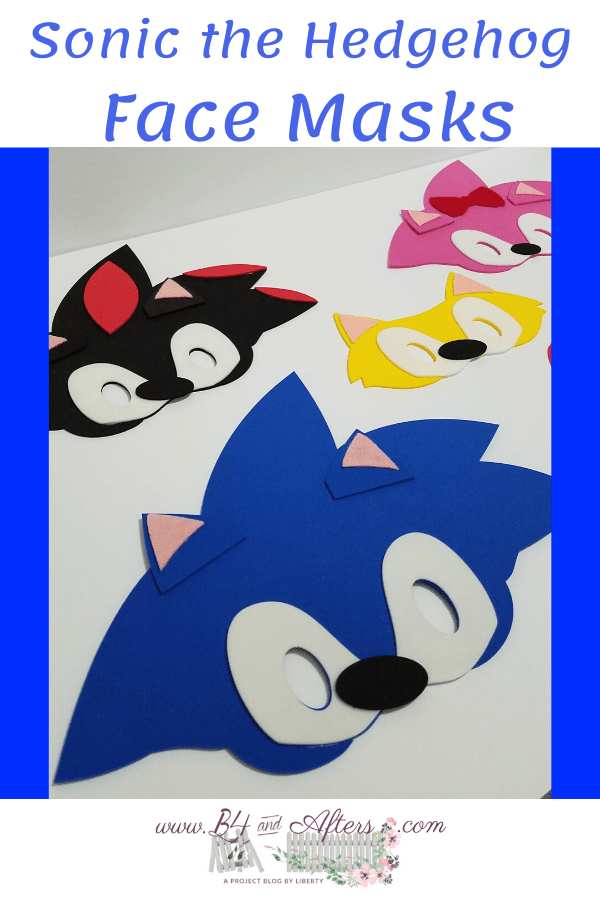
Last month I showed you how I made Sonic the Hedgehog Face Masks for my son’s birthday party. Today I’m going to show you how I made his fabulous Sonic the Hedgehog birthday cake, and how I kept it from being a Pinterest fail!

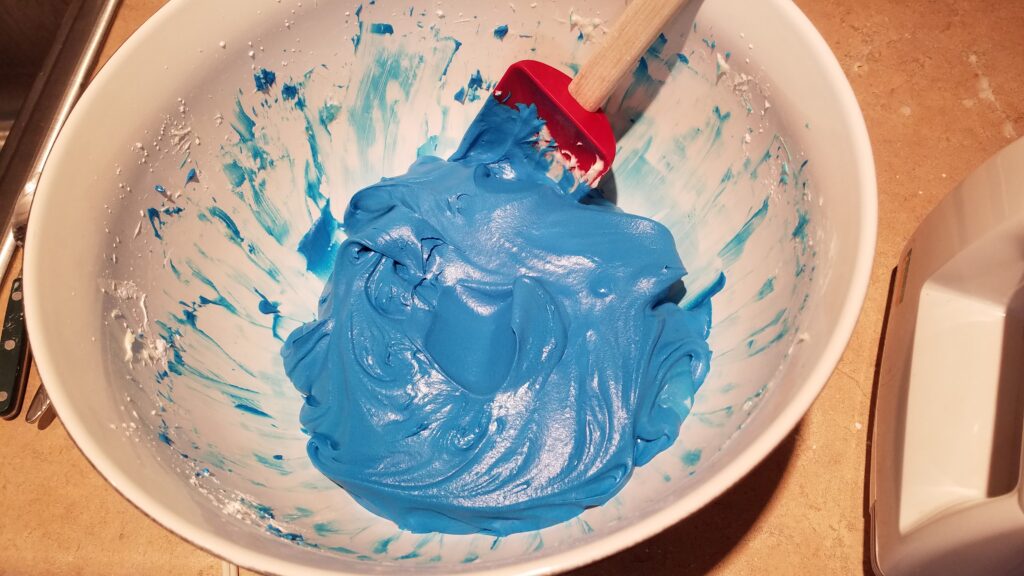
To start with, I wanted bright blue cake batter as well as blue frosting. So I bought Royal Blue food coloring. I used the entire bottle to color the batter and the frosting!
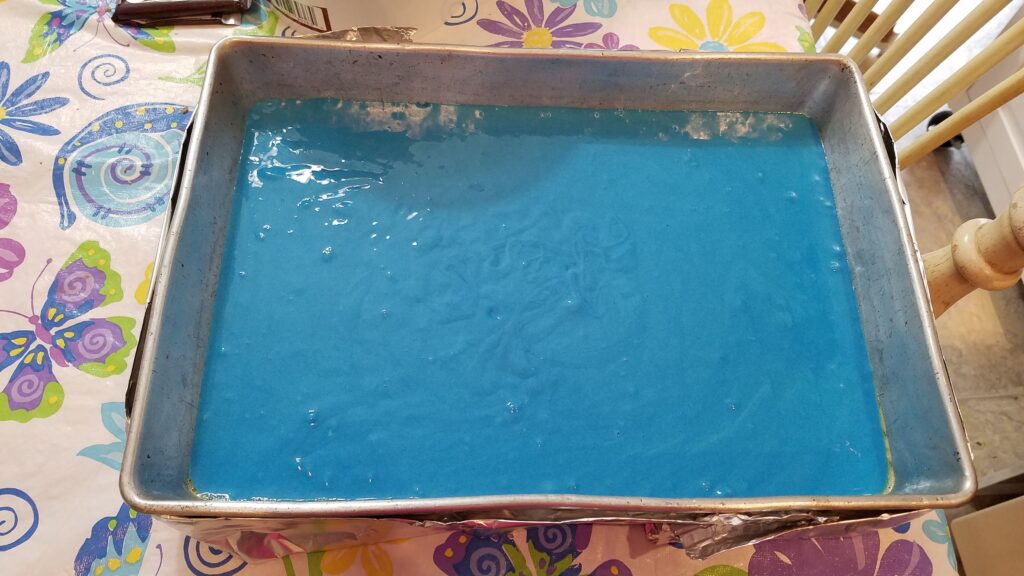
Usually I would make 3 cake mixes worth of cake to make a huge cake enough to feed all of the party guests and then some. But my son’s birthday fell 2 weeks after lockdown began, and there would only be our family to eat the cake. This was going to be one of the smallest birthday cakes I had ever made in recent history! I made only one cake mix, and baked it in a 9 x 13 pan. I wrapped water soaked paper towels in foil, and folded the foil around the pan. I had learned before that this was the way to keep the cake from doming in the middle– to keep it flatter on top.
I used my Cricut Maker to enlarge a silhouette of Sonic the Hedgehog. I made it as big as would fit on a 9 x 13 inch rectangle.
Want access to my Sonic Cake Shopping List?

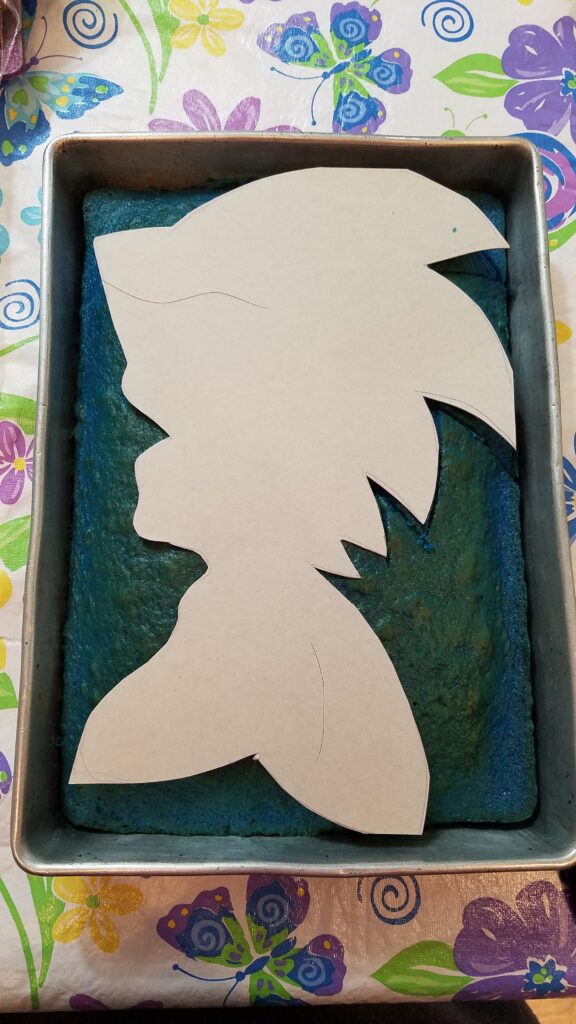
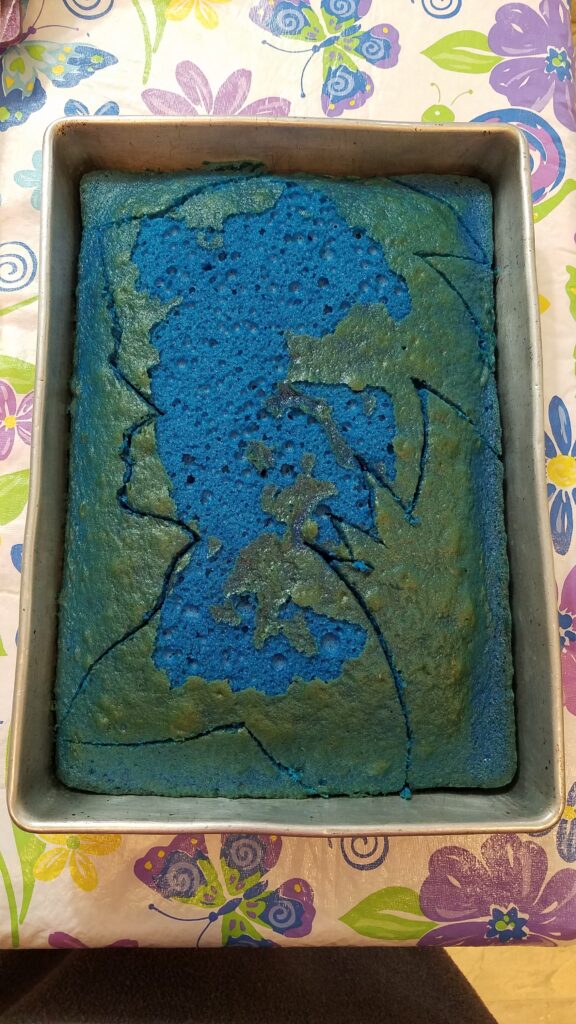
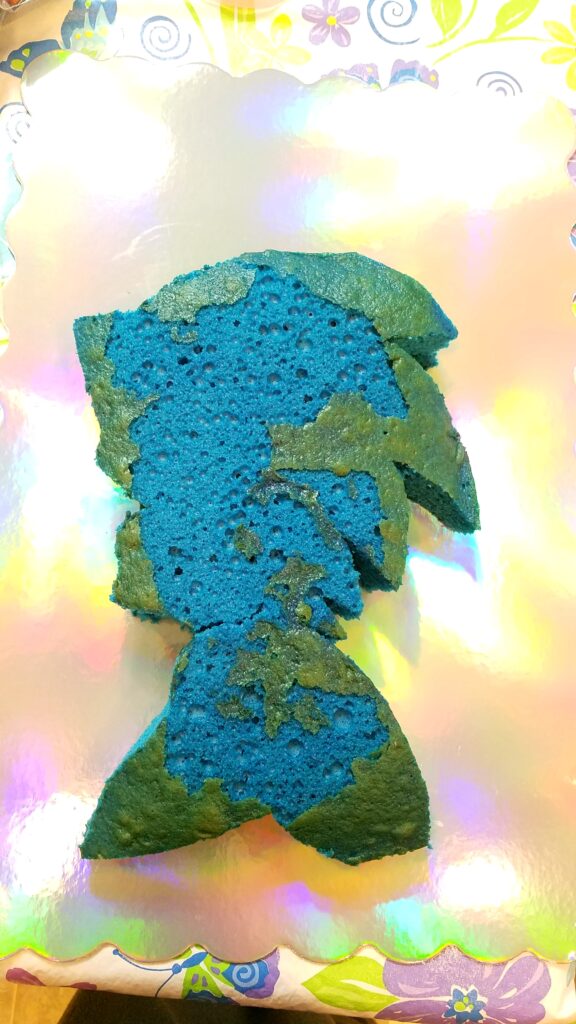
Then I carefully traced around the paper shape into the cake. It looked better than I thought it would!
Did you Know?
We bought a Fixer Upper Farmhouse!


More Cake Ideas…
I could put the word “carefully” in front of each step in making this birthday cake. Each step was done with care, for sure! So, I carefully took away the extra pieces, leaving the solid Sonic the Hedgehog shape.
I like to use cream cheese in my frosting with the butter and powdered sugar. We like the creaminess in the taste, and I also think the creaminess makes the frosting easy to spread and decorate with.
Frosting Recipe
- 1 lb. butter
- 8 oz. cream cheese
- 21 oz powdered sugar (approximately)
- 1 TBLSP vanilla
- 1 TBLSP milk
Directions: Use a mixer to beat butter and cream cheese together. Add powdered sugar and mix some more. Add vanilla and milk and beat until smooth and creamy. Add food color if desired.
My next step was to completely cover the silhouette in blue frosting.
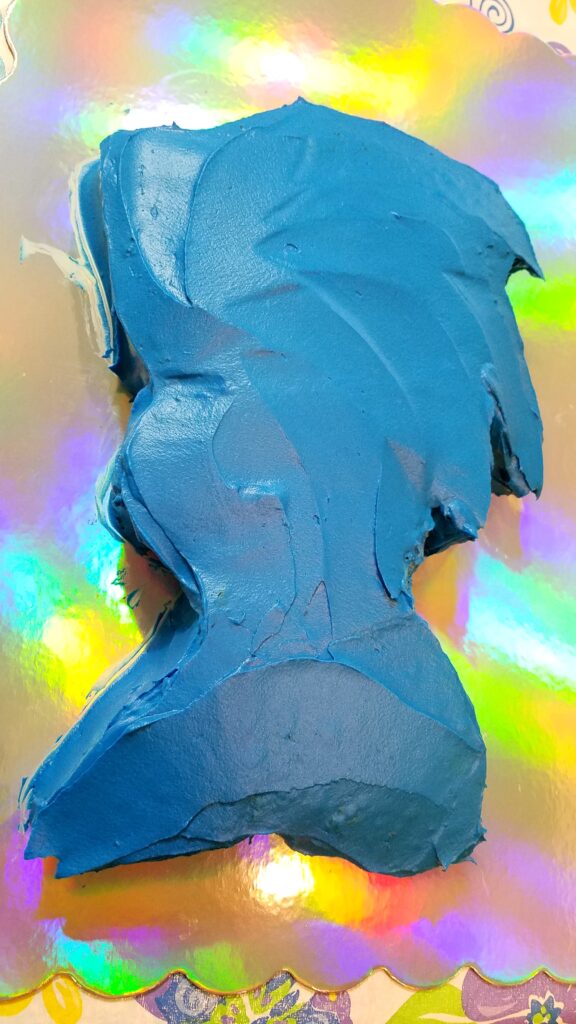
How I Avoided a Pinterest Fail
This is the part where I tell you how I avoided having my cake look like a Pinterest fail. As I looked at the solid blue mass of cake, I knew I needed help knowing exactly where to place the ears, the eyes, the arms– everything!
So I went back to my Cricut Maker, and had it cut out those little details in leftover craft foam. I chose foam, because the raised nature of craft foam helped me picture how to put the frosting on. It helped give me more of the right dimensions in my mind. The white pieces would be white, and the pink would be the skin color (I didn’t have any craft foam that was skin colored, and that didn’t really matter).
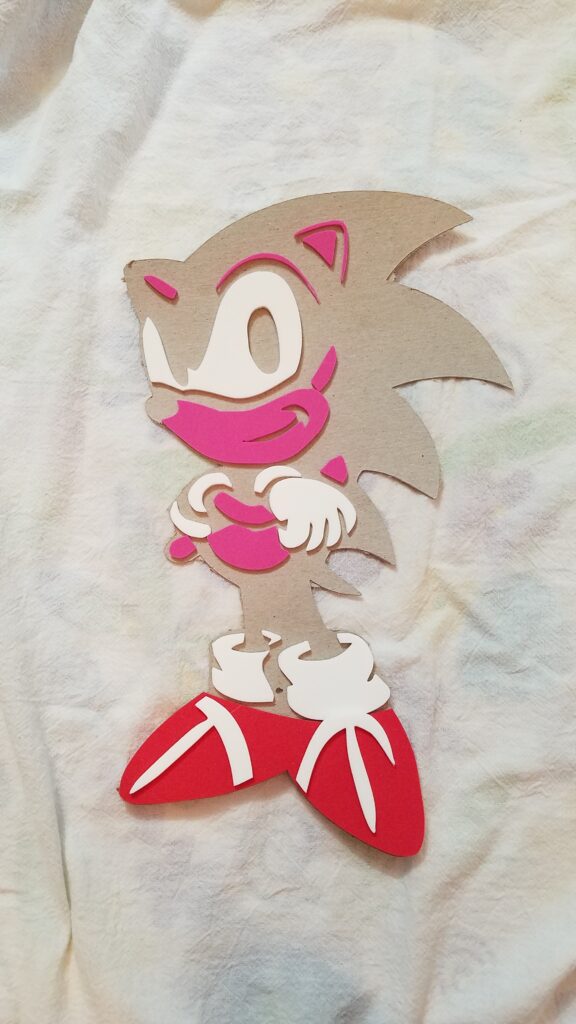
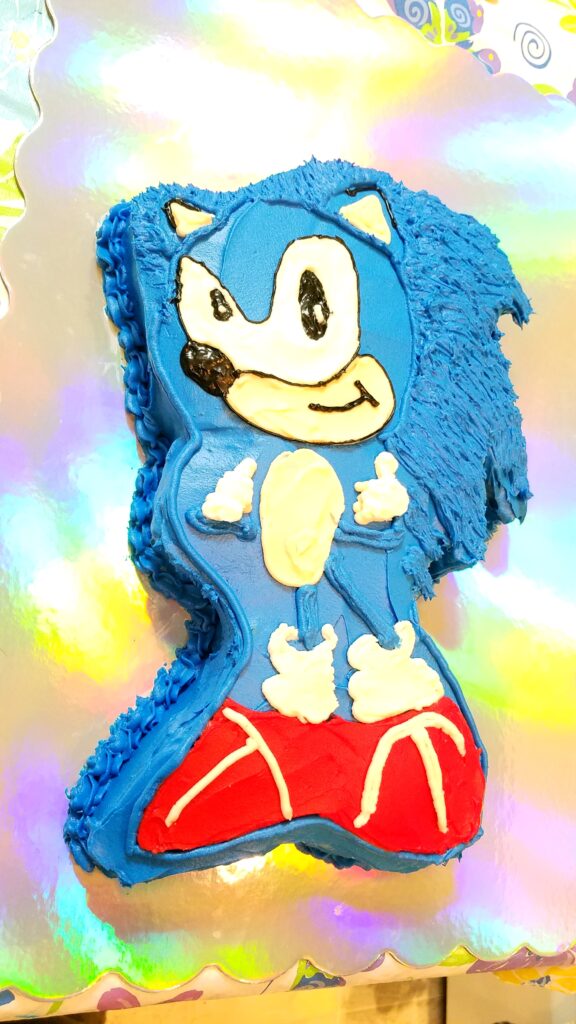
Now I knew exactly where to put the eyes, ears, tummy, hands, socks, and shoes. I made skin colored frosting by adding just a tiny bit of orange frosting to a small bowl of white frosting. For black I used a small bottle of premixed black frosting leftover from something else. (*For the shoes, I followed the picture that I had, but really there is no white line down the front center of Sonic’s shoes. Maybe that was a light reflection in the image that I followed, but his shoes should have only a wide white band across, and nothing else. I realized it too late.)
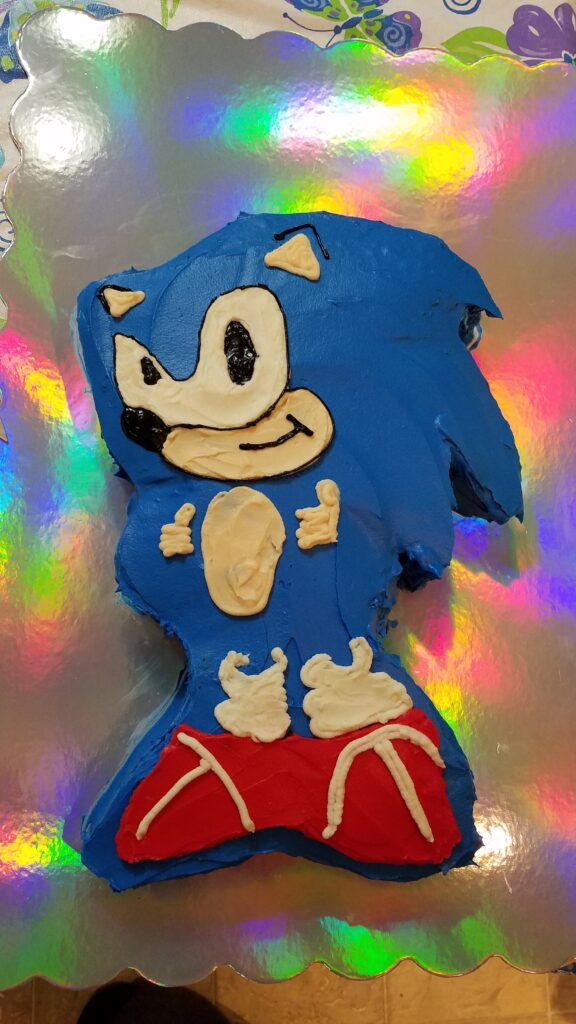
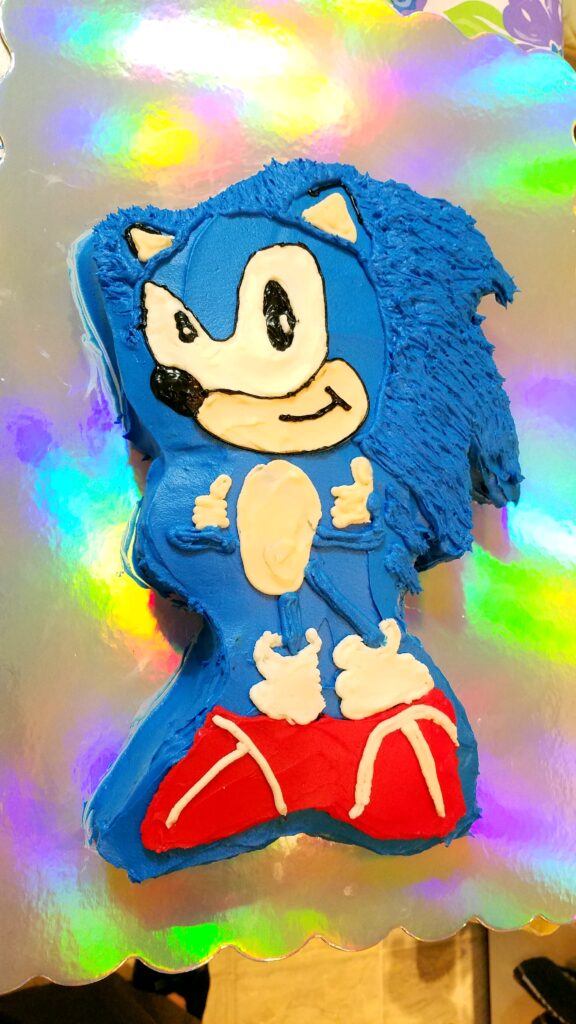
For Sonic’s furry hair, I added more frosting, and used a fork to pull it out in lines that looked furry. You can see where I used blue to outline around his face, ears, arms, and legs. I ended up outlining around his shoes and the left side of his body, also.
You can see all of my released videos about Century Farms here.
Did you Know?
We bought a Fixer Upper Farmhouse!
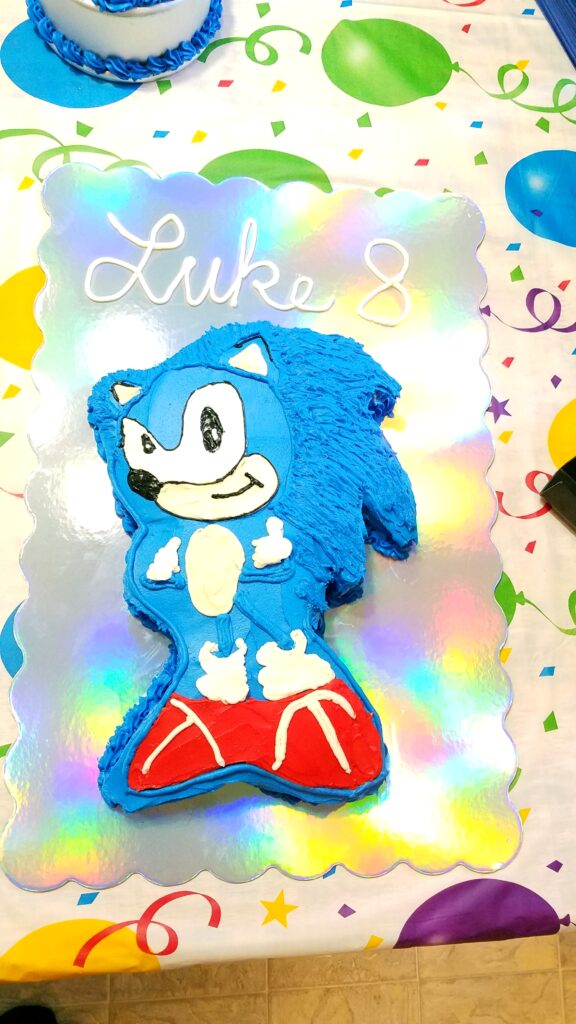
The last step to make this cake look really great was to add a border where the cake meets the base it is resting on.
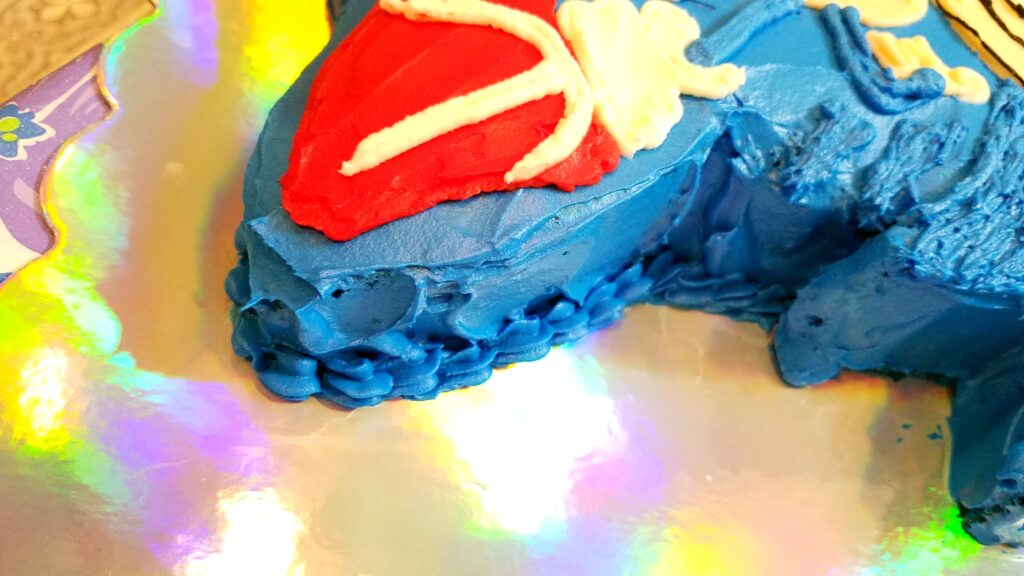
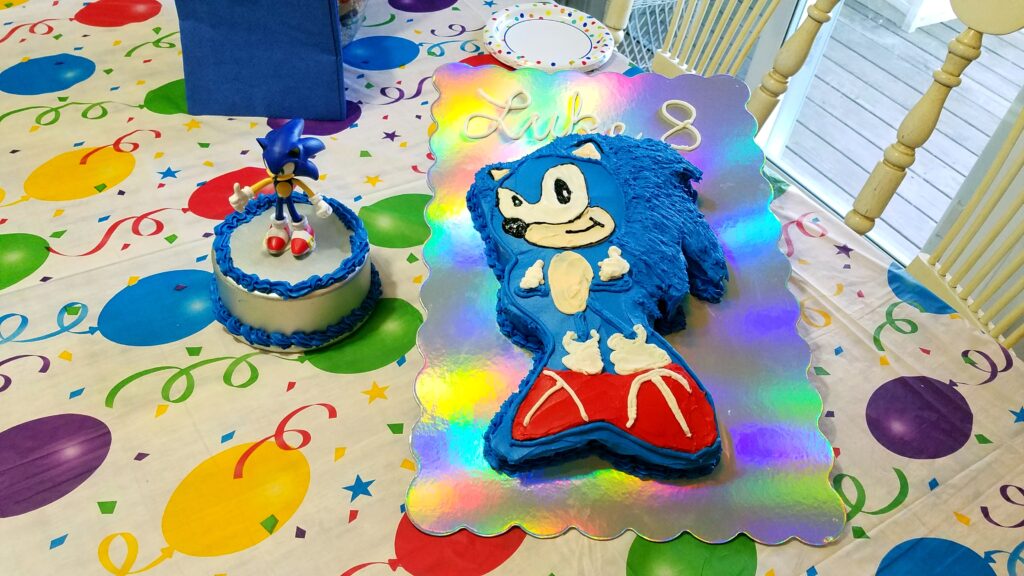
Below is another angle of the border.
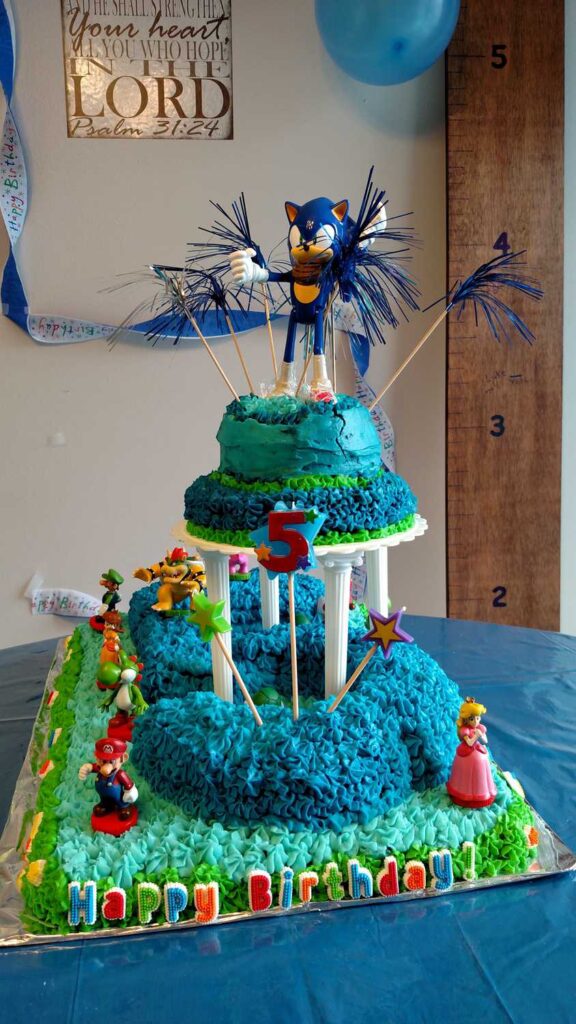
This Sonic the Hedgehog birthday cake ended up being easier to make than I anticipated! For one, it was a lot smaller than the ones I usually make. I may have to try this method more often, and make cupcakes if I need more cake. Can you believe this cake was made from a simple 9 x 13 cake!?!
Want access to my Sonic Cake Shopping List?
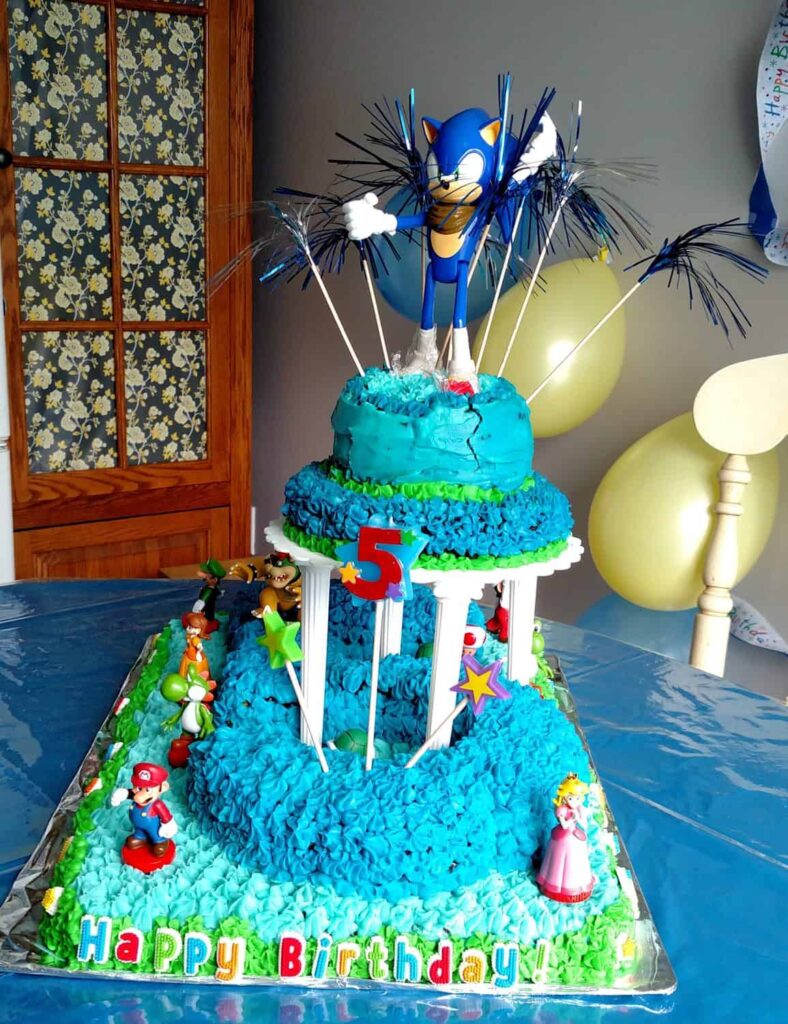
My son really wanted a new Sonic toy on his cake. So I inverted a round cake pan, added frosting, and “glued” the little Sonic toy to the pan with a little bit of frosting.
This cake tasted great, and I wasn’t worn out from making a huge cake and getting ready for company. Sometimes simpler is better.
More Sonic the Hedgehog Ideas…
- Sonic the Hedgehog Face Masks
- Sonic the Hedgehog Cake
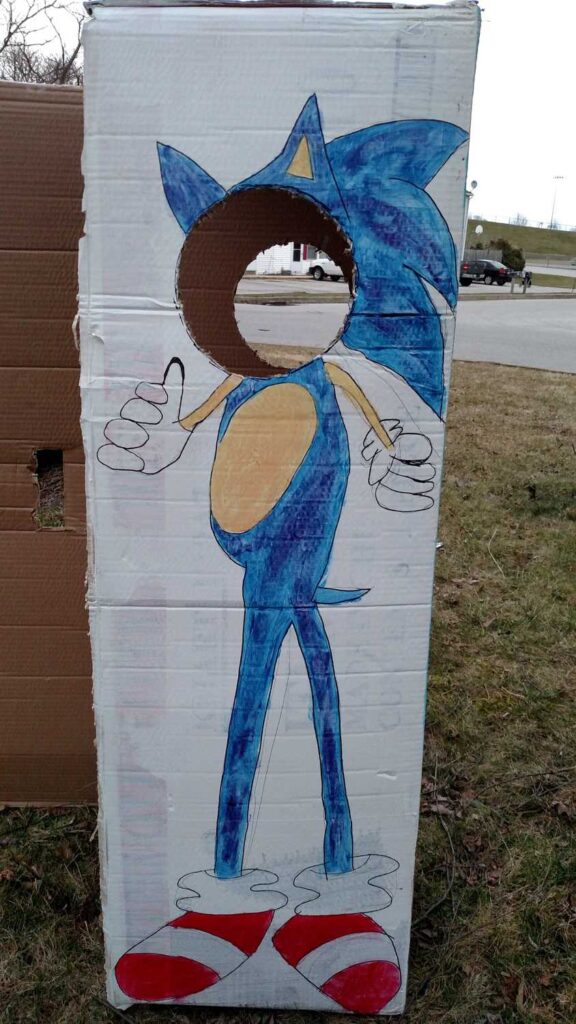
- Sonic the Hedgehog Photo Booth
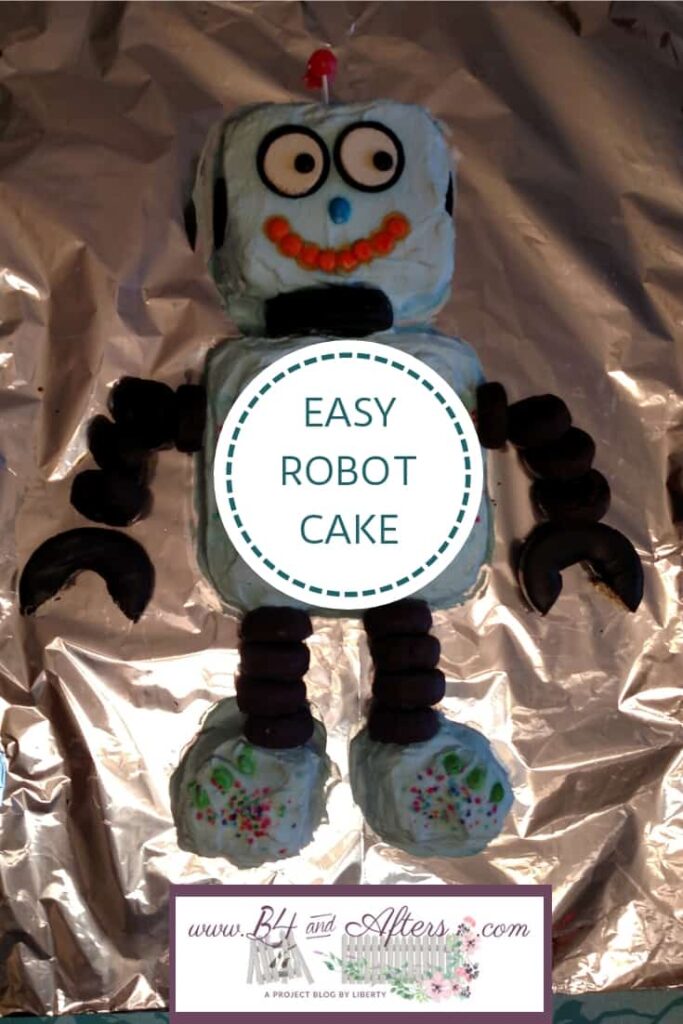
- Sonic the Hedgehog Toy Birthday Cake
Dining
Angle Curtains
Room
Castors on Table
Projects
Painted Ceilings
This one is my favorite.


Wow, Liberty, this came out great! I’m sure your son loved it!
He sure did, and it tasted good, too, in spite of all the blue!