
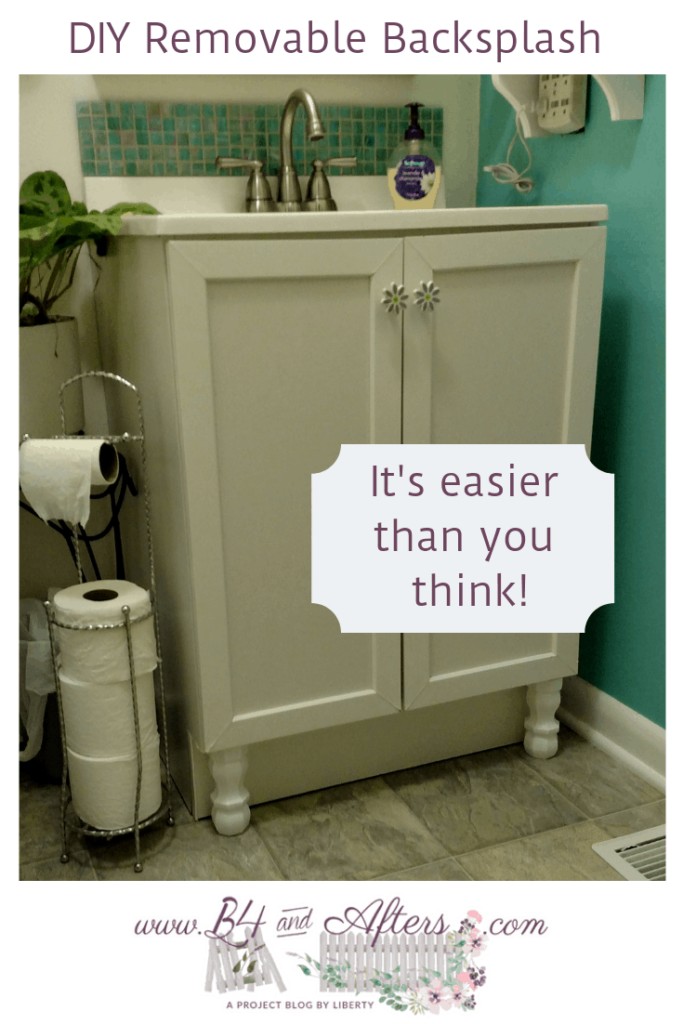
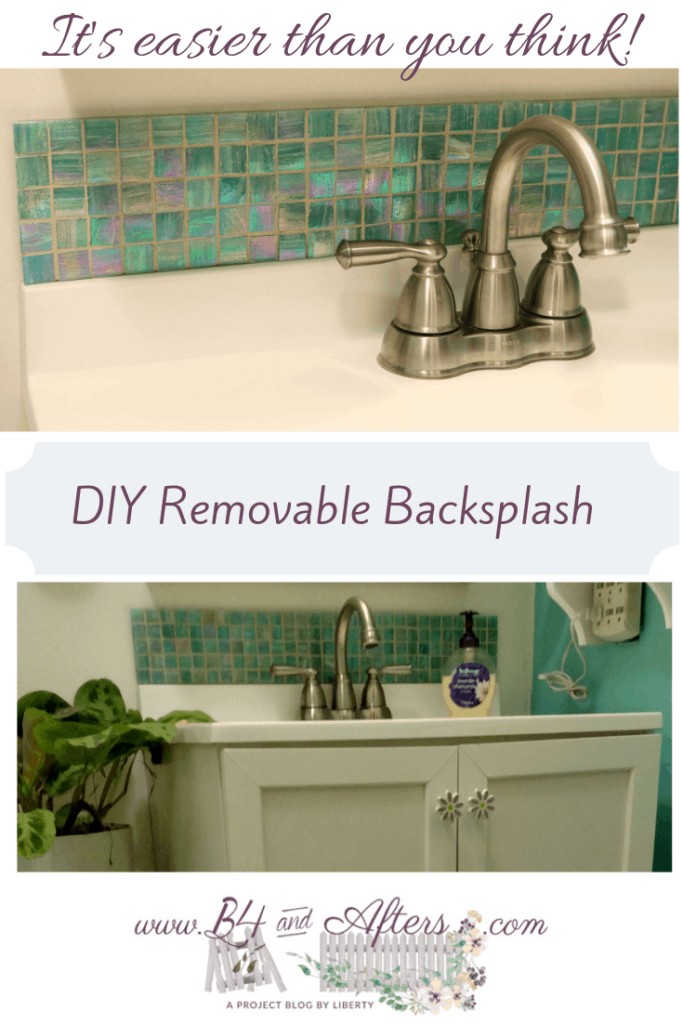
Removable Tile Backsplash for Bathroom Vanity
Have you ever wanted a pretty backsplash, but thought that it would be too expensive? Or maybe you thought that you would change your mind and not want that pattern there forever? Maybe you don’t want to use the sticker tiles because you think they will look too cheap or fake? I have a solution for you!

[sc name=”This Post May Contain Affiliate Links”]
***Have you heard?! We have a new old farmhouse now! It needs a lot of fixing up and I can’t wait to share all of the “before and afters” with you! You can see the progress HERE.
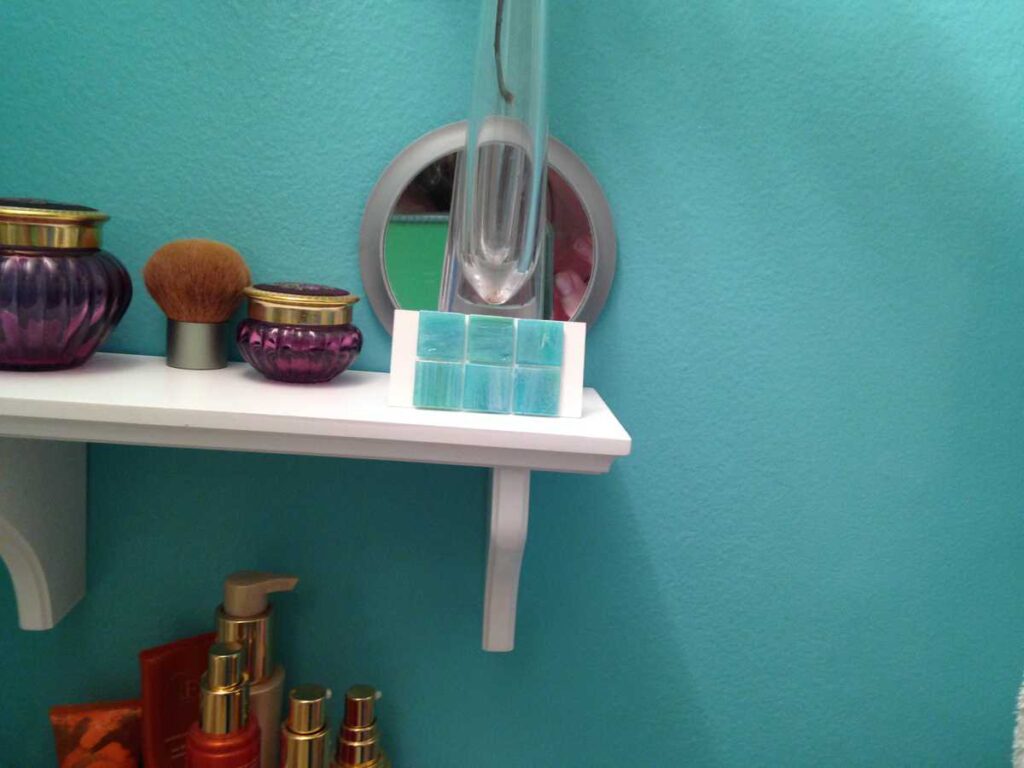
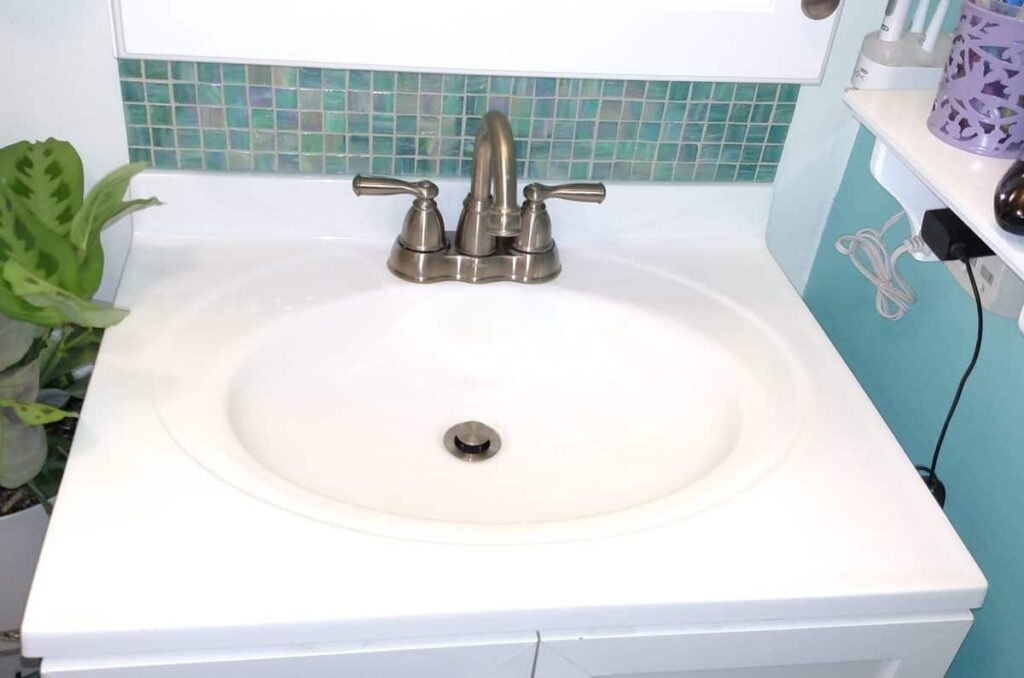
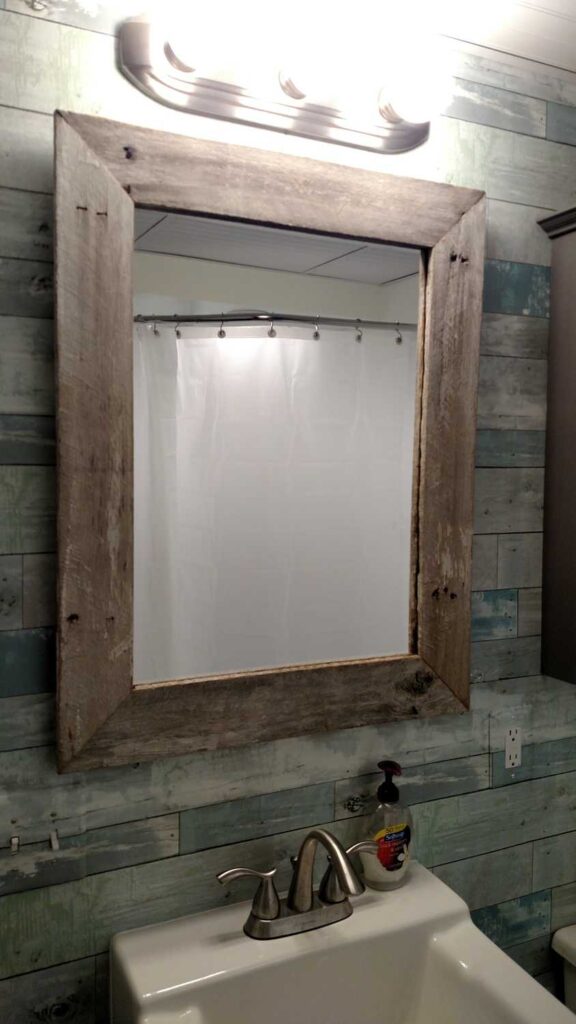
Here is my bathroom sink where I wanted to put a backsplash. See the electric toothbrush holder on the wall to save space? It was designed to be able to attach to the wall. My husband and I shared that toothbrush for nine and a half years. Oh, don’t worry, we switched the heads! We didn’t share the same brushing part!! The only reason that we stopped sharing it is that I moved downstairs to our new bathroom.
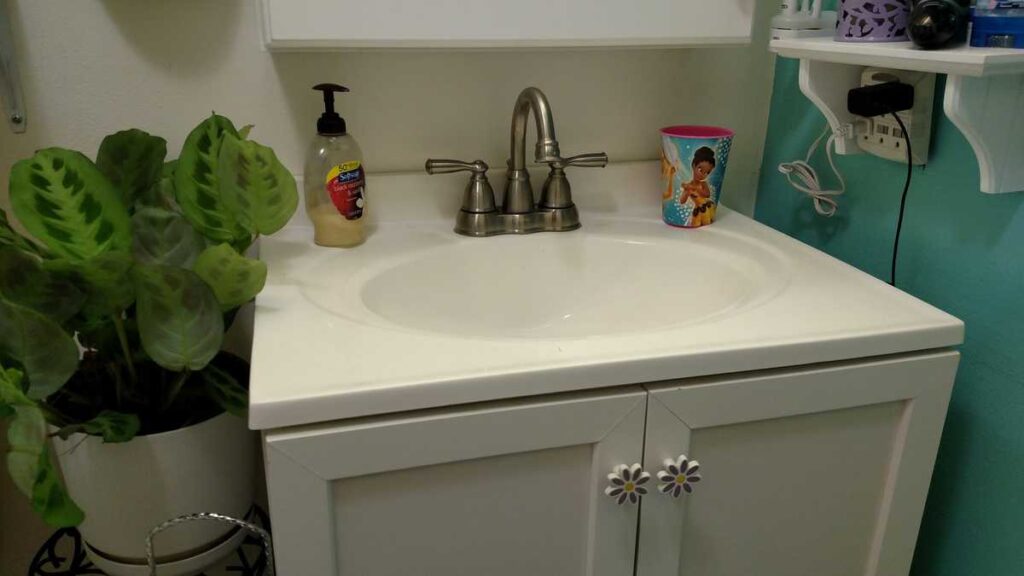
Before
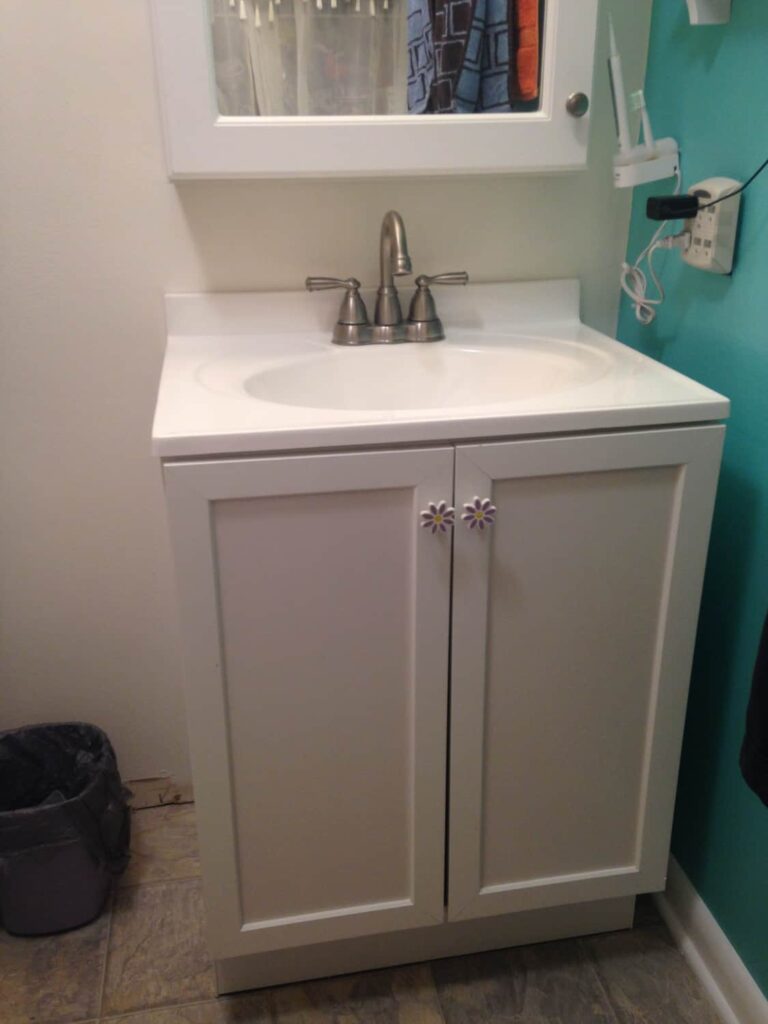
Before
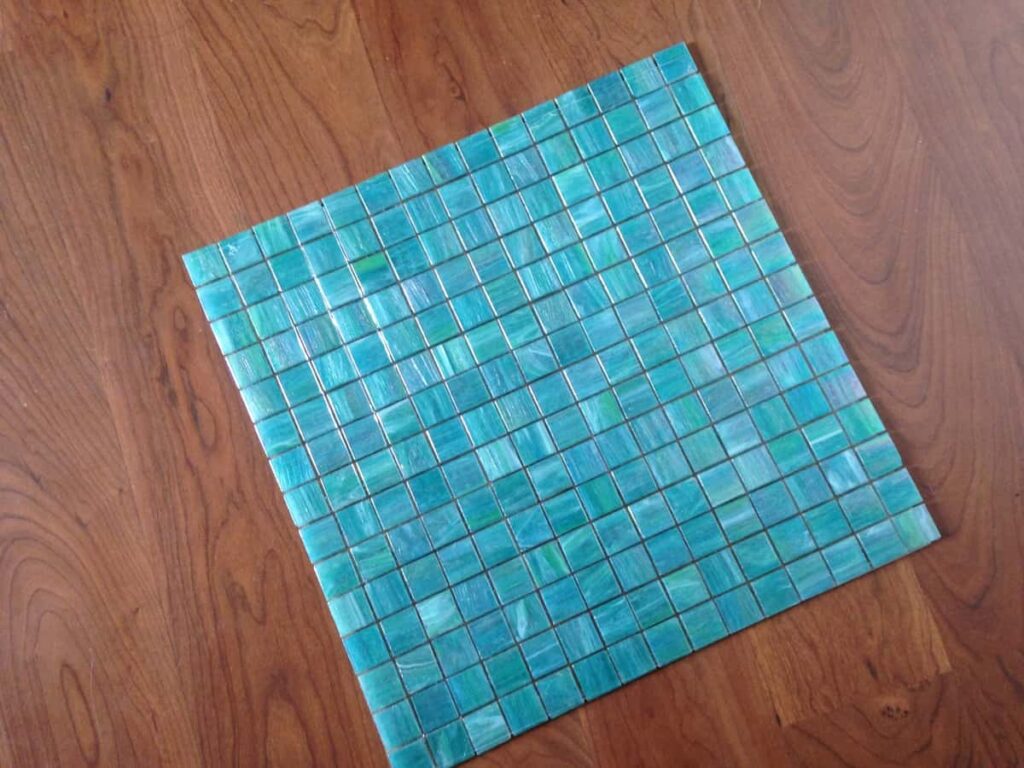
I had searched all over for this tile that would match the paint that I had already painted on an accent wall in the bathroom. I realize that the correct process would be to pick the tile and then the paint…… but oh well! I finally found a local tile shop called Tileology that has thousands of tile to choose from.
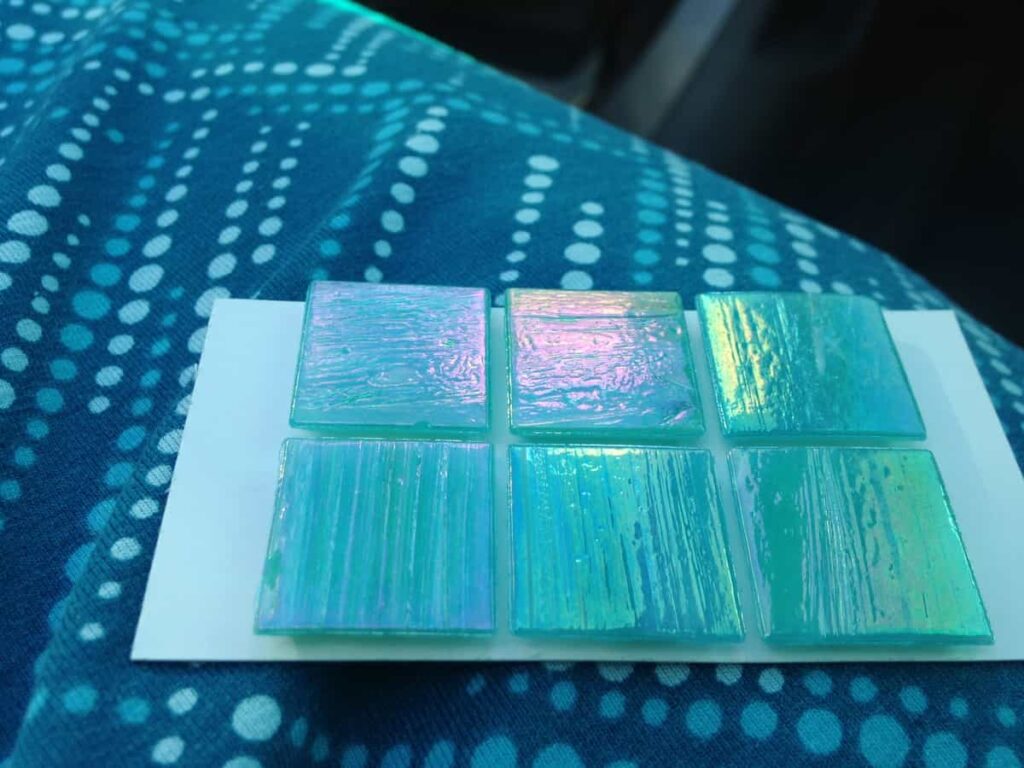
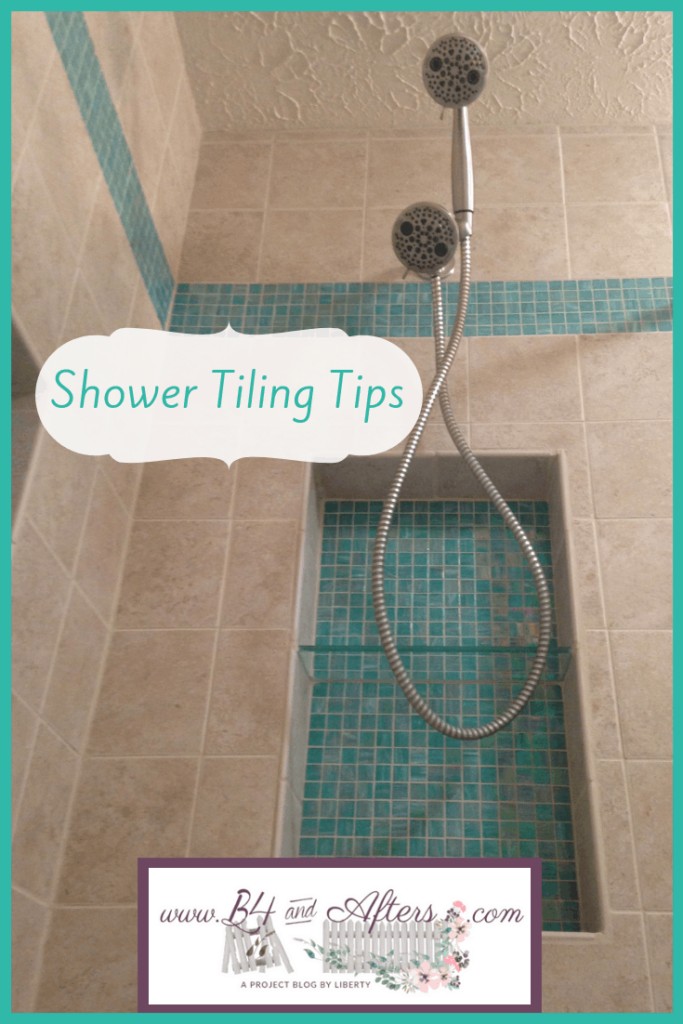
I love the aqua green shade with iridescent qualities. It was exactly what I had pictured in my mind, and it did not cost a fortune to purchase the small quantity that I needed.
Here is a snapshot of the green accent wall with the tile. After having our shower tiled, I had enough tile left for a backsplash!
This tile came in sheets where the front top of the tile sticks to a clear backing. You press the tile in place, then after it is set, pull off the clear sheet holding them all together.
I had attended a home improvement store workshop where we made little trivets using one inch tiles and a product called Simple Mat*.
Traditionally, tile is installed by first “painting” the wall with a thick adhesive mortar. It is a messy process. But this sticky mat called Simple Mat* replaces that messy mortar. You just cut it to size, and put it in place. It is very sticky on both sides– one side specifically for the wall, and one side for the tile. (When you cut it, be sure to use old scissors that you’re about to throw away, because the stickiness will probably stick to the scissors and not come off. I keep an old pair of scissors for projects just like this.)
Here is what I did to make my backsplash removable:
- I used a piece of plexiglass cut to the size that I wanted. Then I used the plexiglass for my “wall.”
- I applied the Simple Mat to the plexiglass.
- I pressed the tile on to the sticky Simple Mat.
- The last step was to grout the tile on top, in the cracks.
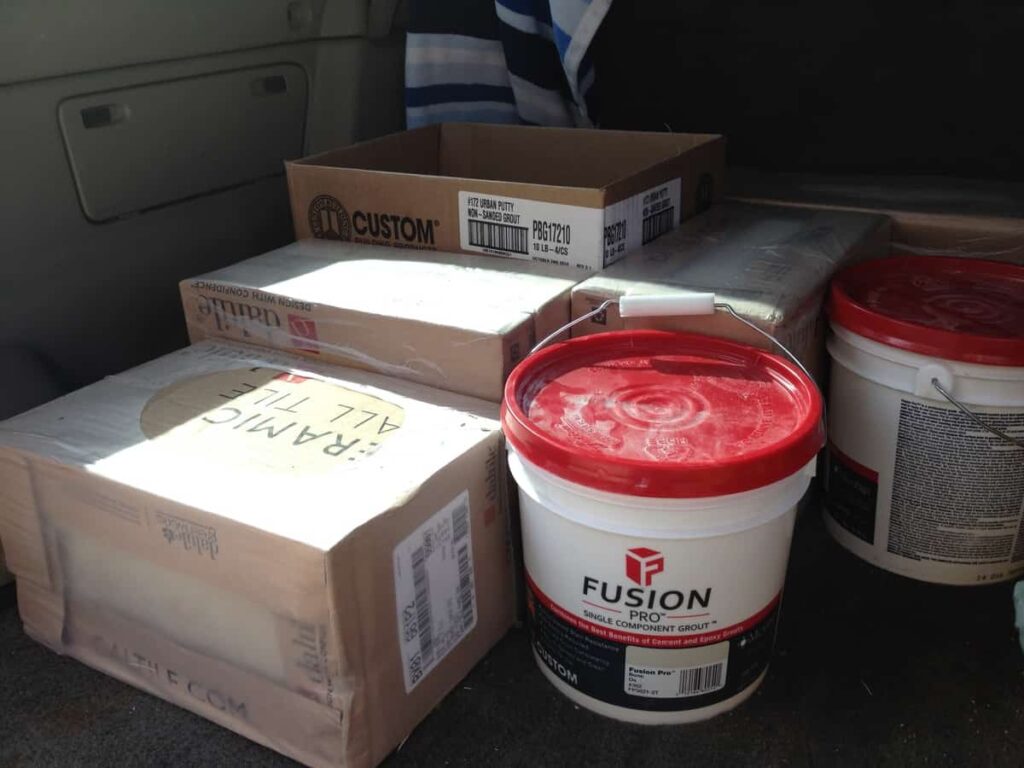
Again, my local home improvement store had a much easier solution than traditional grout. It is a premixed high quality grout from Fusion Pro. Just open the bucket and apply to the cracks, sponging off any excess.
This picture is of the back of my backsplash, looking through the plexiglass.

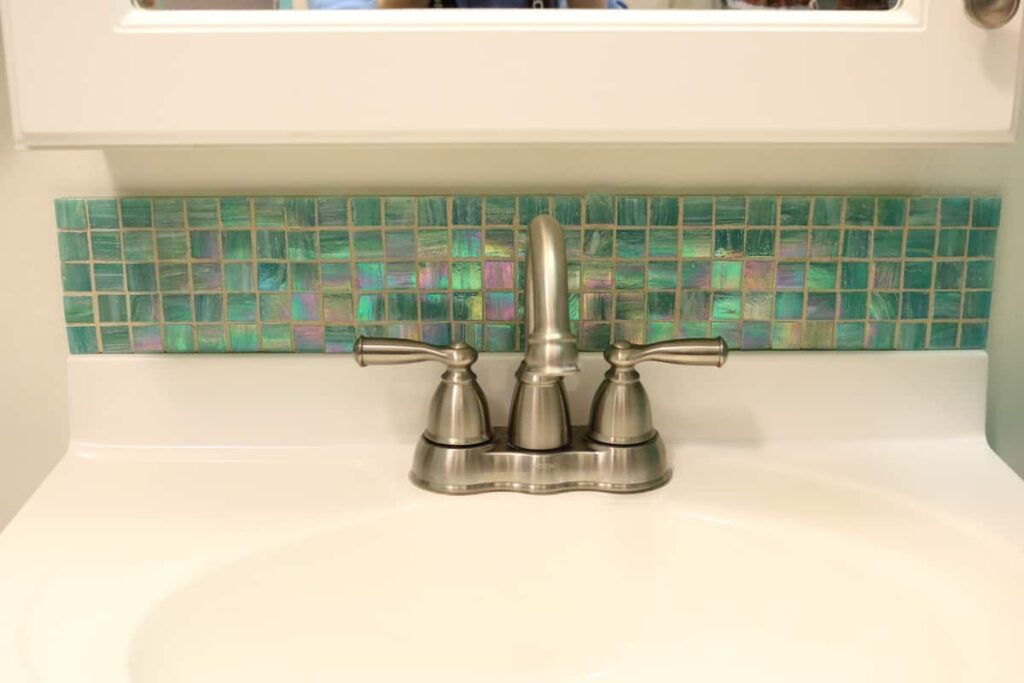
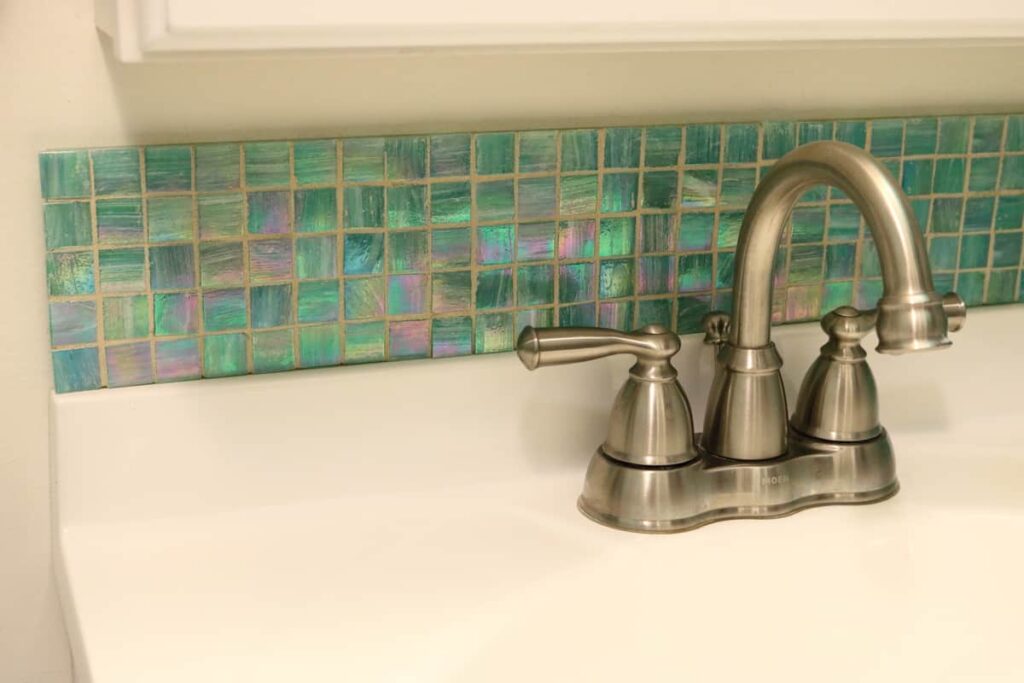
Here is the front.

I applied the plexiglass to the wall using…. Command Strips! I used the velcro/ picture kind. I invented my removable backsplash before I knew about sticker tiles. (I installed this several years ago.) But even if I had wanted to use tile stickers (like I used in my kitchen), I’m pretty sure that I would not find tile stickers in this exact color to match my shower!
AFTER!!
Keep in Touch!
Whatever your favorite social media is, I hope you will stay in touch. Find them all HERE.
What about you? Would you ever want to put a removable backsplash somewhere? This would be a great idea to use in an apartment or other rental property.
AFTER!!


What a creative idea! I think I’m going to give this a shot. So many vanity tops don’t come with built in backsplashes anymore!
Oh I would love to see yours if you do it!
Wow, this really does dress up your vanity with a nice dose of texture and color! Love it!
http://www.paperandvine.com
Thank you, Hillary!
I will let you know if I do this. I am really excited about it. I’m featuring your post at Thursday Favorite Things tomorrow. Congrats!
Thank you so much for the feature!!
Wow! What a brilliant idea! I love the color and the iridescent quality. This is so perfect (especially for a small space), as retiling can be such a pain. Thanks so much for sharing at Sweet Inspiration!
Thank you, Amy!
It definitely ads a bit of color to the room and doesn’t seem that difficult. Good job.
Thank you, Mandy!
You’ve really added value and beauty to your bathroom with this project. It’s beautiful!
Thank you, Christine!
Wow, that is wonderful! And the plexiglass idea with the Command Strips is genius! I love it so much. I’ve been wanting to do a backsplash in our bathroom, but didn’t want the mess, plus I’ve never done it before. This seems so much simpler! Thanks for sharing at Thursday Favorite Things!
You’re welcome! I wish I had thought to do a video of it at the time! I’d love to know if you are able to duplicate my method…
It turned out really beautiful, Liberty! Thanks for sharing. Blessings to you!
Thank you, Boma!
Great idea! I need to do some bathroom remodeling and since I love DIY I need to check this out.
Thank you, Alice!
Your backsplash is beautiful! I love those colors.
Thank you, Janine!