Beginner Iron on Tshirt design for the Cricut Maker
In this post I am going to share how I made a beginner Iron on Tshirt design using my Cricut Maker.
If you are a beginner like me, creating an iron on design using your Cricut Maker might be a little intimidating.
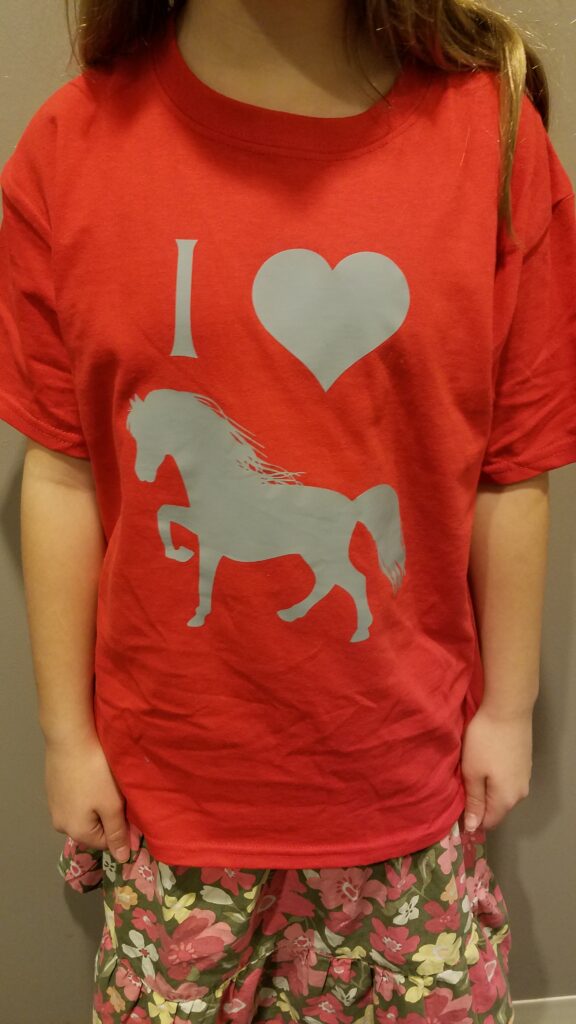
My daughter loves horses so for Valentine’s Day one year I decided to make a tshirt for her with my Cricut Maker that said “I Heart Horses.” It is a simple design, perfect for a beginner like me!
Before
I just needed 2 images– one of a heart, one of a horse, and the capital letter I. You could make this design for anything you like– just substitute the horse for another animal you like, or even something like a cup of coffee!
More Cricut Projects
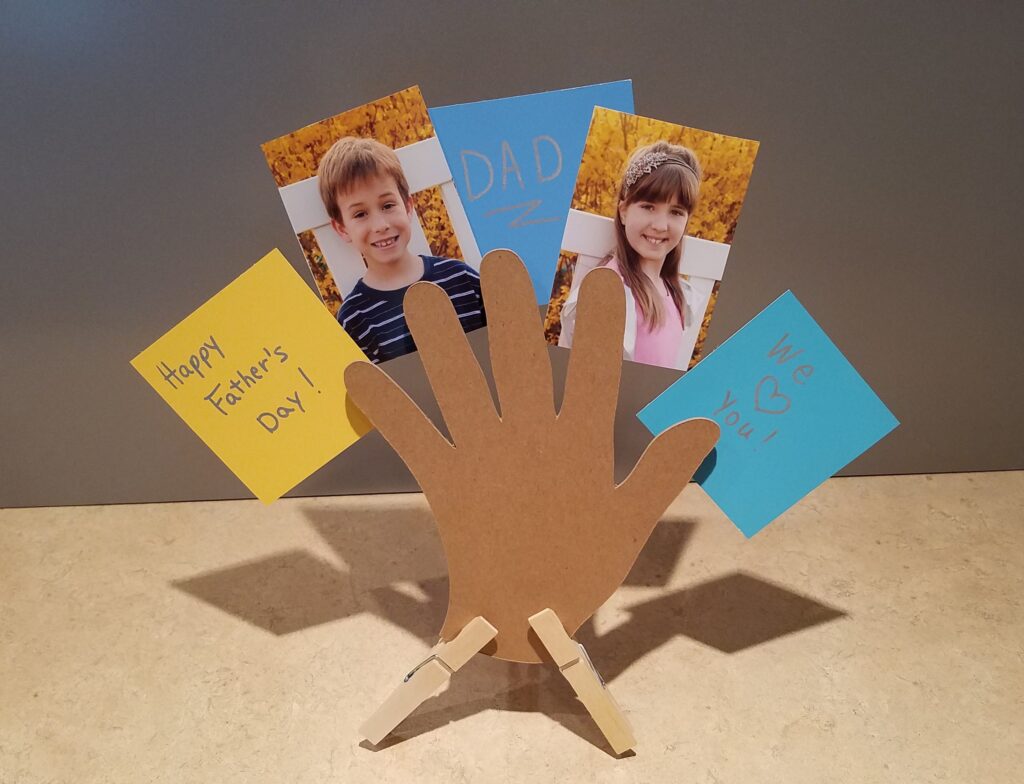
- Clothespin Hand
- Reverse Stencil
- Faux Bookshelf Decor
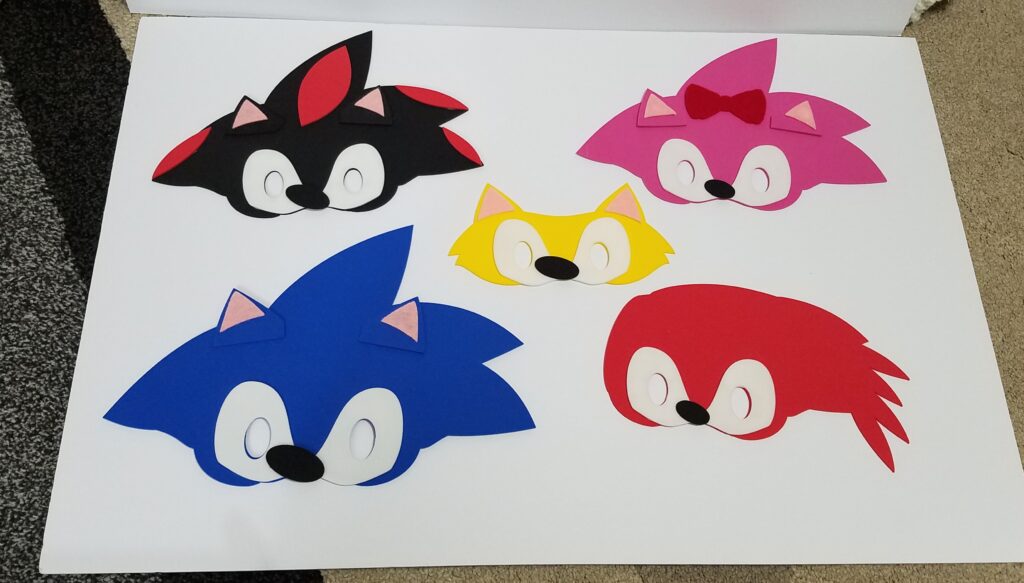
- Sonic Face Masks
- Easter Cross
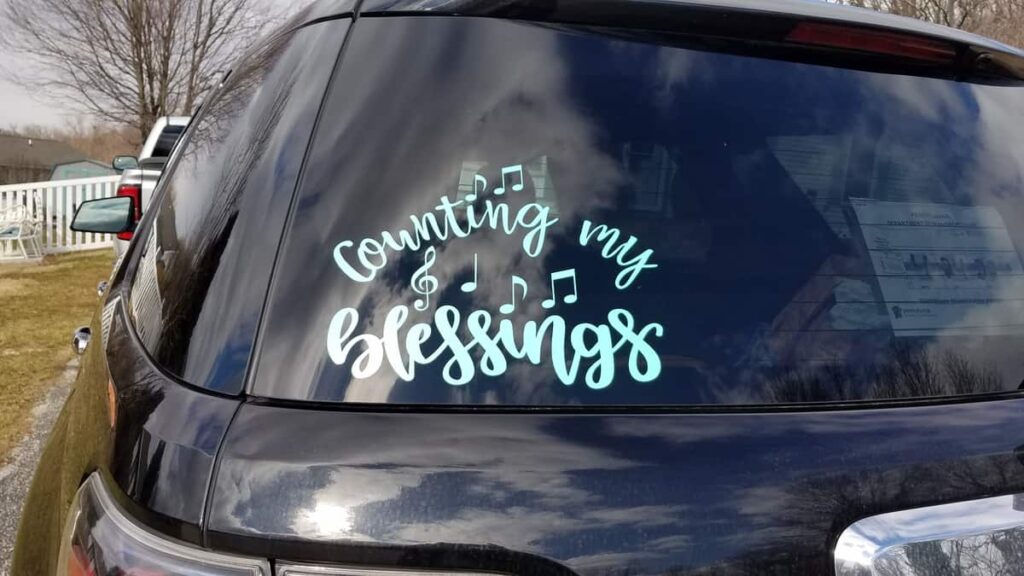
- Window Decal
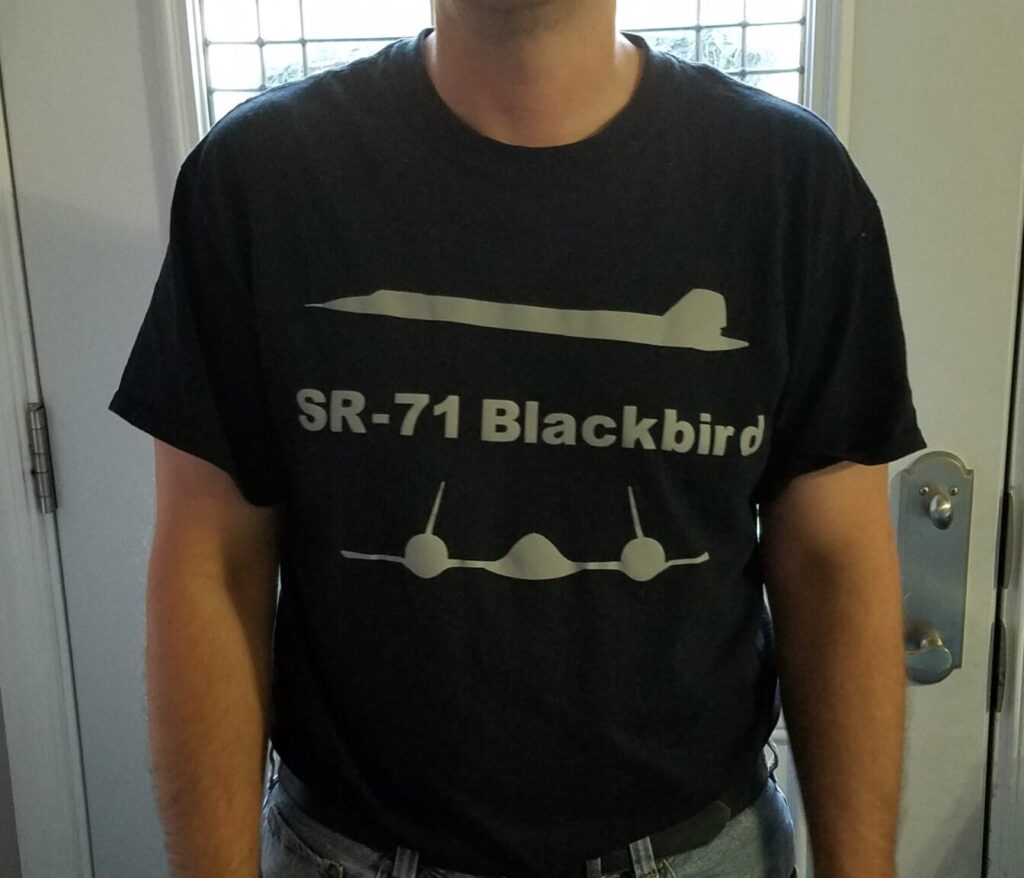
- Airplane Tshirt
- Horse Tshirt
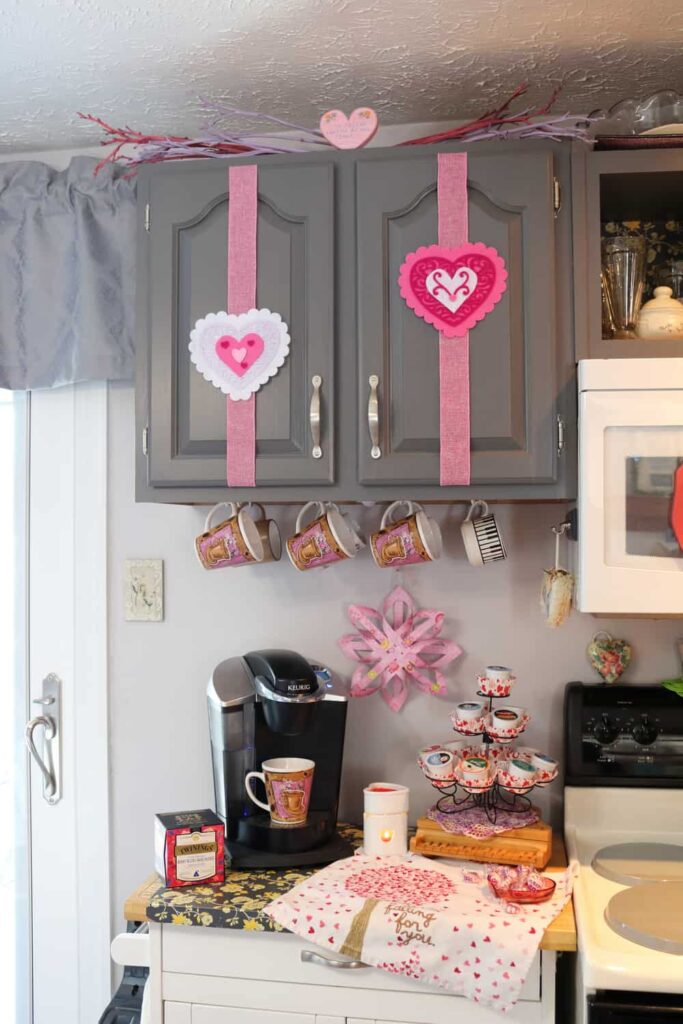
- Valentine Cupboard Decor
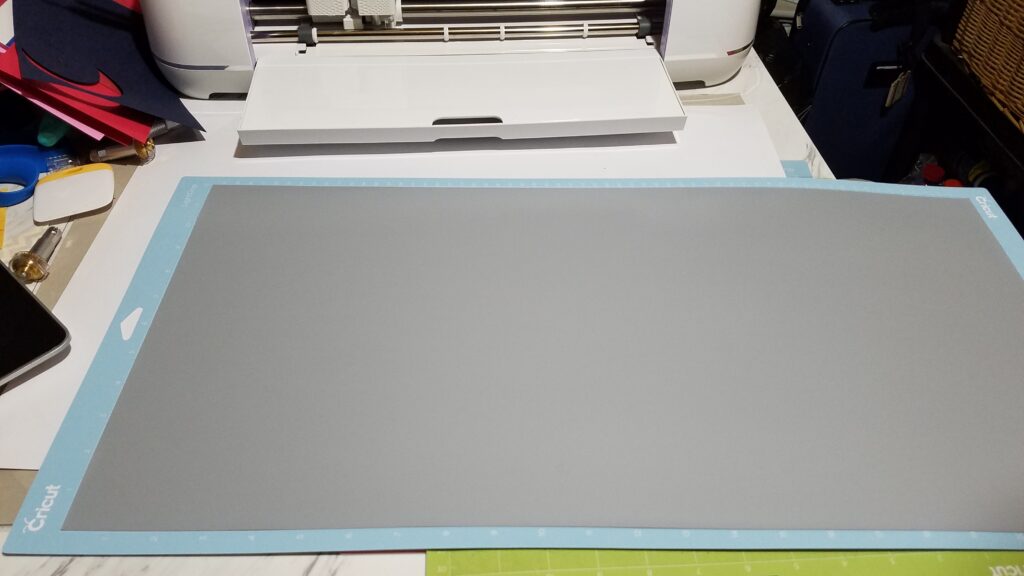
The main TWO THINGS to remember when you are making an iron on design is:
1: MIRROR your image when you go to cut it out and
2: Lay the material SHINY side DOWN on the cutting mat.
Below you can see the shiny side is up, and in position for ironing on. The machines needs to cut away the excess of the iron on part, leaving the shiny part. (Well, once it cuts it, you manually “weed” away the parts that it cut.) That is why the shiny part must go DOWN. And since you will be turning it over “upside down” to iron it onto the tshirt— that is why you MIRROR the image, so that it seems like it is cutting it out opposite of what you want.
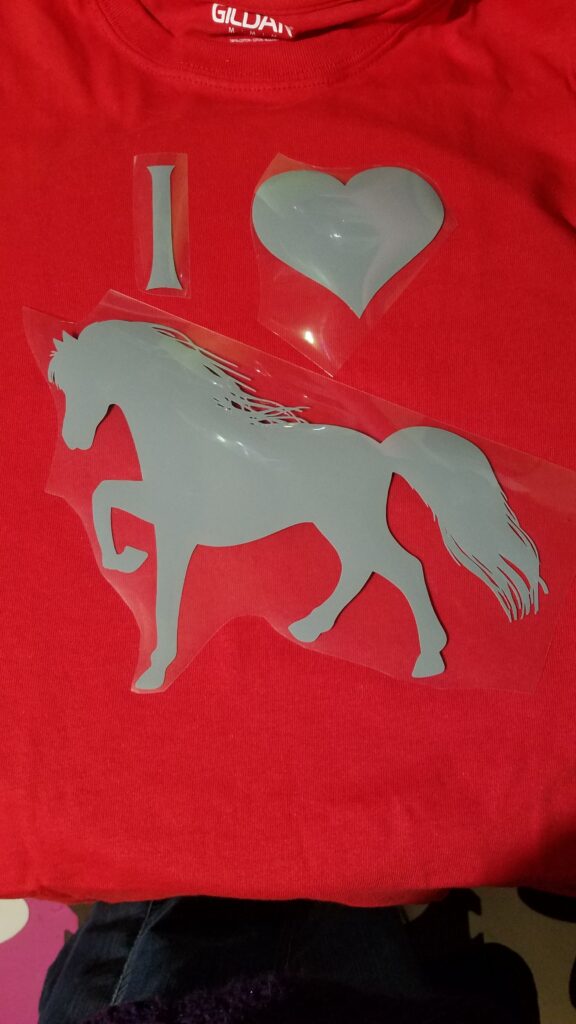
I used the Cricut silicone mat (very similar to a baking mat) to put between my iron and the shiny plastic. You can also use a towel or parchment paper.
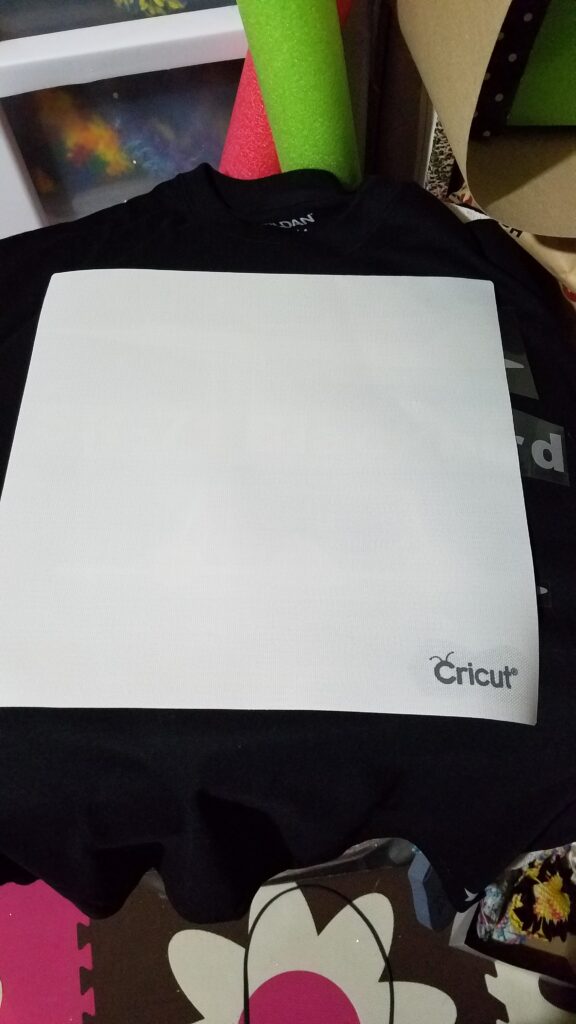
I ironed it extra long to be sure the iron on would not come off.
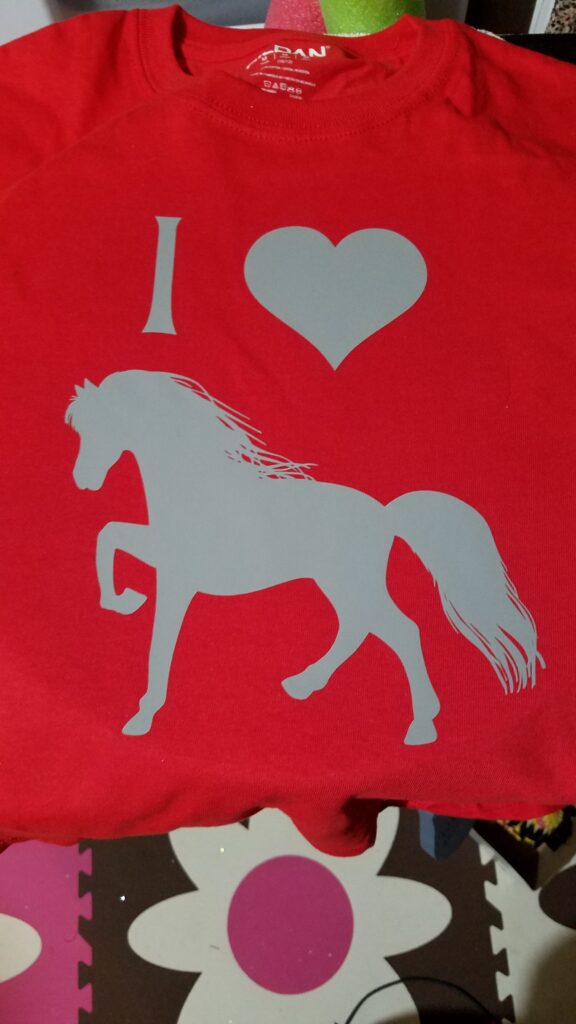
My daughter loves her shirt and I am glad that I was able to give her something for Valentine’s day besides just candy.
AFTER!




I am so excited about this Liberty, I just got a cricuit and am very intimidated. Thank you for sharing!