
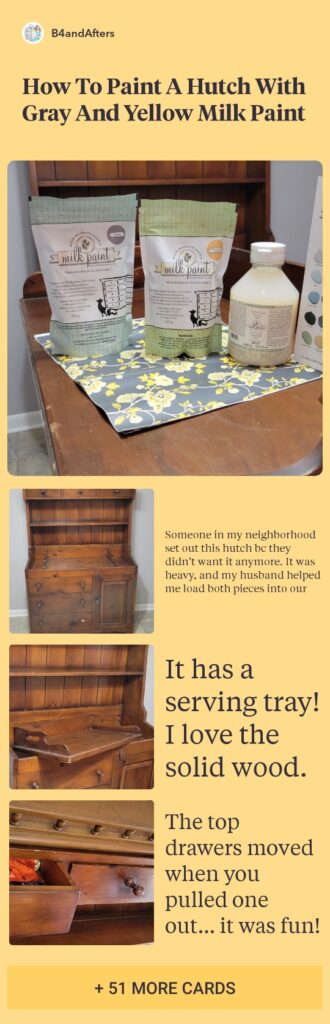
My Experience Painting a Vintage Hutch
Before I give you Allll the details on painting a vintage hutch, I must thank Jenn at Miss Mustard Seed Milk Paint for providing me with the paint and finish to complete this project. She has been helpful to answer my questions when I had them, and I really appreciate that!
This was my second time using MMSMP, and my first time using the Tough Coat finish. Sometimes it seems like paint such as this is for professional furniture flippers. But I am certainly not a professional, even though I would like to be. Read on to see all about my experience with this Milk Paint!
I’m joining my blogger friends in a DIY hop hosted by Celebrate and Decorate to share this project, and I hope you will enjoy seeing their projects at the end of this post. Wasn’t the Tissue Paper Garland a neat idea?!
The first time I used milk paint from Miss Mustard Seed was when I painted this blue dresser in my son’s room. I enjoyed that project a lot, and was excited to try some more colors! I did run in to some hiccups along the way, though….
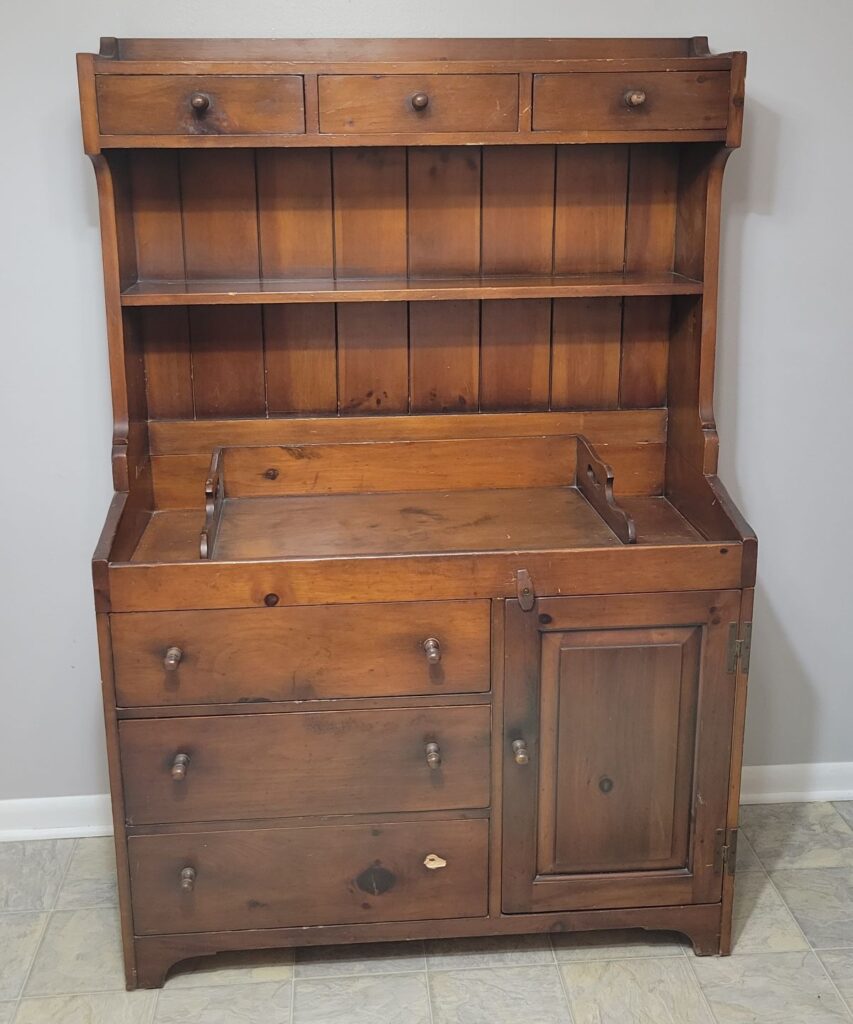
I was soooo excited when I found this hutch in my development, out on the curb for FREE! I think I must live in the best neighborhood for giveaways like these! Since my small house is already crowded, I thought, well, I can just paint it and yardsale it. But now I know that when you paint a gorgeous vintage hutch, you are very likely to end up keeping it yourself!
[By the way, I’ve now Painted Another Hutch and I think you will like it, too!]
So, How Do you Paint a Vintage Hutch?
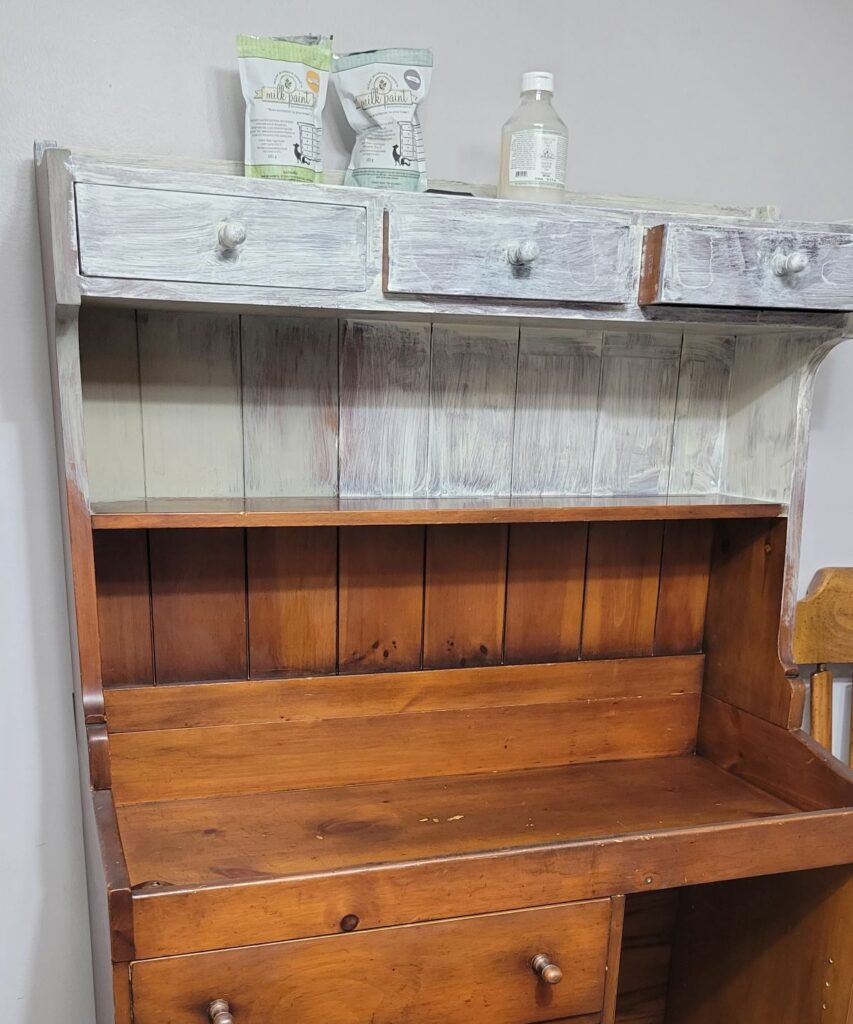
Short answer: With a LOT of patience. There were so many surfaces to paint! The shelves, underneath the shelves, the back, the countertop part, the matching tray…. I always forget these things in between projects. But then once I am committed to painting something, I must finish.
So be sure to stock up on lots of patience just before you begin to paint! And if you read through all the details below, and follow my tips, you will be sure to succeed.
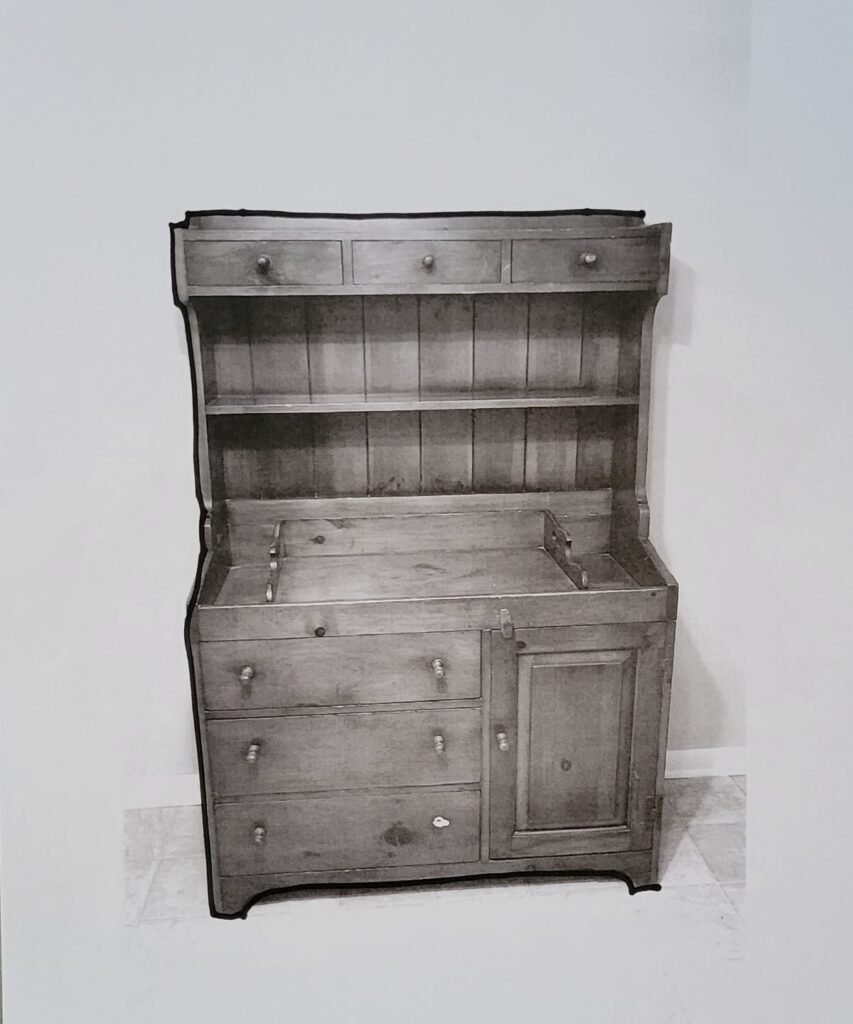
This hutch really looks like a dry sink to me. Do any of my readers know if dry sinks ever have an upper shelf section attached like this hutch has? I know precious little about such things….
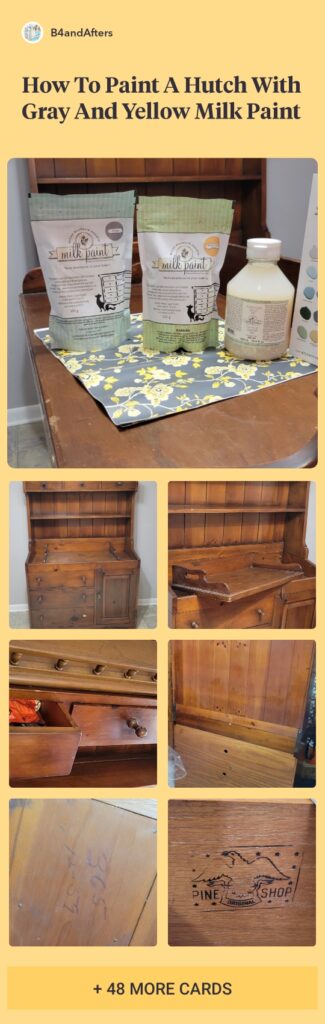
Painting a Vintage Hutch
Let me warn you: this is a verry long post! So if you would rather just watch the video, feel free! Then come back and read the rest of the details at the end of this post.
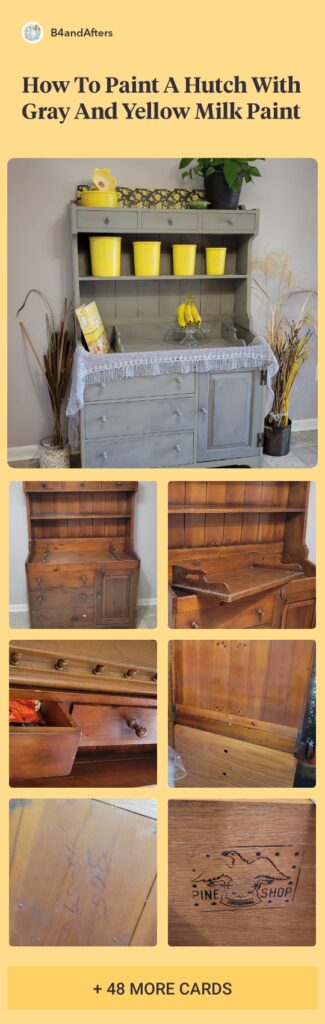
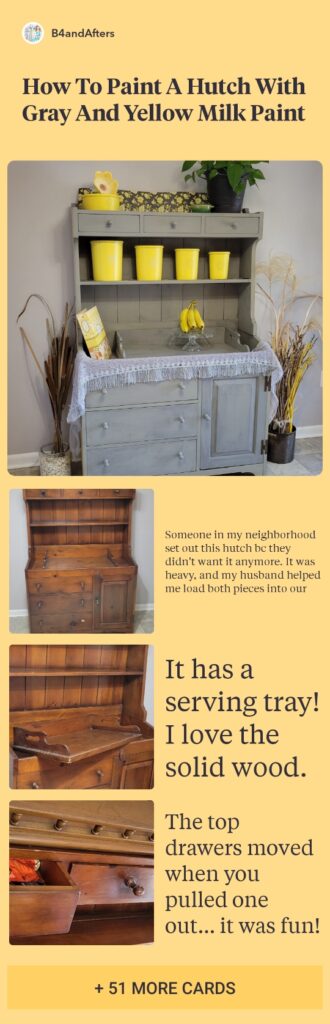
Someone in my neighborhood set out this hutch bc they didn’t want it anymore. It was heavy, and my husband helped me load both pieces into our truck.
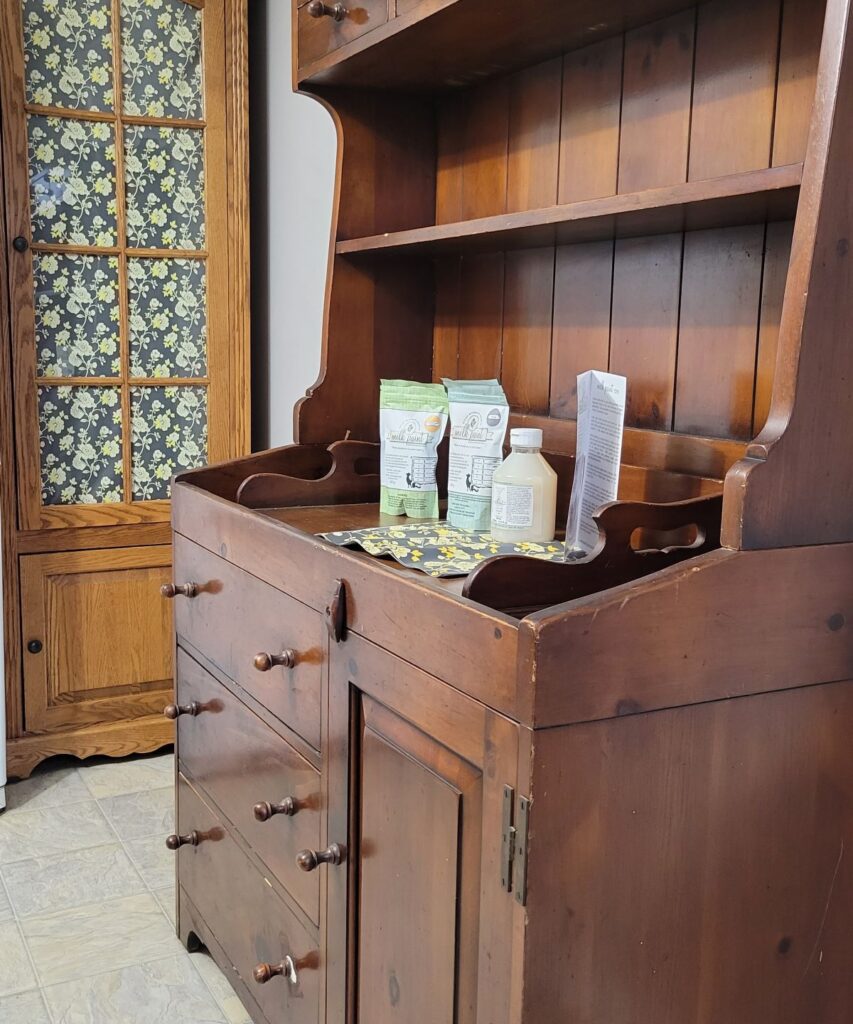
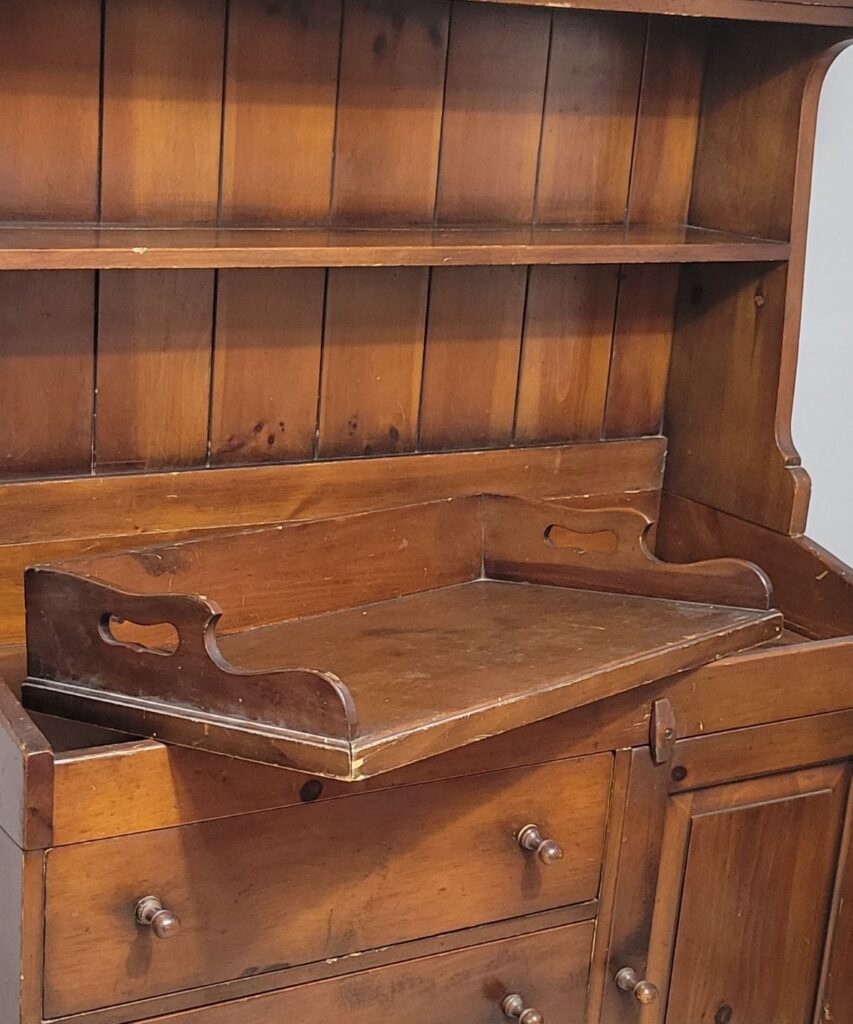
It has a serving tray! I love the solid wood.
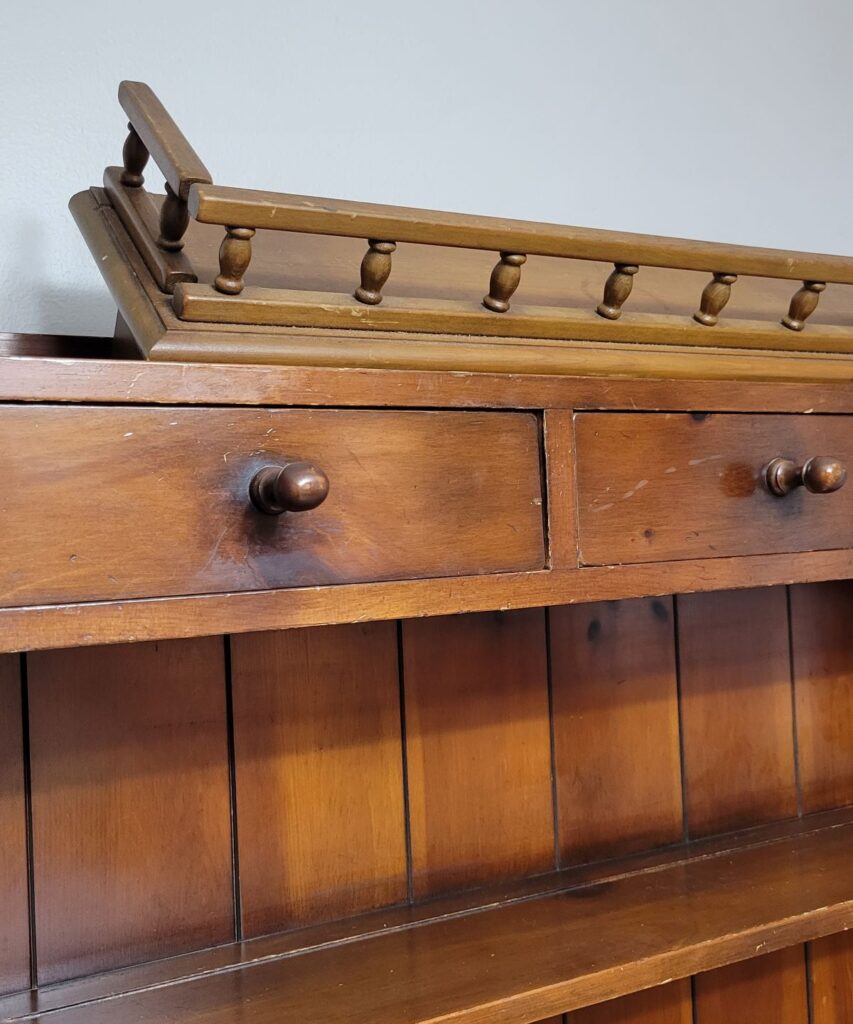
The top drawers moved when you pulled one out… it was fun!
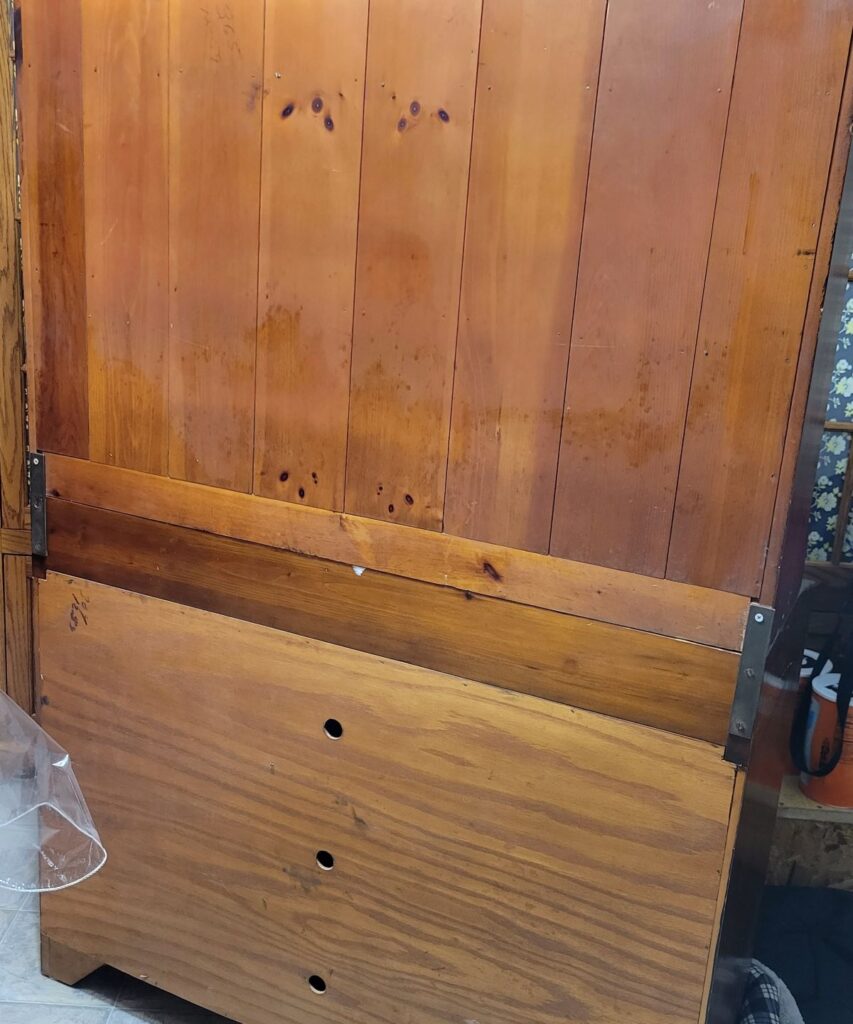
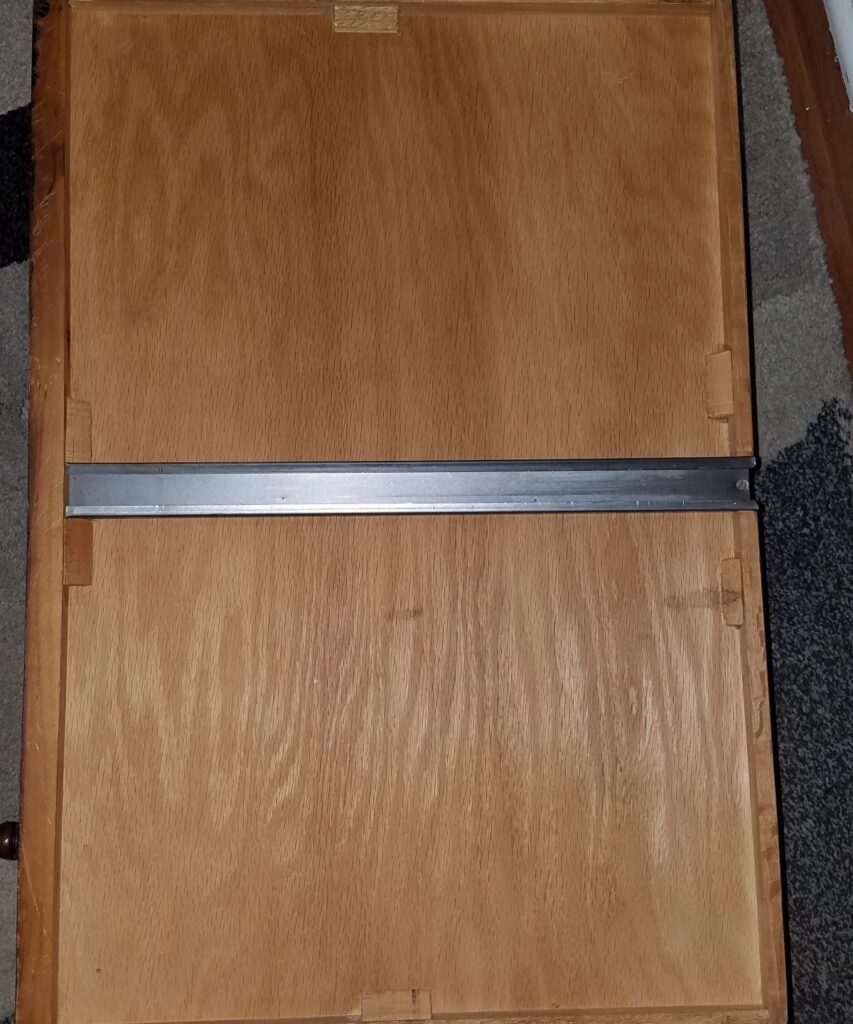
Here is the back. The top is made from separate boards. You can see where the knots match. 🙂
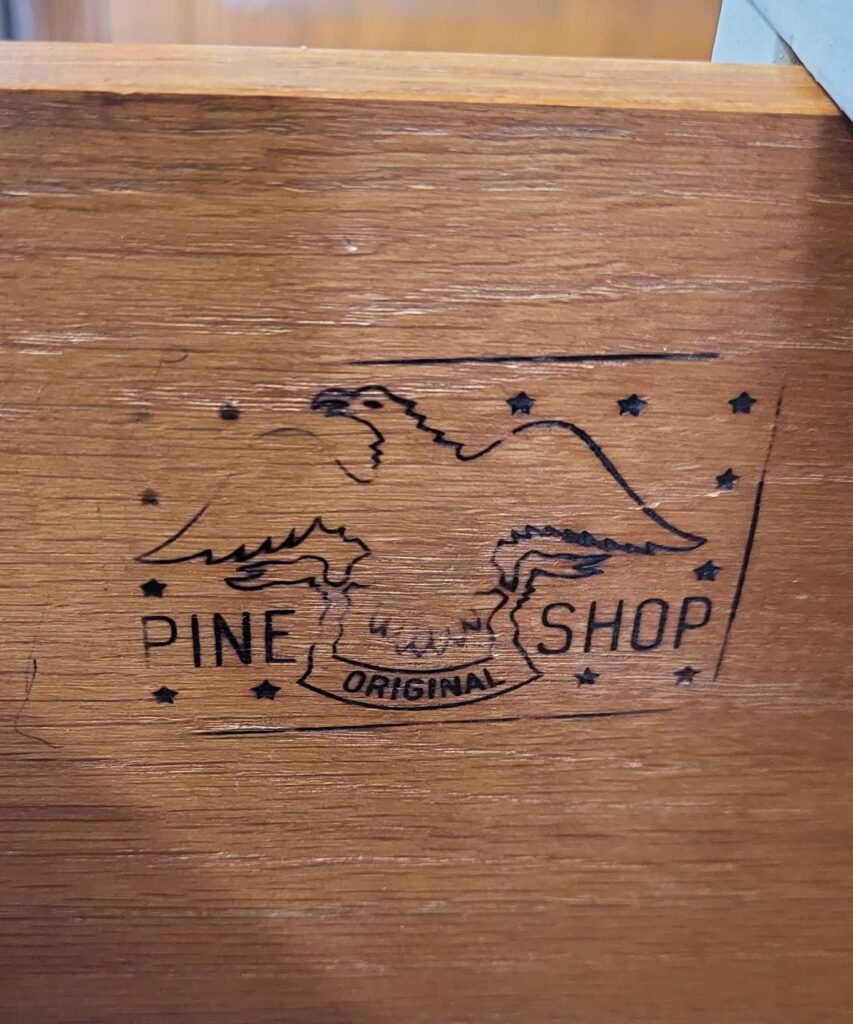
I don’t know if maybe this is the date it was made?
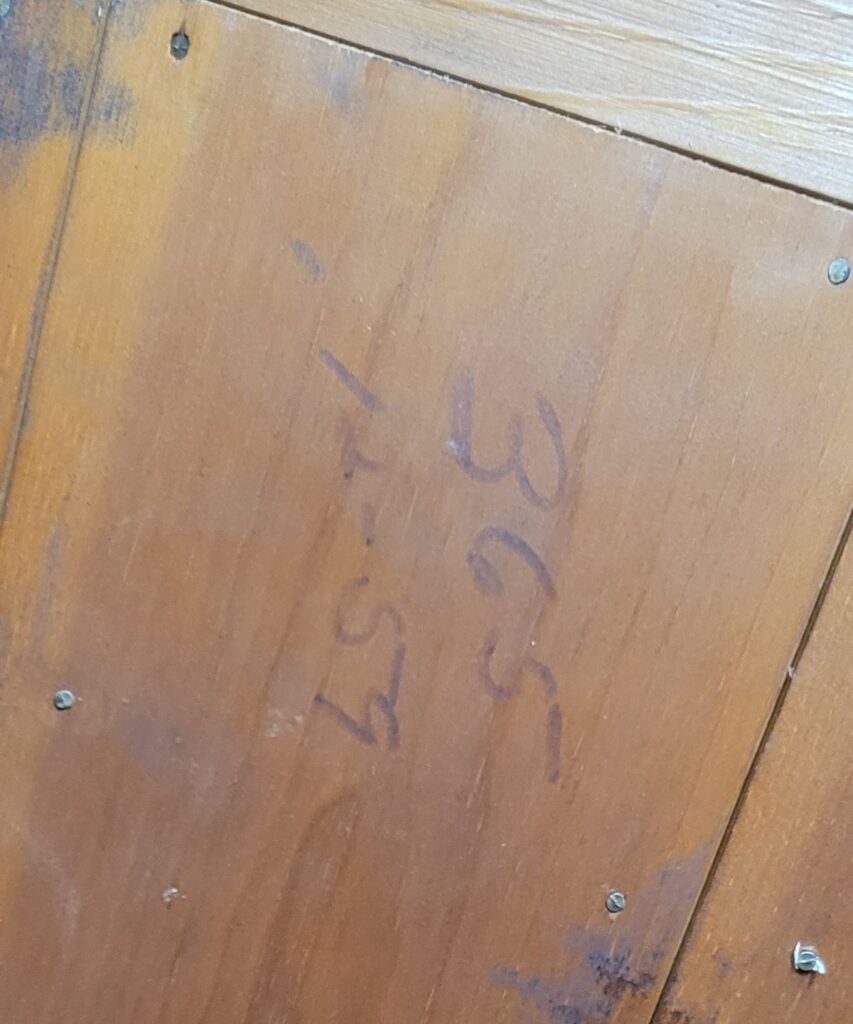
This mark is inside one of the drawers, and underneath the tray.
There were several problems. The 3 drawers on the bottom left were hard to open. Two were stuck so tight a screwdriver was necessary to pry them open.
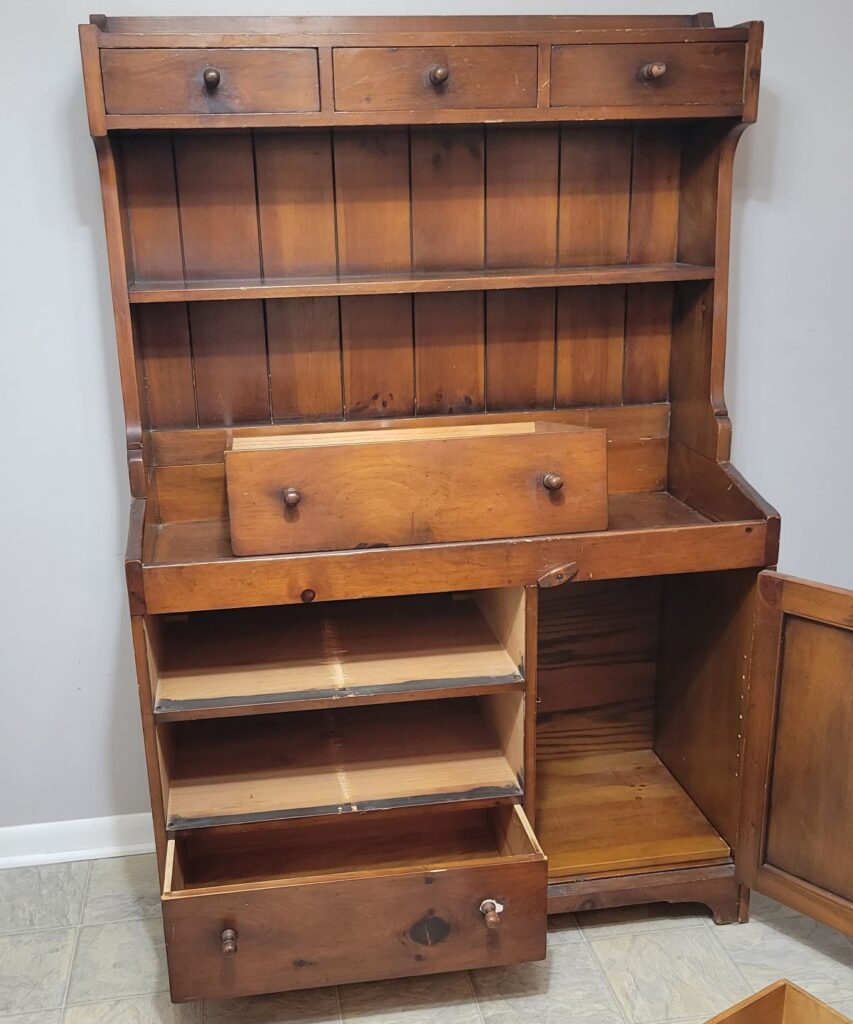
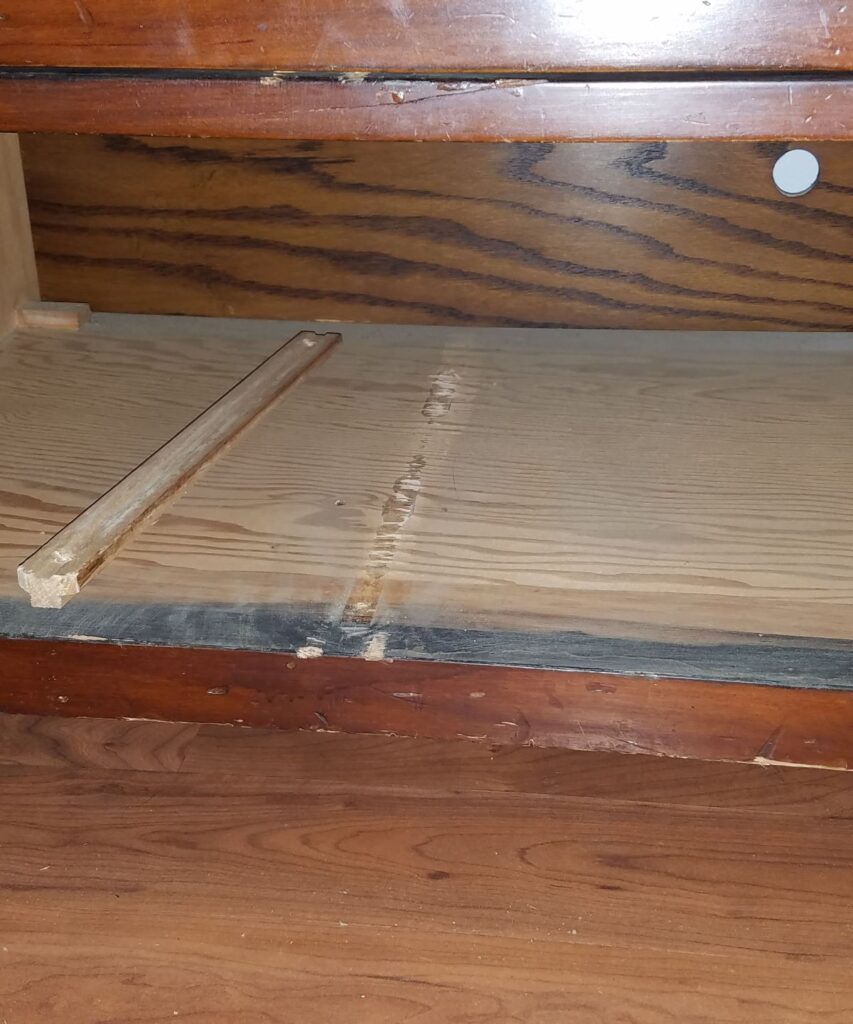
Thankfully, it was an easy fix. All I had to do was remove the middle runners on the drawers and the hutch!
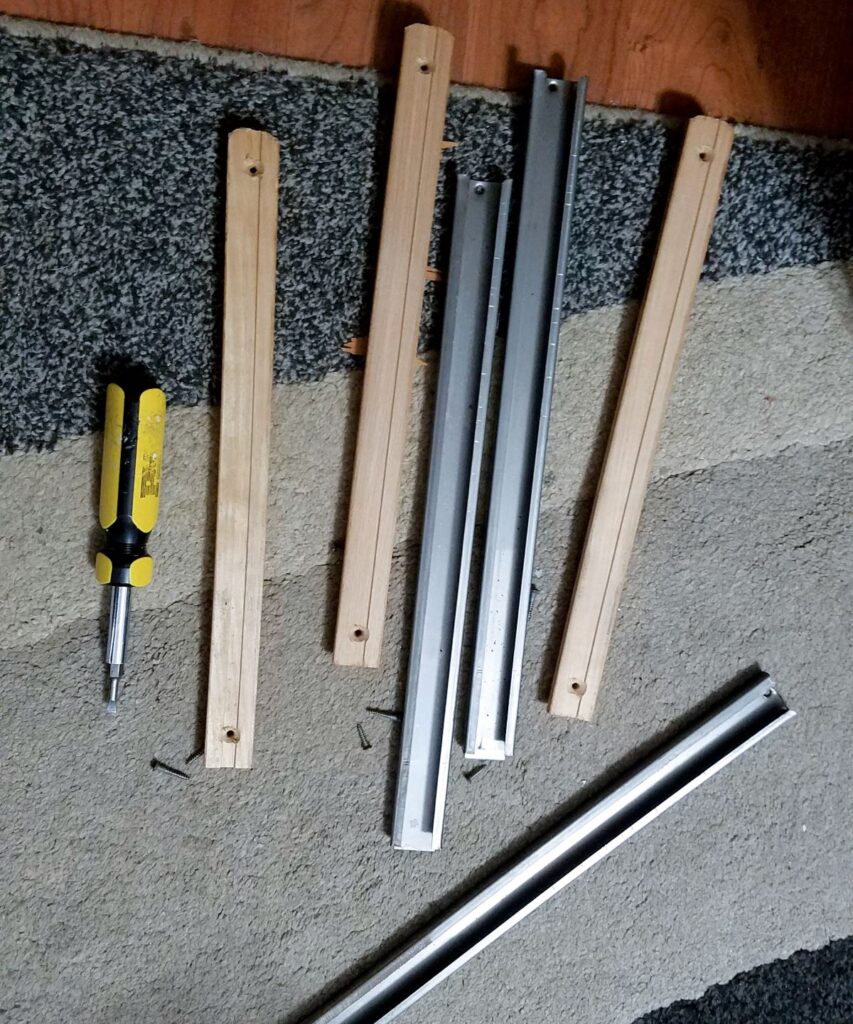
Why someone thought they were necessary I will never know. There is solid wood between each drawer space.
I am so thankful that it was such an easy fix!
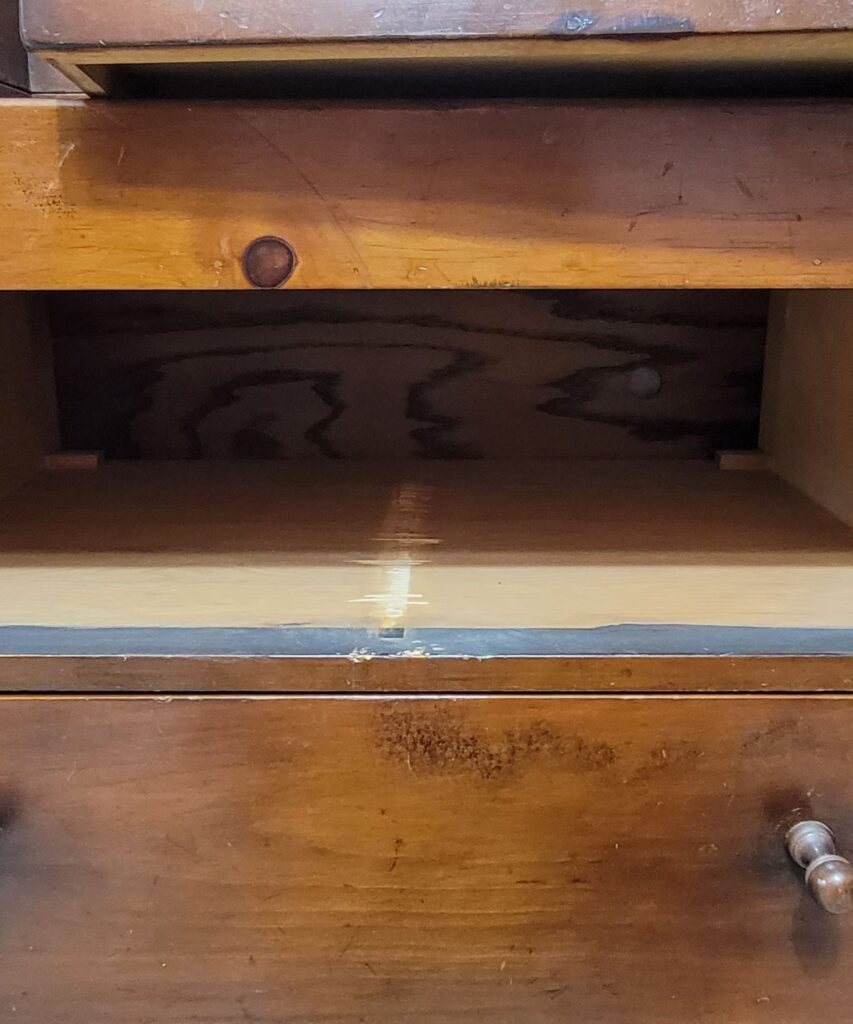
The drawers fit very well in their spaces, and painting will cover up the screwdriver marks.
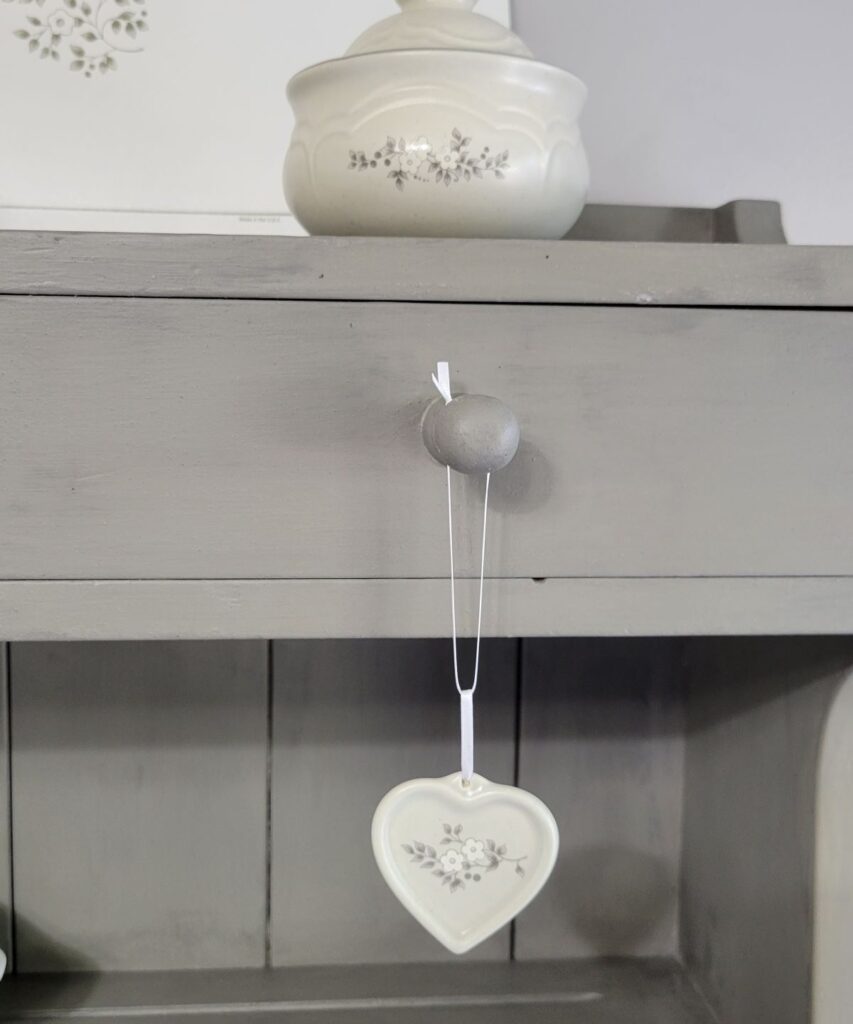
Three knobs were torn loose, probably from trying to open the drawers. I glued them back with wood glue.
I really enjoyed using the hutch as a backdrop for my Cookies and Food Photography! I realized it could look even better if it was painted.
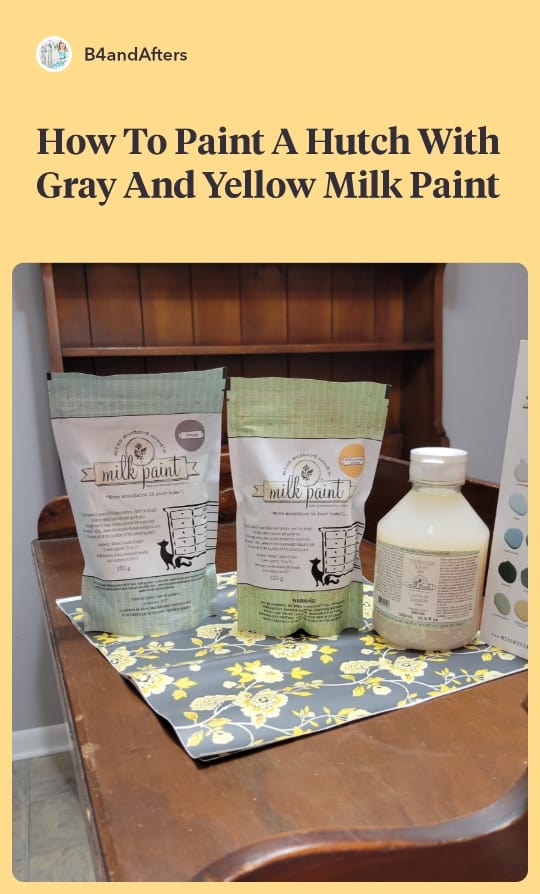
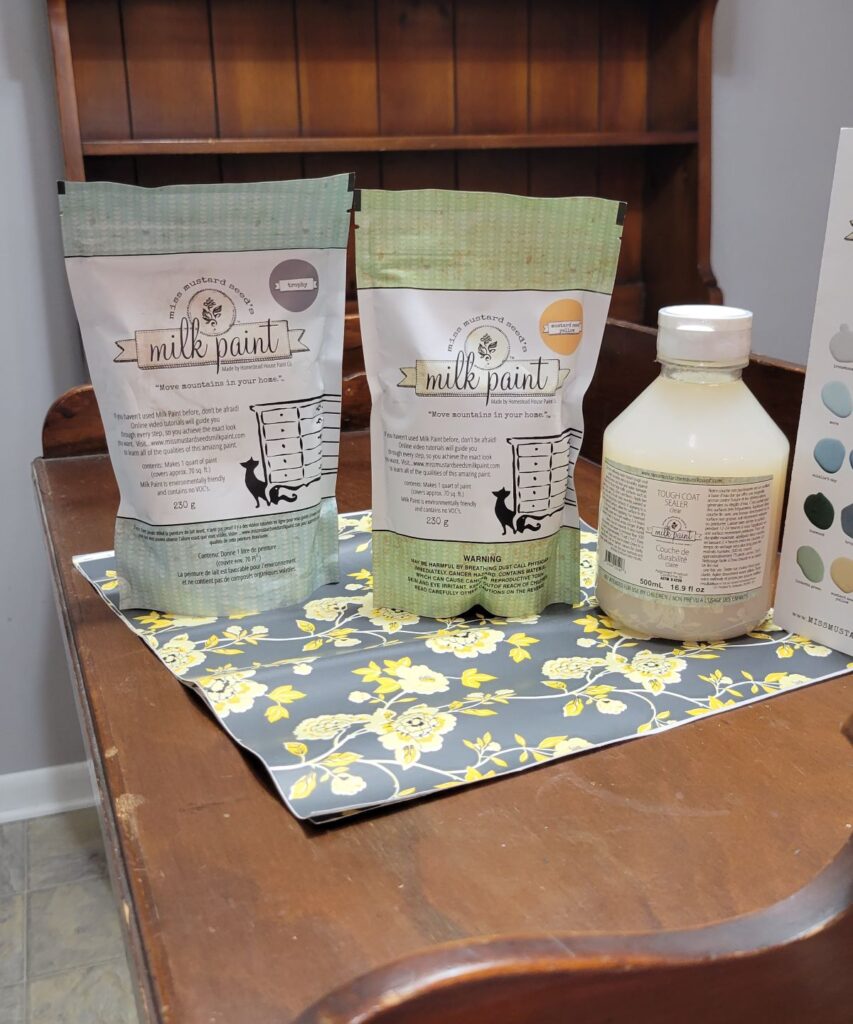
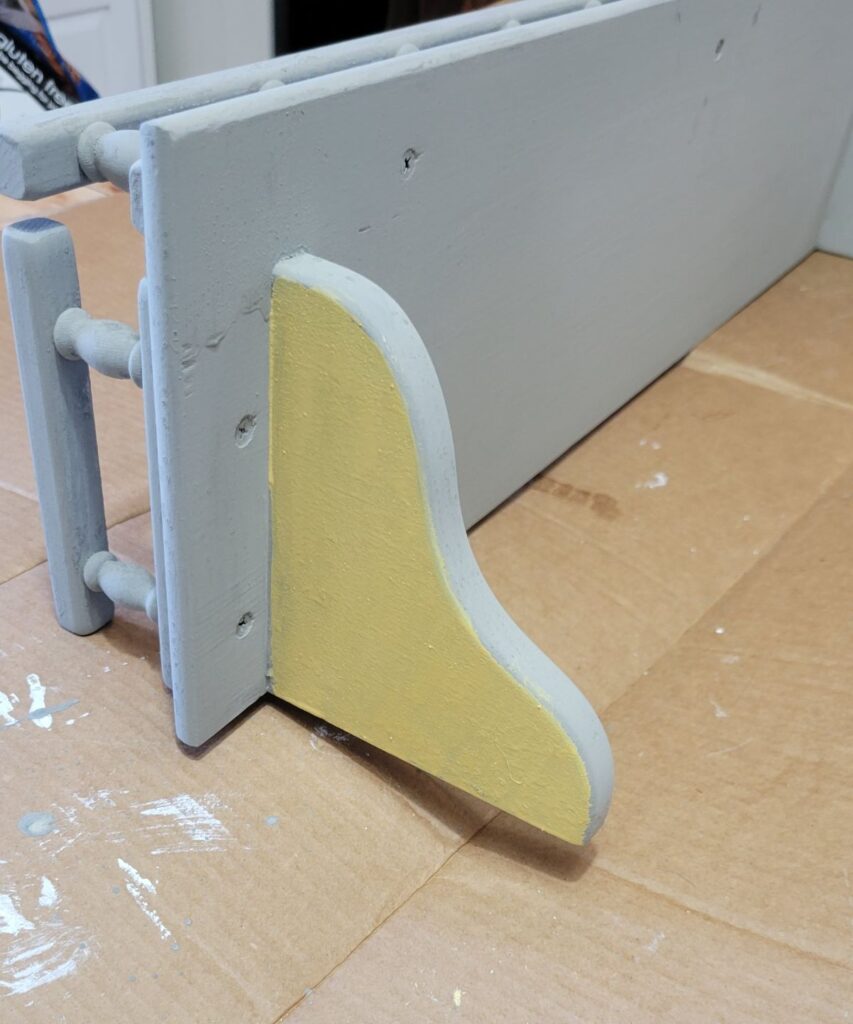
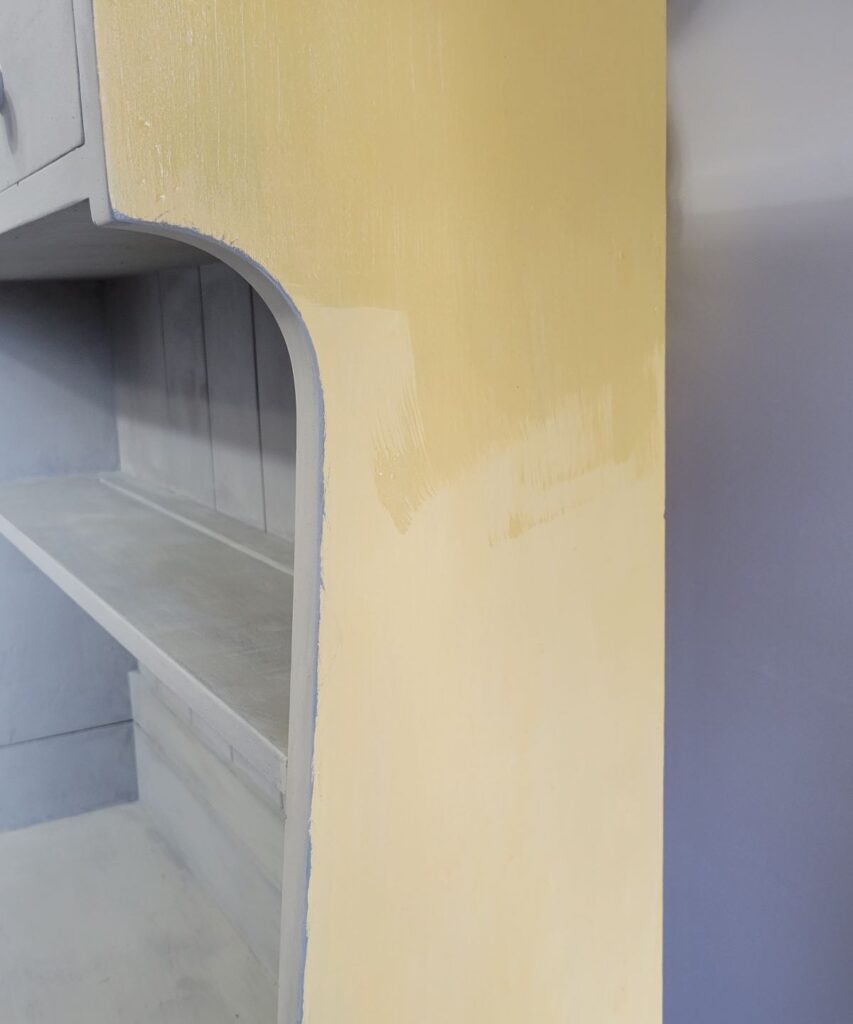
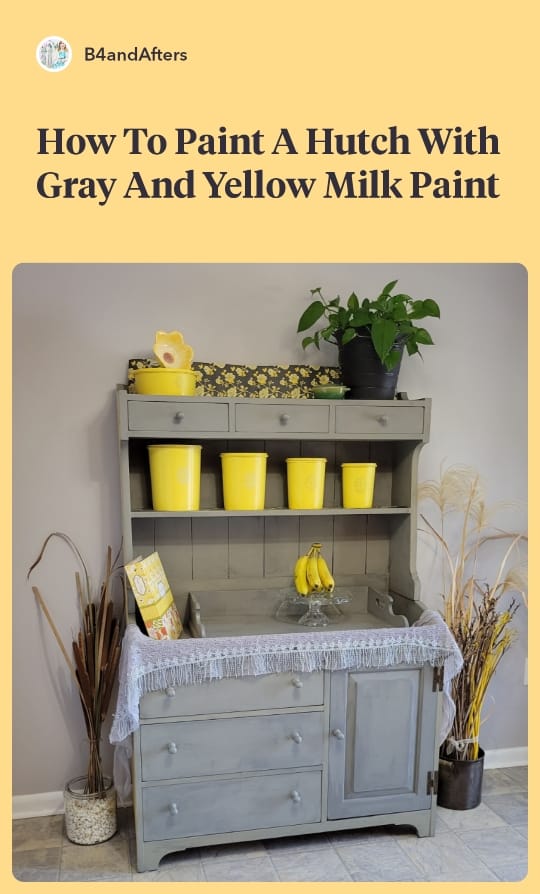
My plan for this hutch originally included a dull white called Linen. But it was unavailable, so I chose gray (Trophy) and yellow (Mustard).
The gray and yellow coordinates with some Floral contact paper that I have used in other areas of my kitchen. It also goes well with my flooring.
As I was planning how to incorporate the colors together, I printed a black and white copy of a photo, and outlined it in black marker.
Then I lightened it, thinking I would color the picture. I never did color it, but it did help me think through my plan.
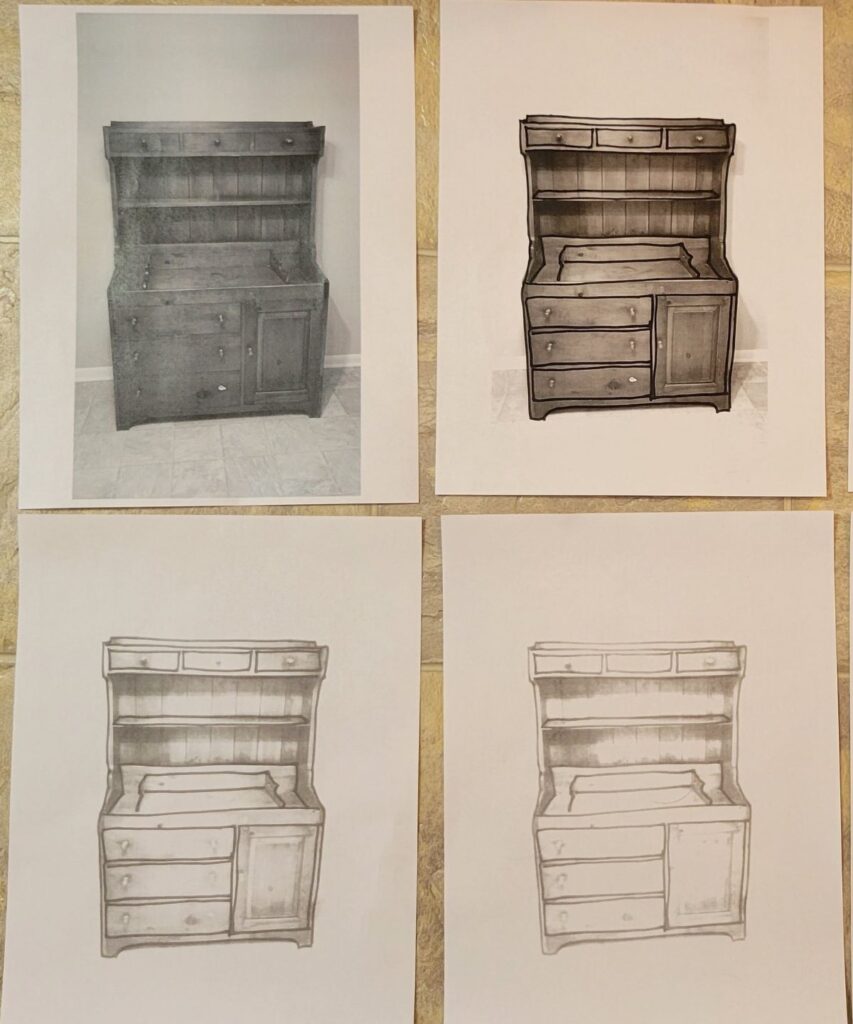
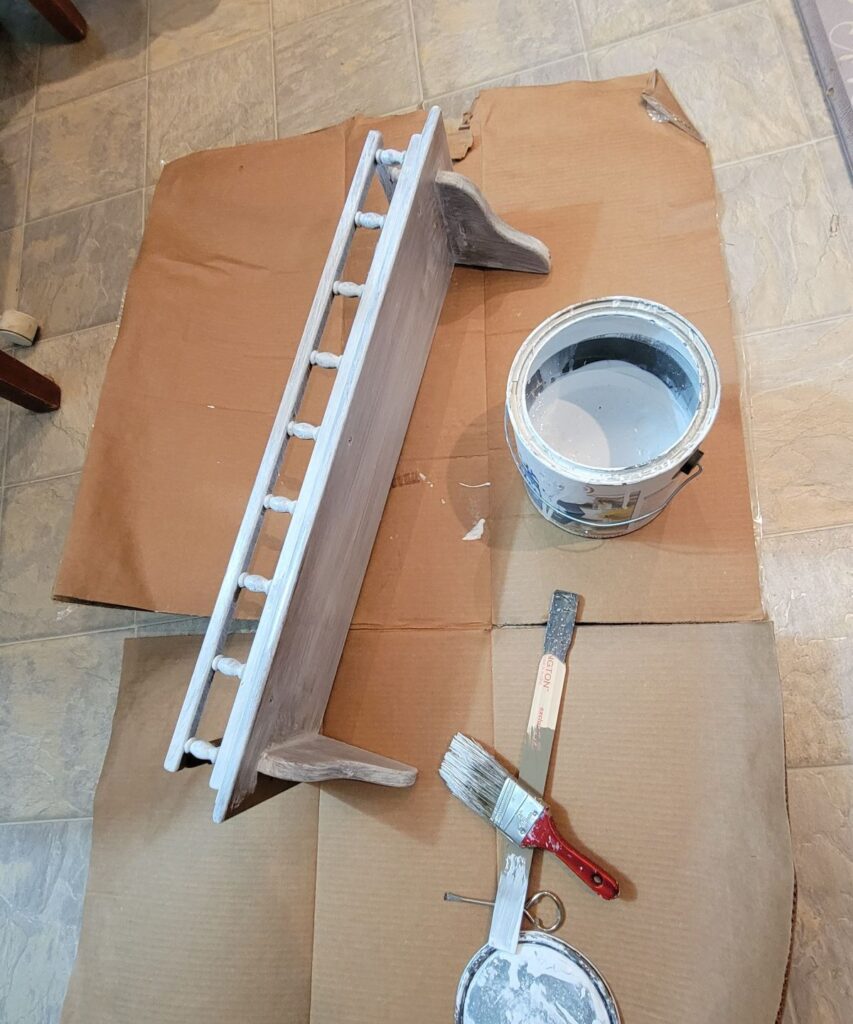
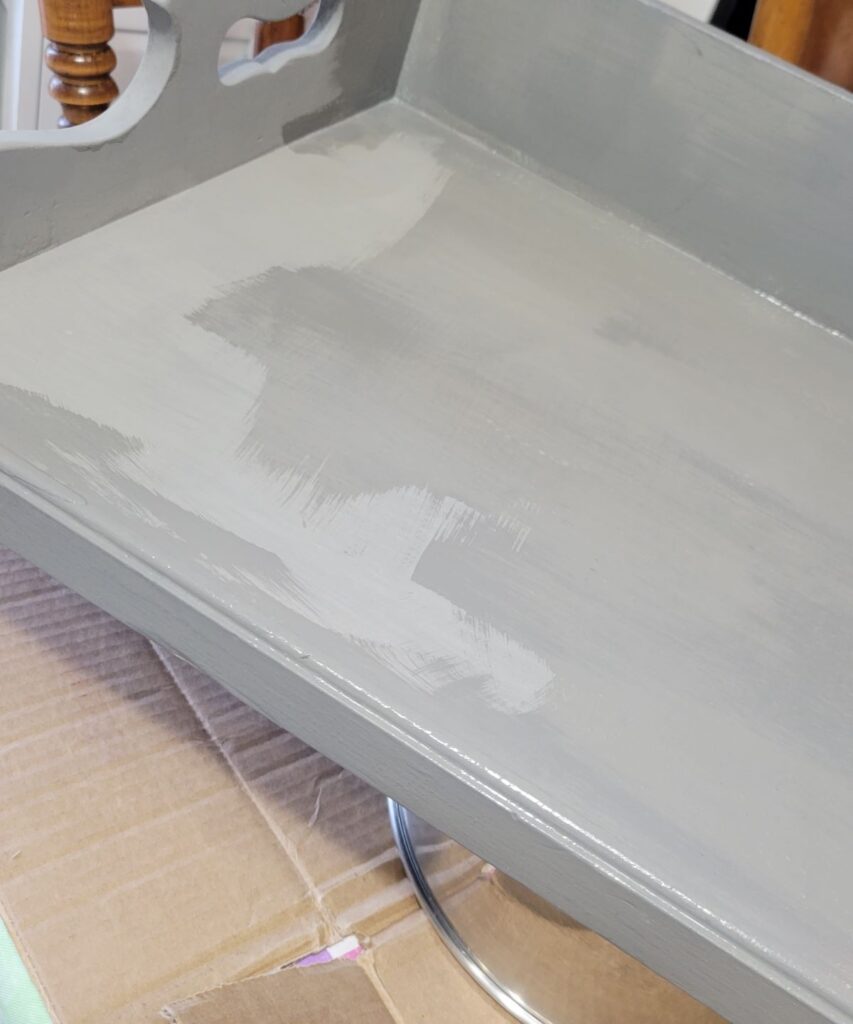
First, I am going to practice on this shelf that was given to me.
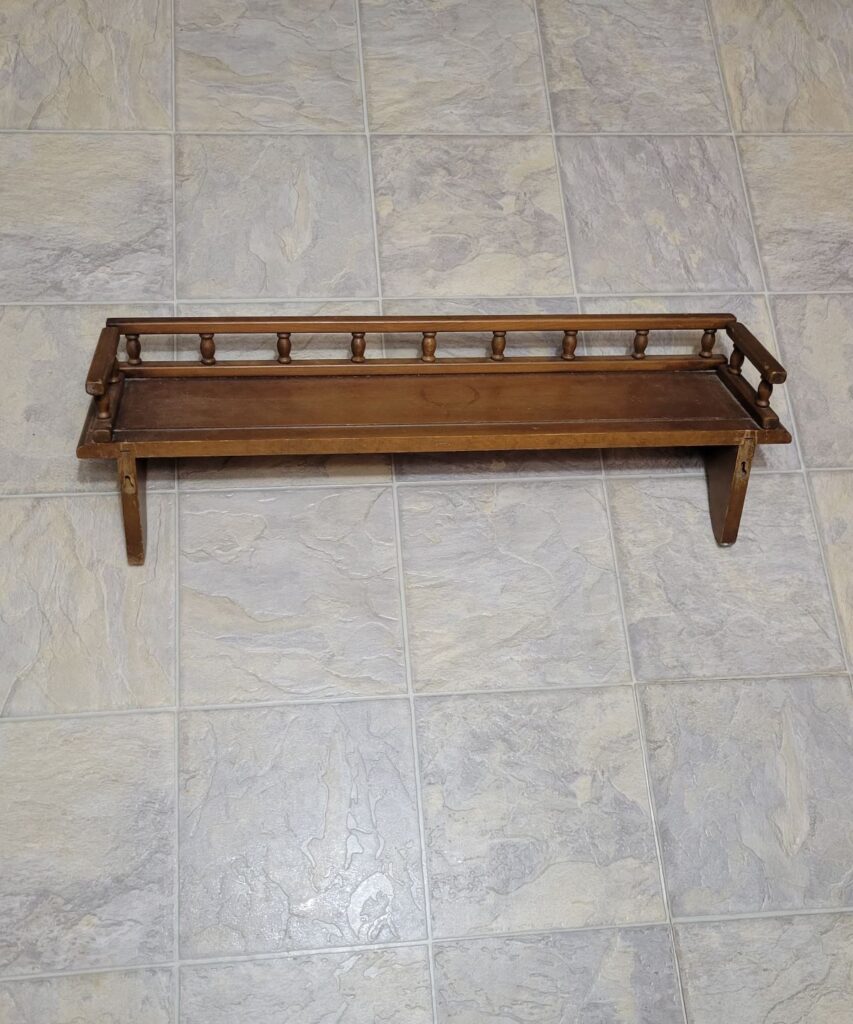
The browns are close enough for me to picture the end result on the hutch.
I decided to prime the shelf with Zinsser primer first. I’m not sure if that was a good idea or a bad idea….
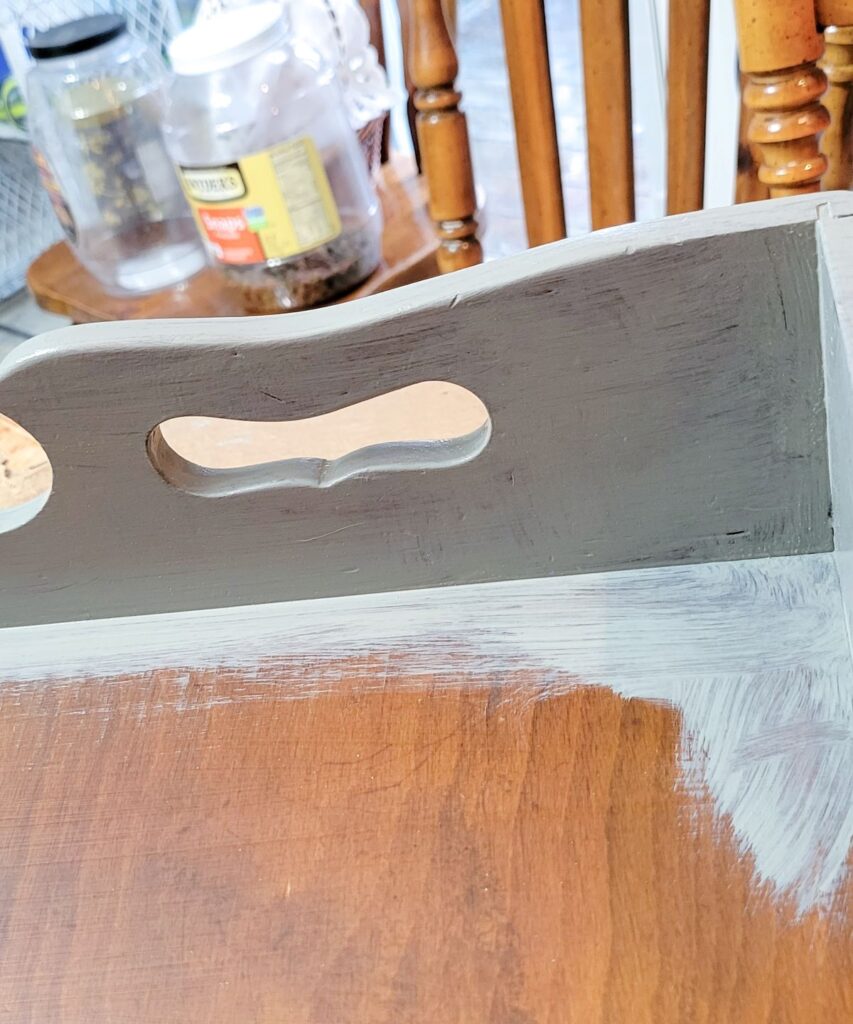
The Trophy gray seems to have a greenish hue.
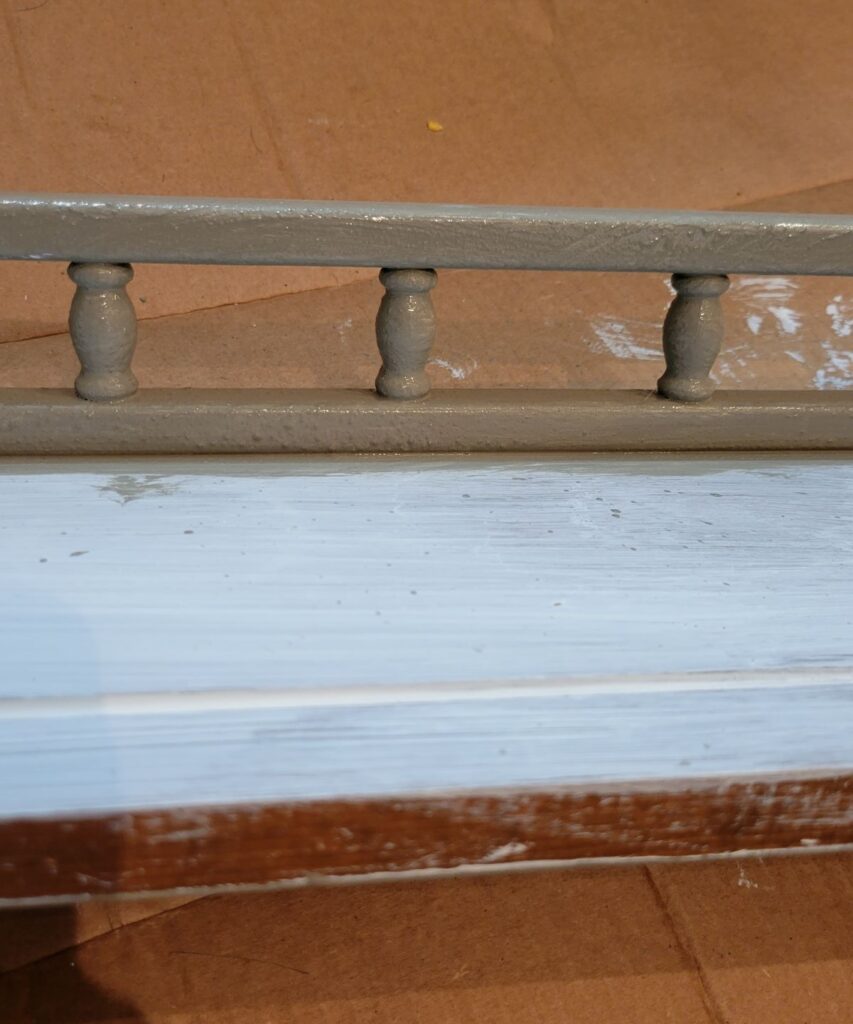
It also has a brownish hue in this light.
It dried fairly light colored, but blotchy. I’m not sure why the color is so uneven. I do know how to paint, & I was stirring the paint as I painted. (Later I found out that they had trouble with some of their paint batches– ugh!)
The yellow was fun to use. I followed the directions for mixing each color.

The colors look lighter until you apply the topcoat finish of your choice.
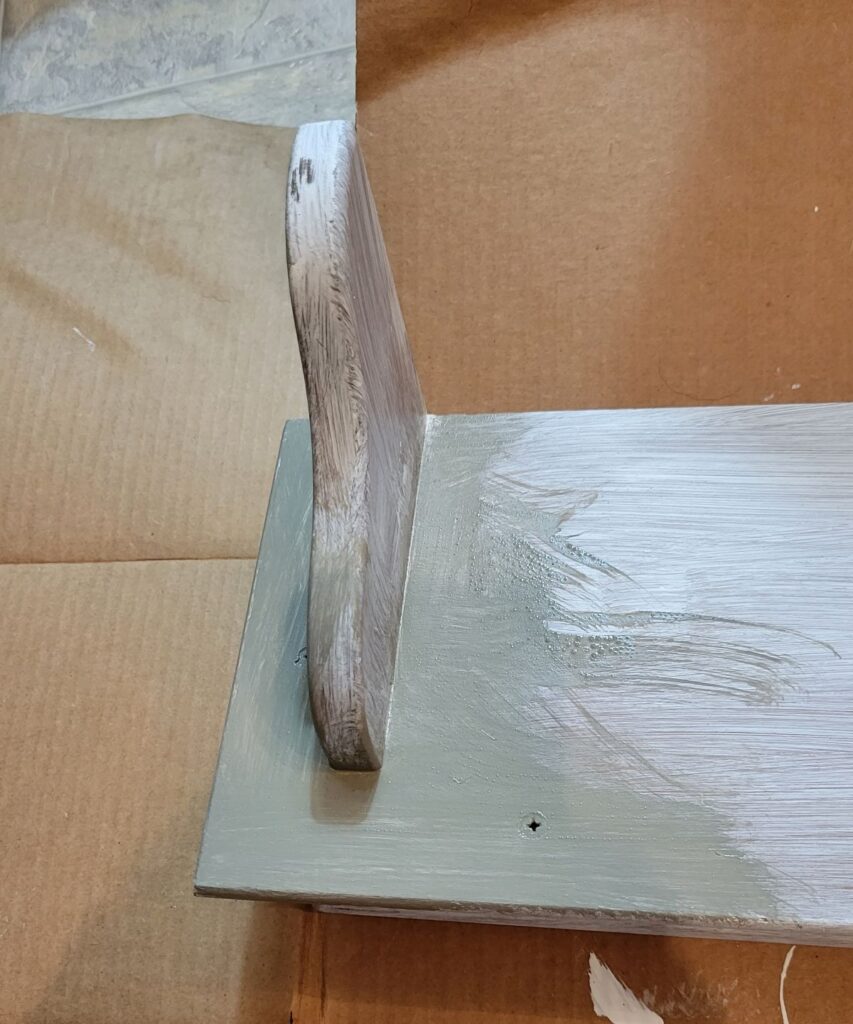
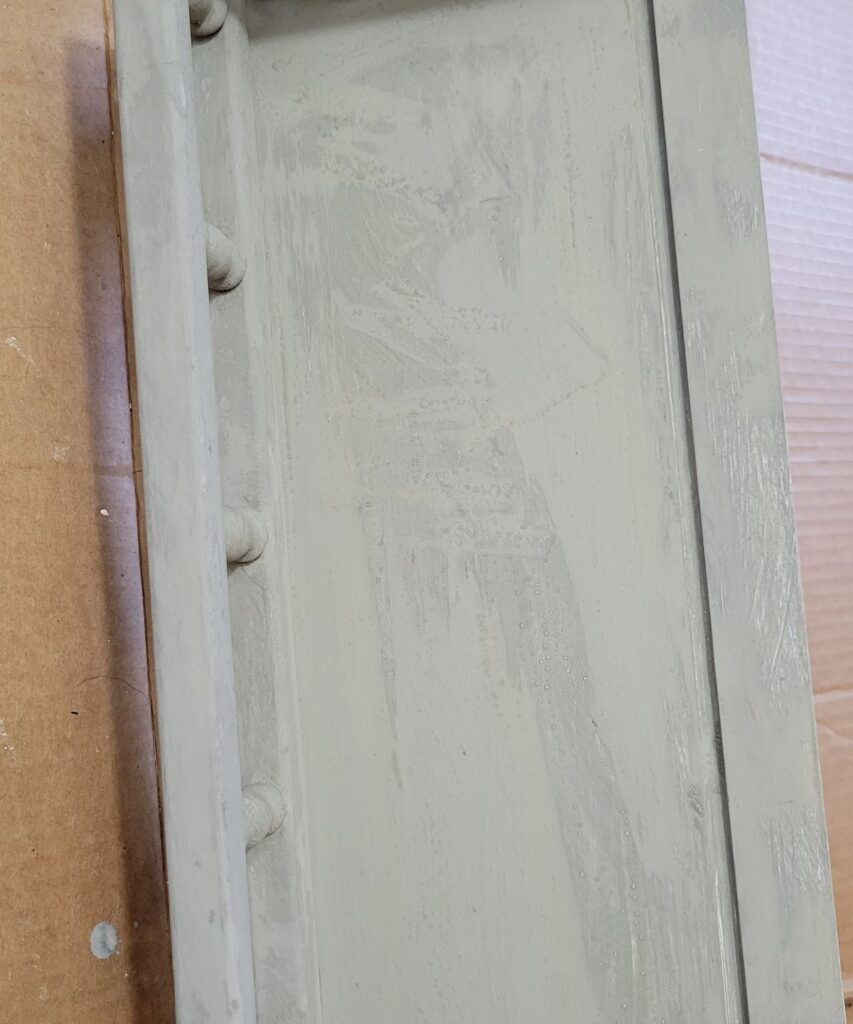
The test piece is looking good!
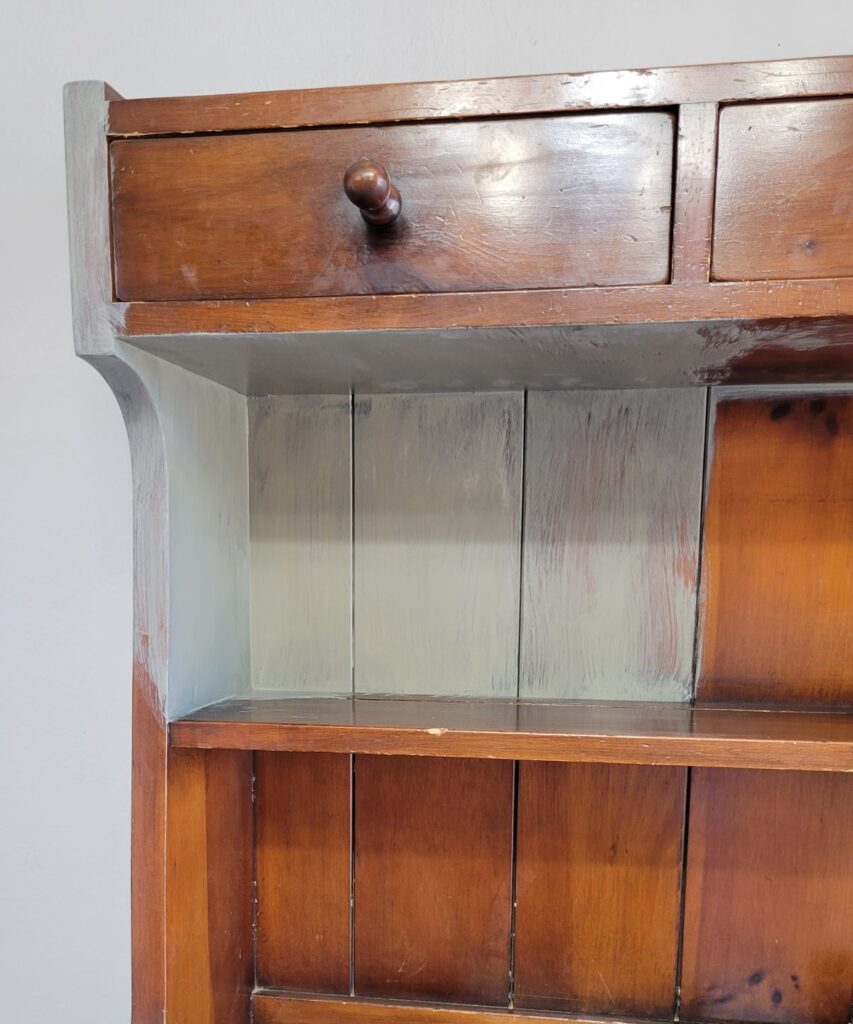
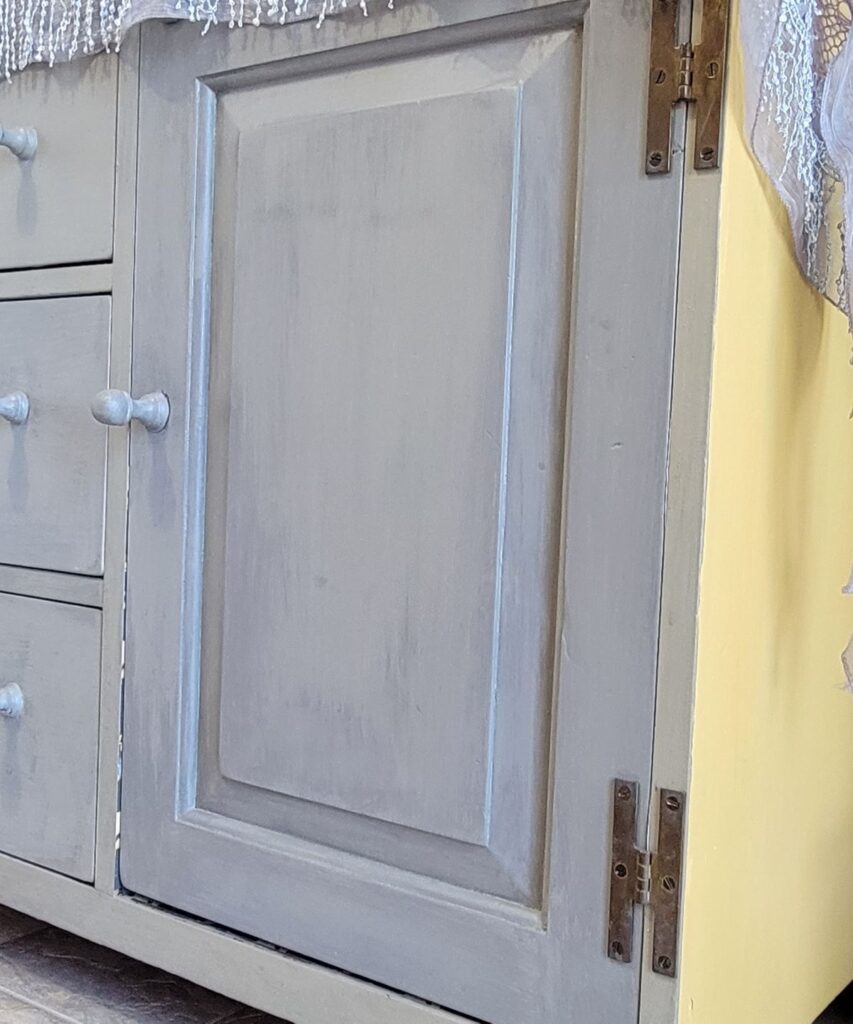
Time to start the hutch! I decided not to prime it. But after seeing this, I decided to prime it after all.
But when I did, I realized that the stain on the hutch was bleeding through the primer… ugh!
What a disaster! Thankfully, I had watched the MMS video about using their Tough Coat Clear Finish for a stain blocker. So, that’s what I did!
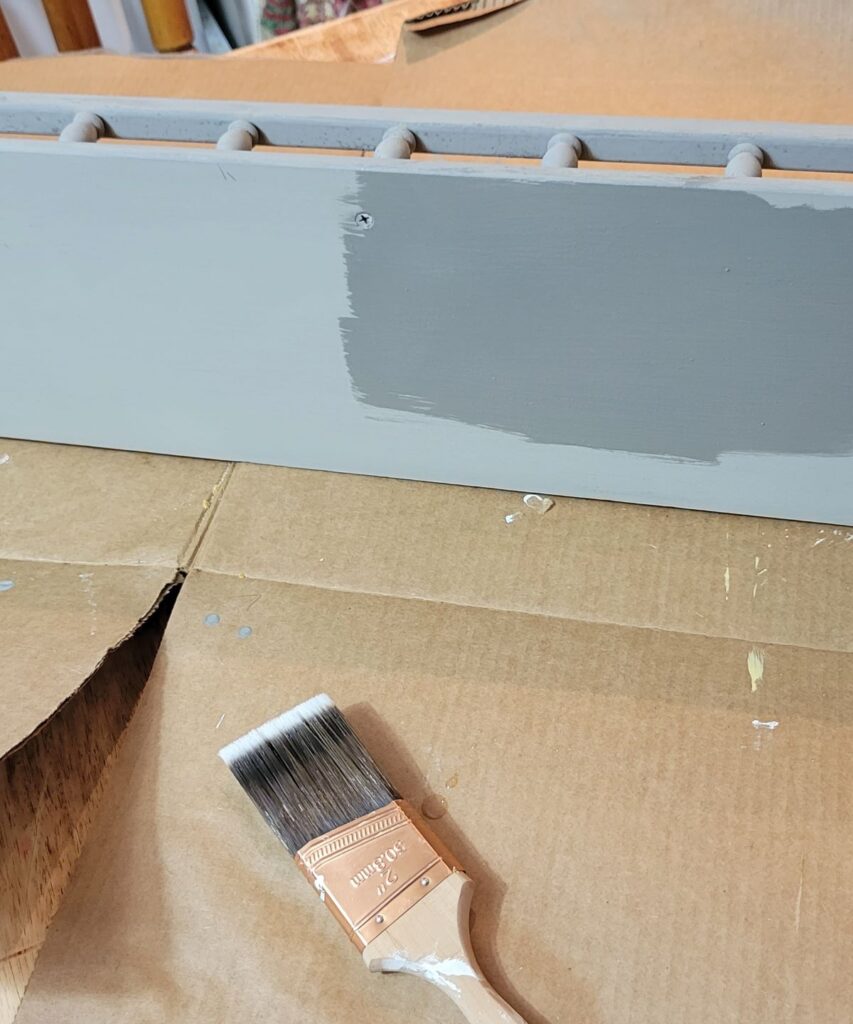
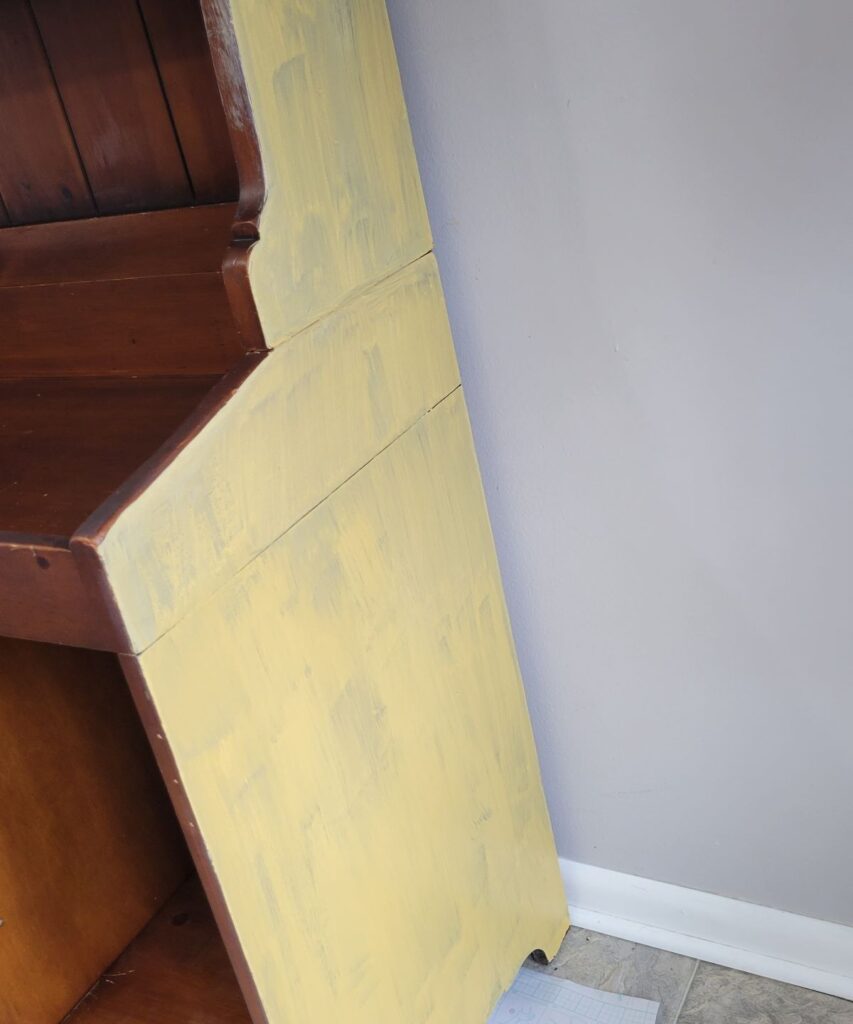
After the clear coat dried, I painted the sides yellow (everything would need two coats).
I painted the tray…
I painted the door that I had taken off of its hinges.
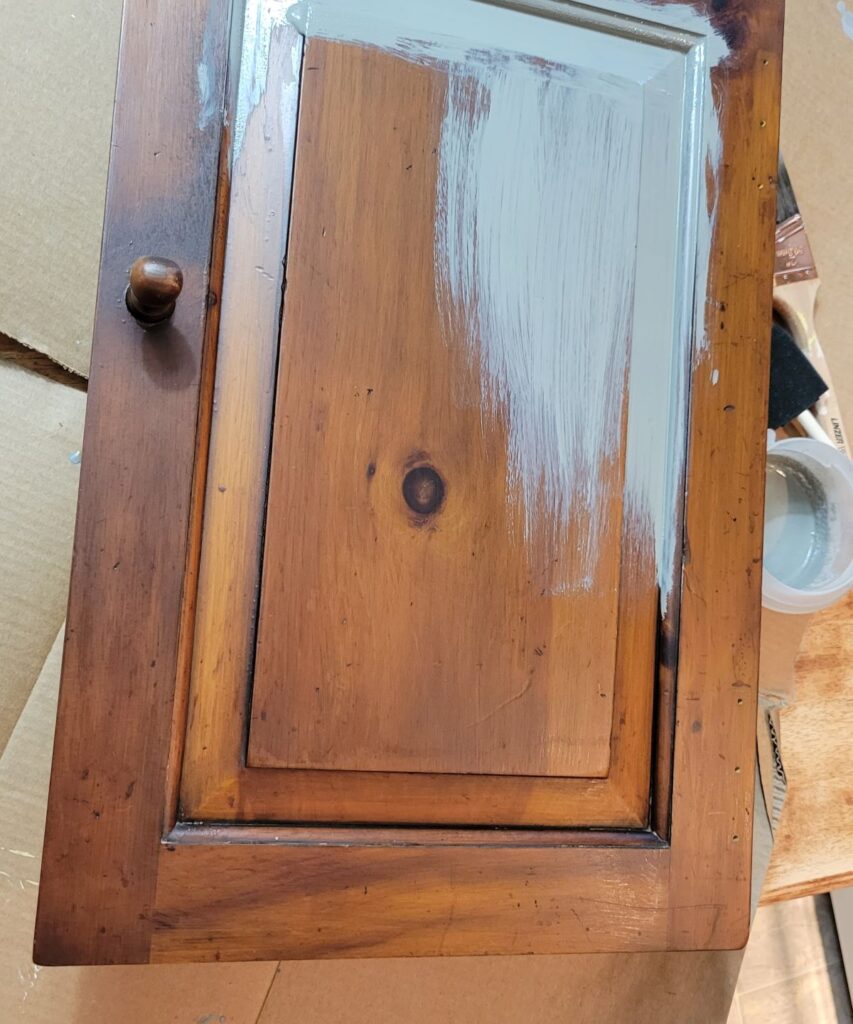
The door and tray were easy to paint because….

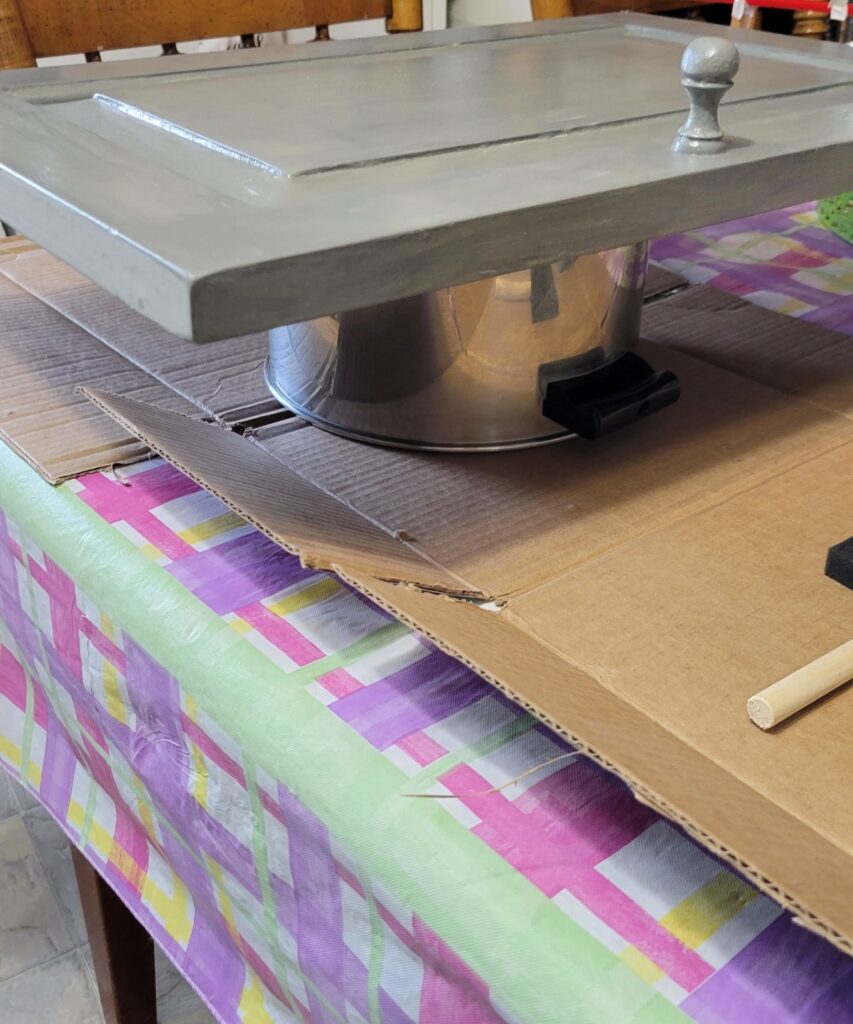
I set a pot or a bowl underneath so I could paint the edges easily.
Here is the Tough Coat clear finish going on the shelf. See how dark it turns? It will lighten a bit as it dries.
And this picture shows you how the clear coat changes the yellow to be darker.
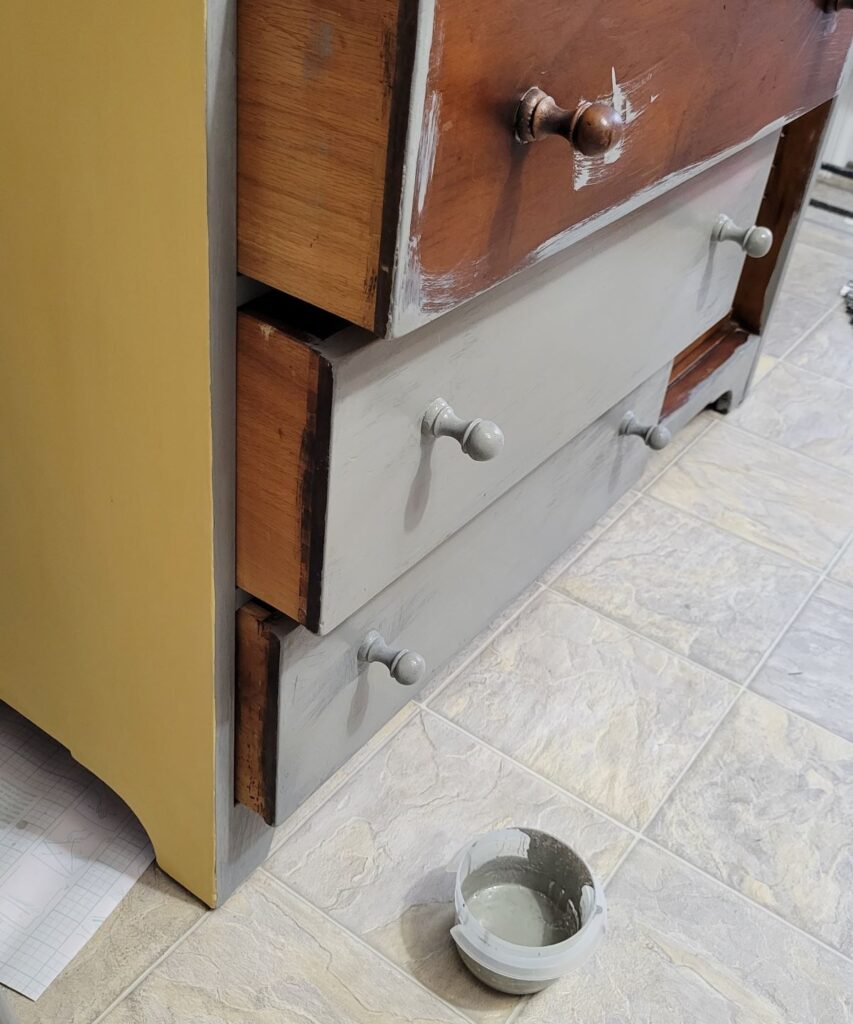
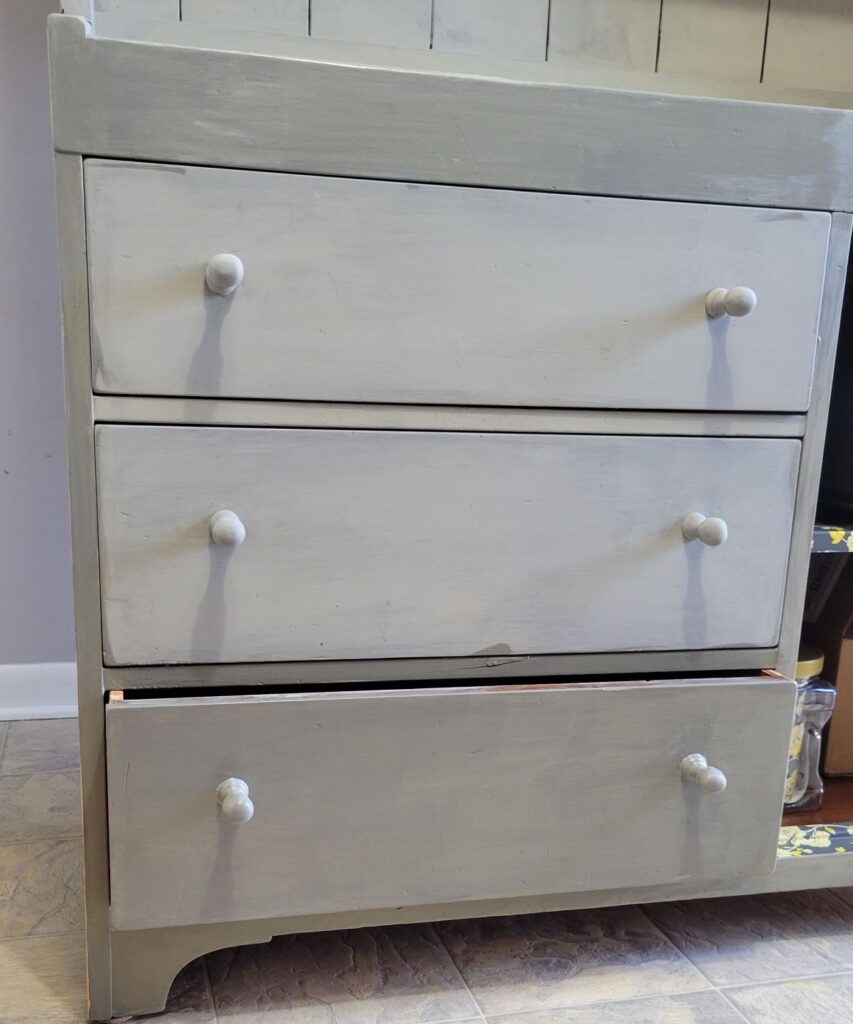
To paint the drawer area, I first painted the strips between the drawers.
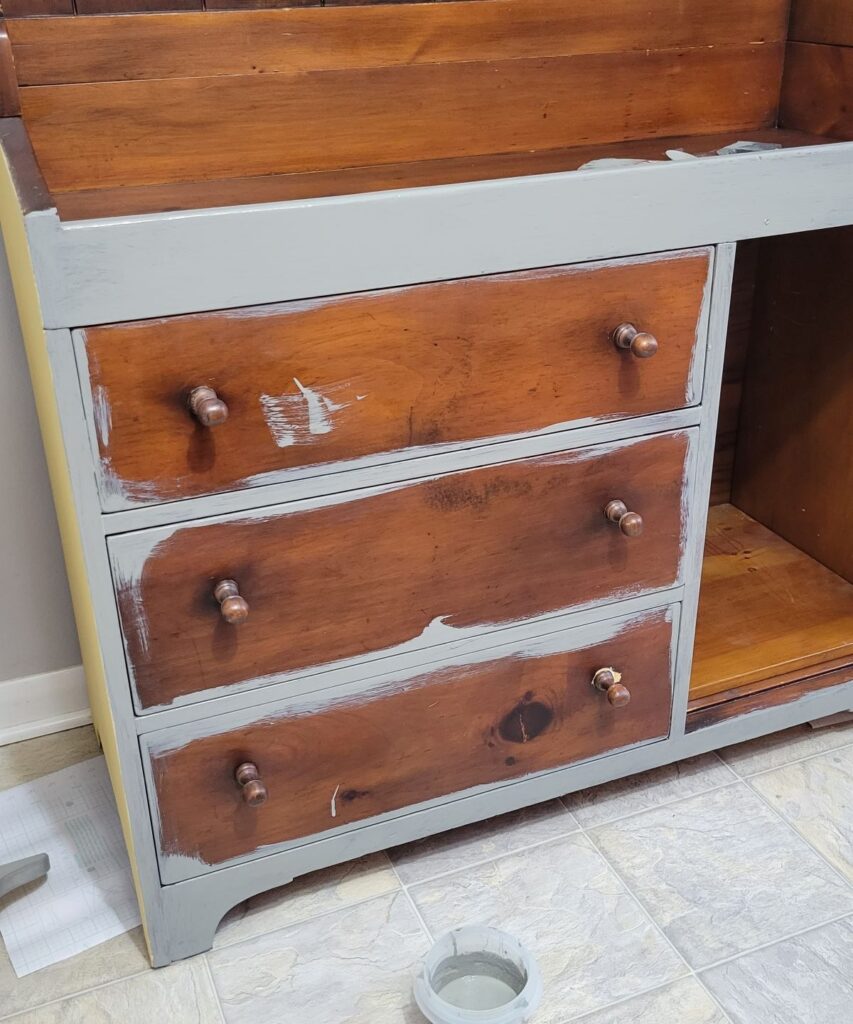
Then, beginning at the bottom, I pulled out each drawer to paint it, pulling out the drawer above it further, so it wouldn’t drip on the drawer below.
This first coat was done at night. I do recommend painting in natural daylight as much as possible, which I did do for the final coats.
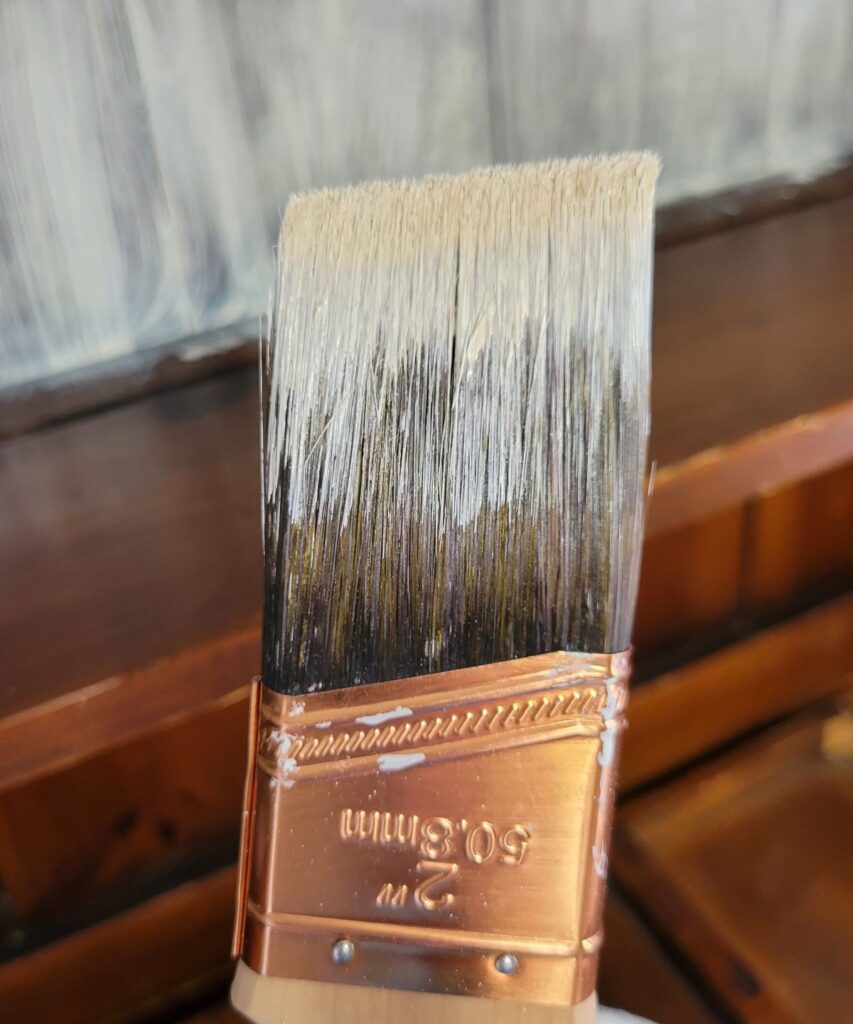
When I rinsed my paint brush, I saved the water to reuse the next time I mixed a batch, so as not to waste any paint.
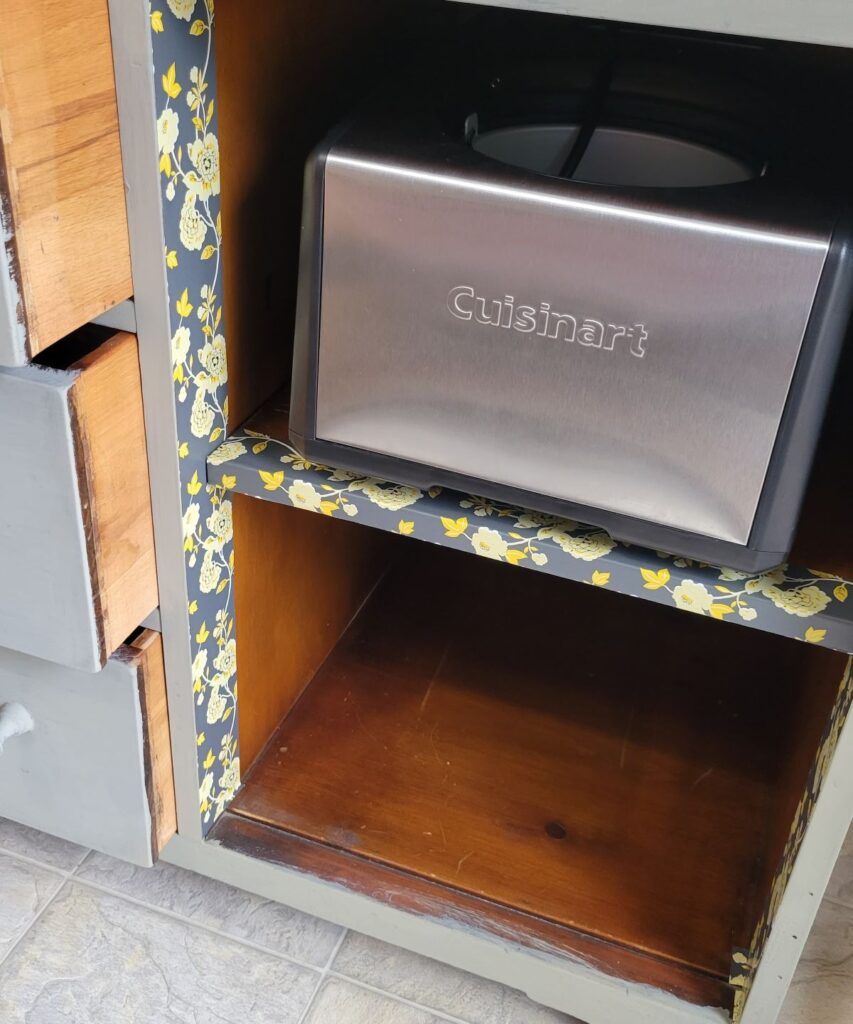
I love that my ice cream maker fits perfectly in the cabinet space! I edged it with some contact paper.

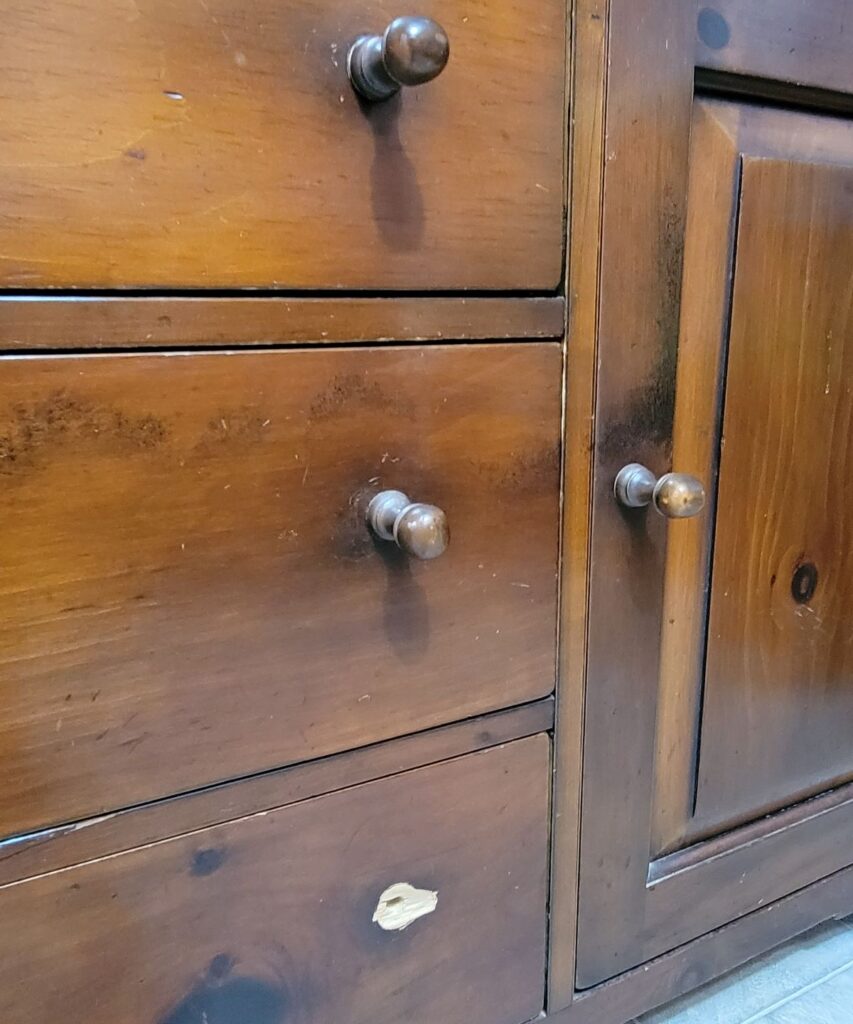
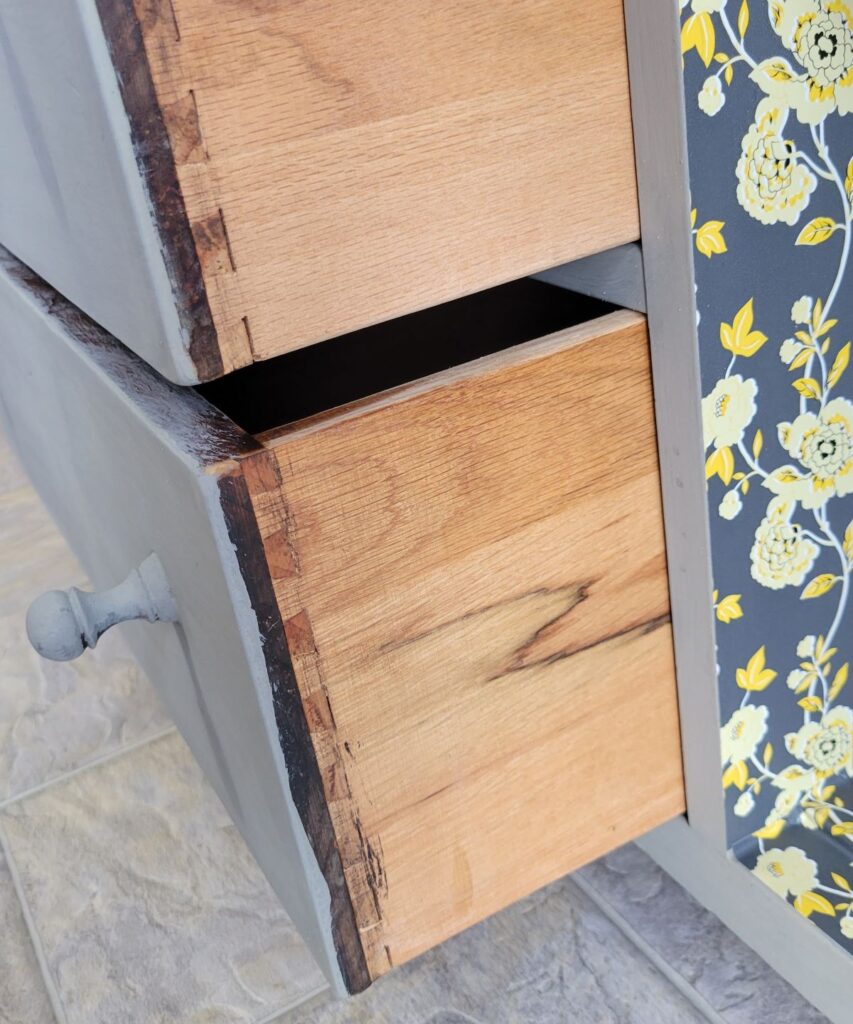
Look, dovetailed drawers. I thought about painting these drawer sides yellow. Should I do it?
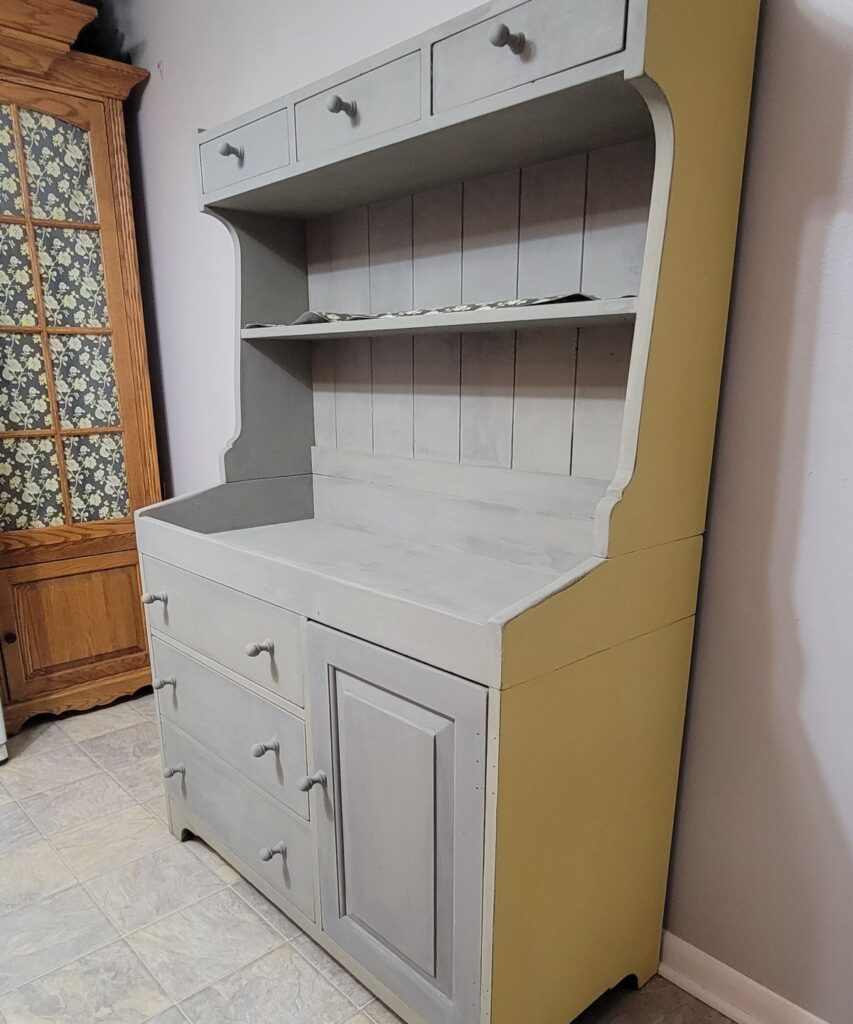
The hutch is finished, except for adding the Tough Coat.
I started with clear coating the tray.
Again, you can see how adding the Tough Coat (or any finish) darkens the color.
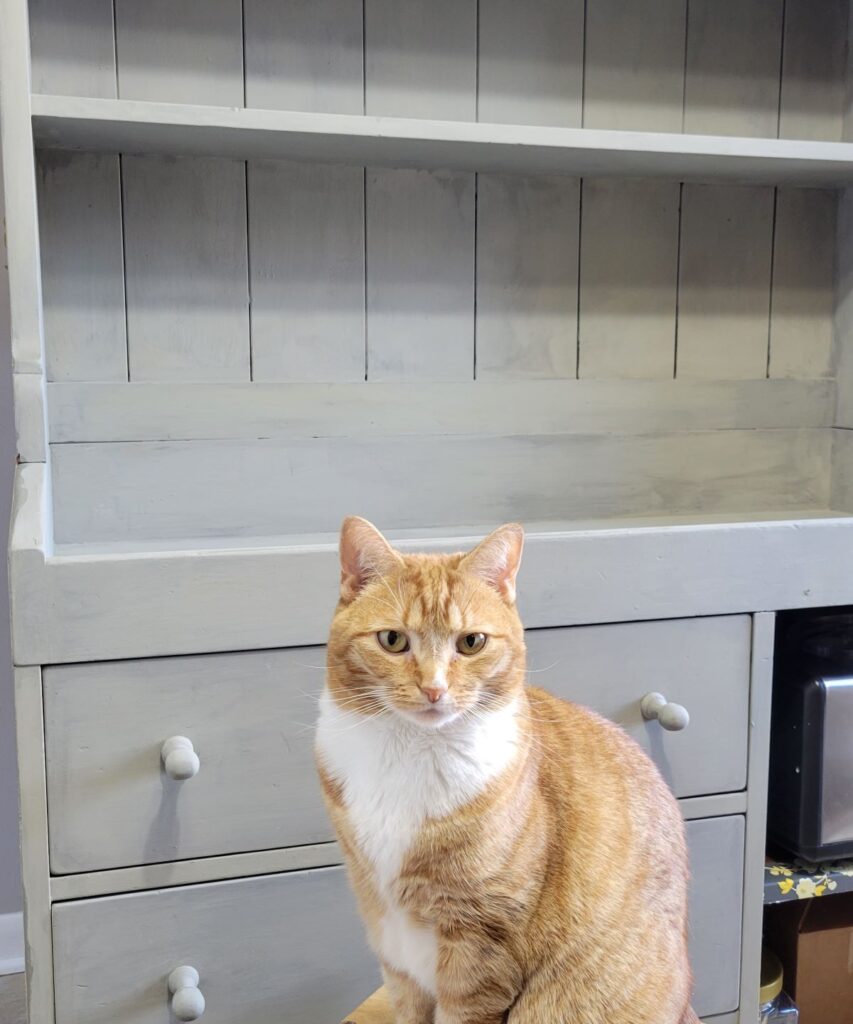
Creamy the cat is always interested in my projects.
At first all of the fluctuating colors in this powdered milk paint bothered me, but it is growing on me!
This is the wet clear coat. I hope you are ready to see the final result…..
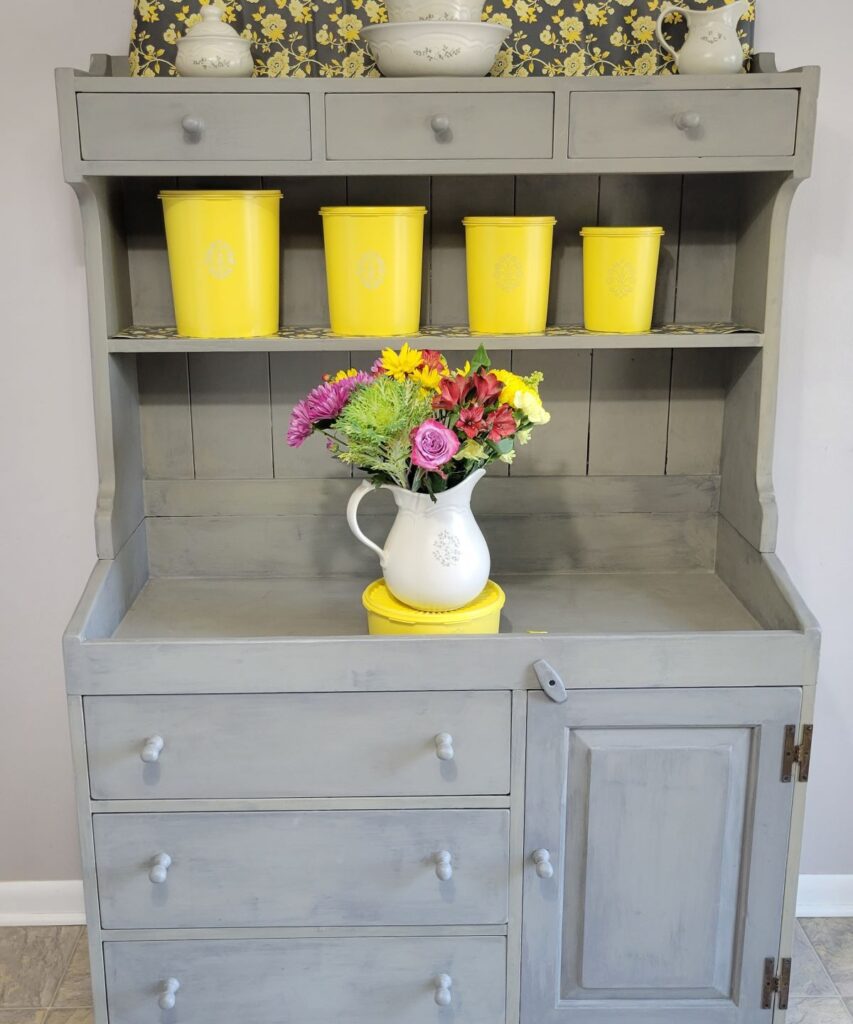
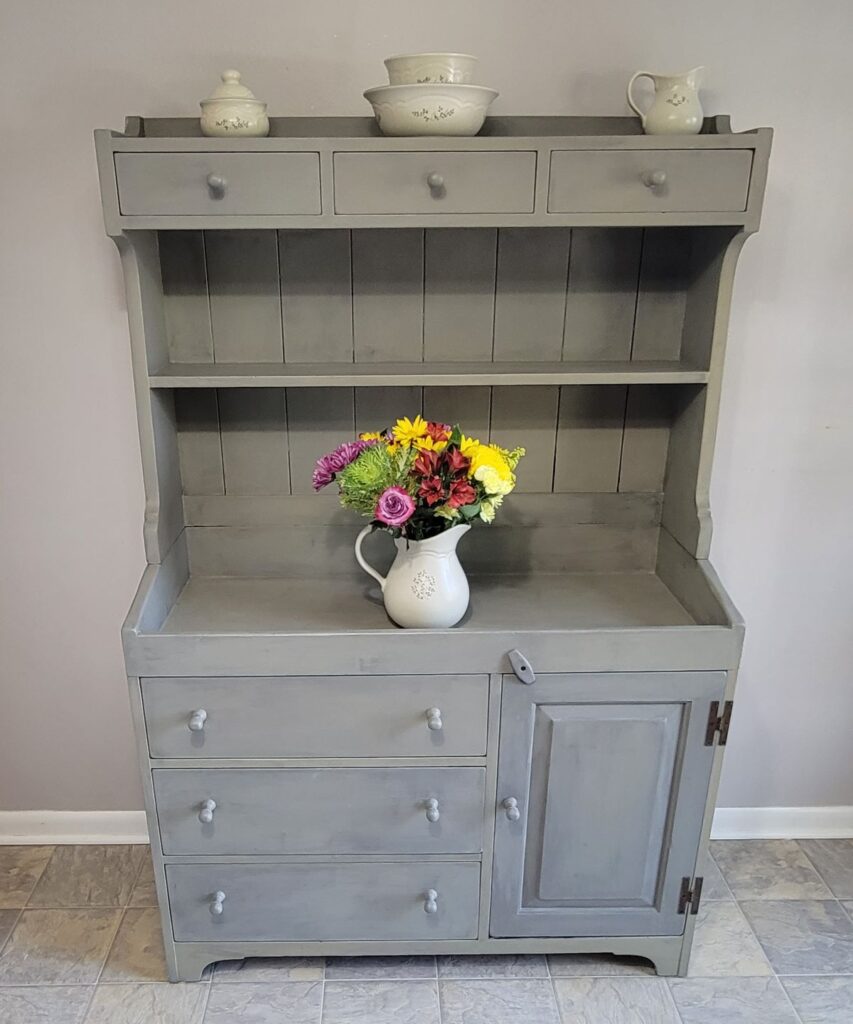
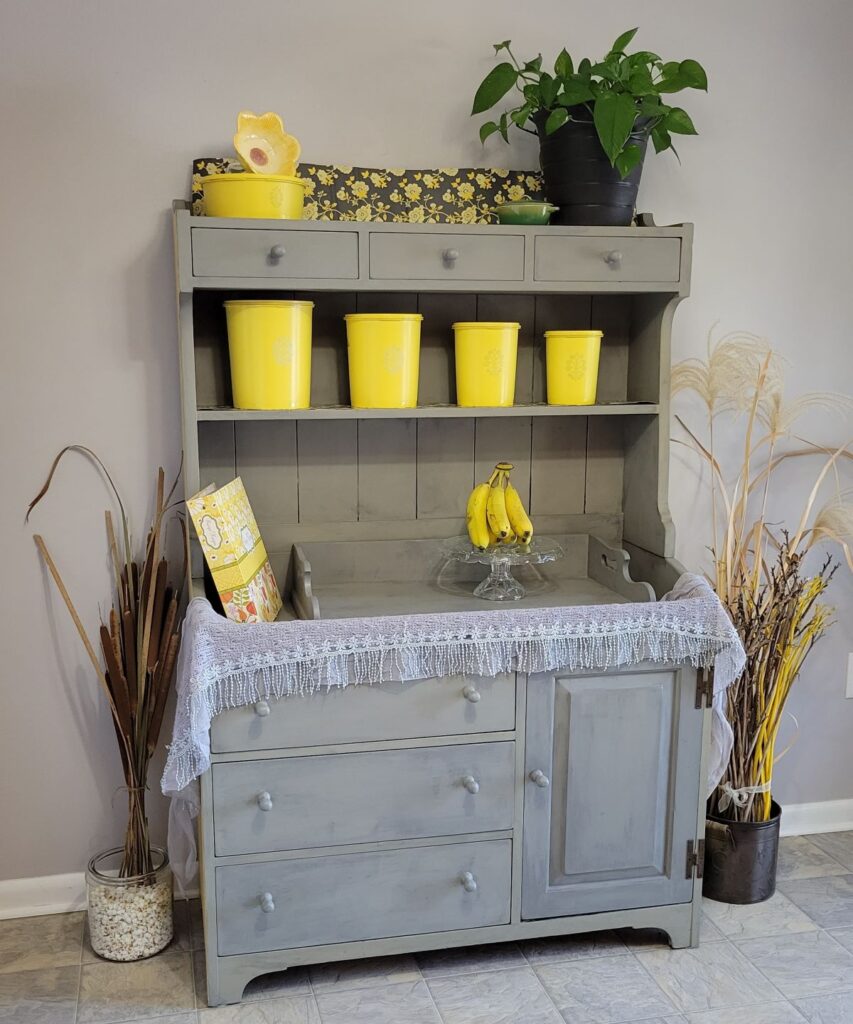
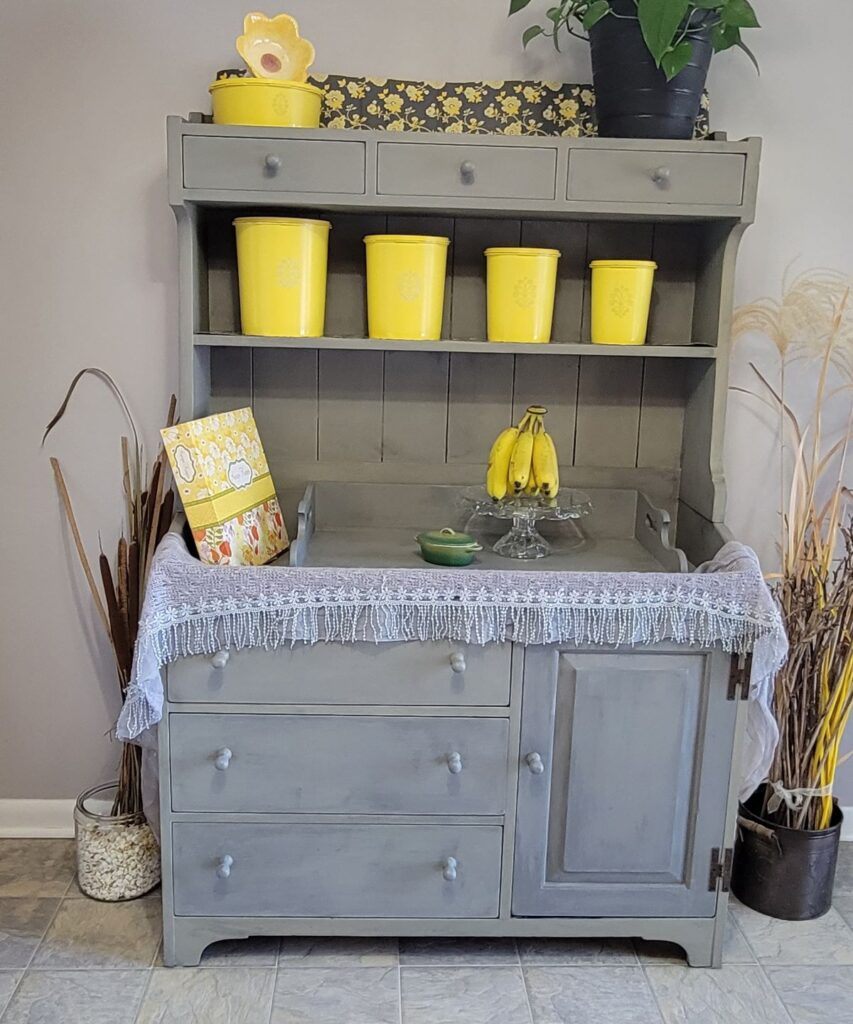
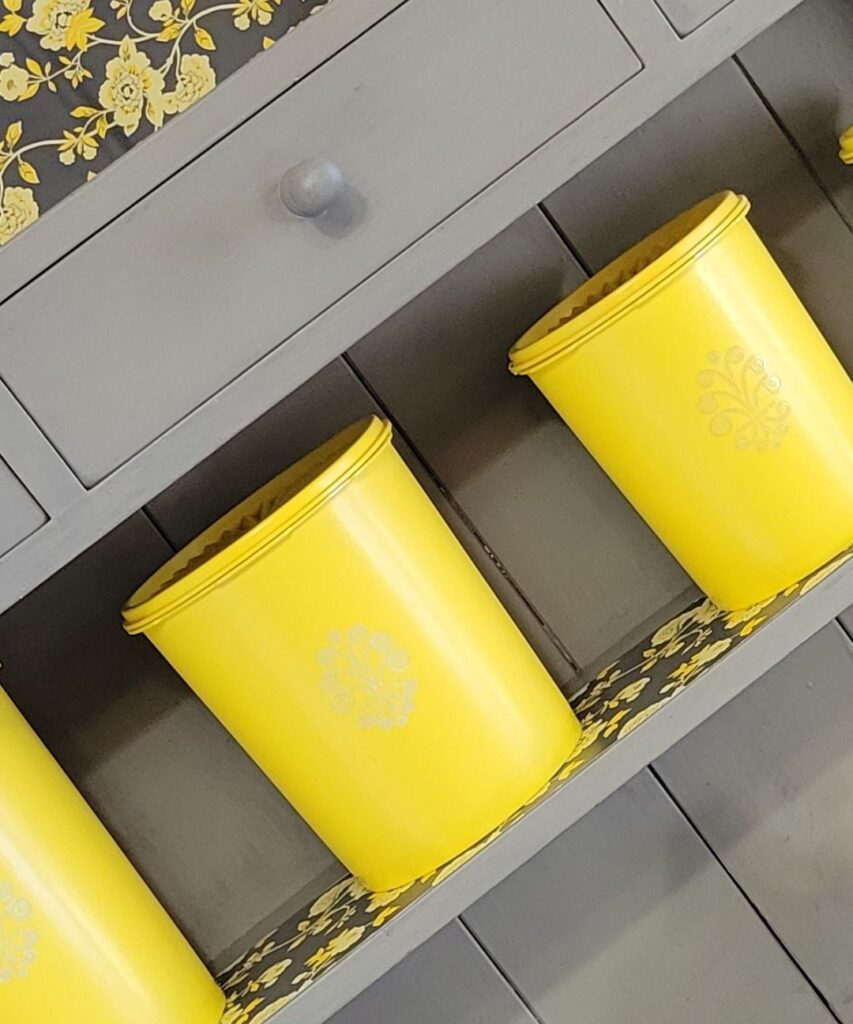
Here it is! I used my Vintage Tupperware on it.
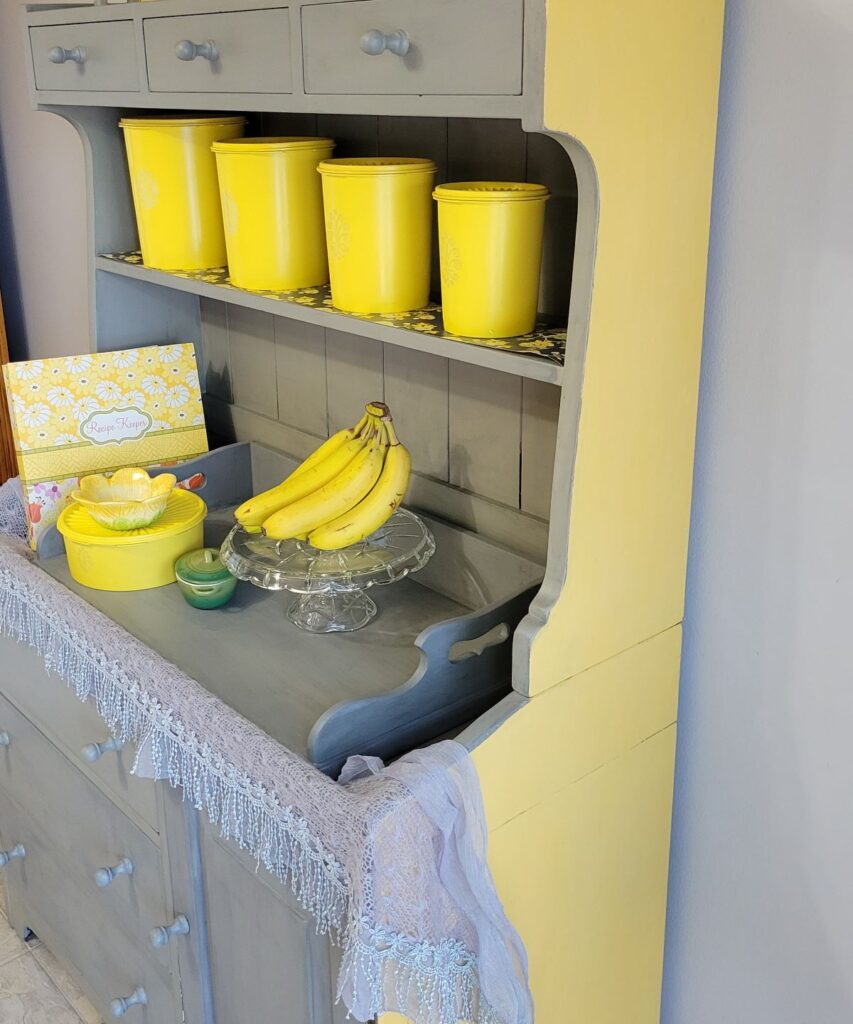
I really like how it turned out. It was a lot of work, but worth it.
It looks soooo nice in my gray and yellow kitchen.

The first time I used MMSMP, I painted this Dresser in Flow Blue.
Pretty And Functional… the best of both worlds!
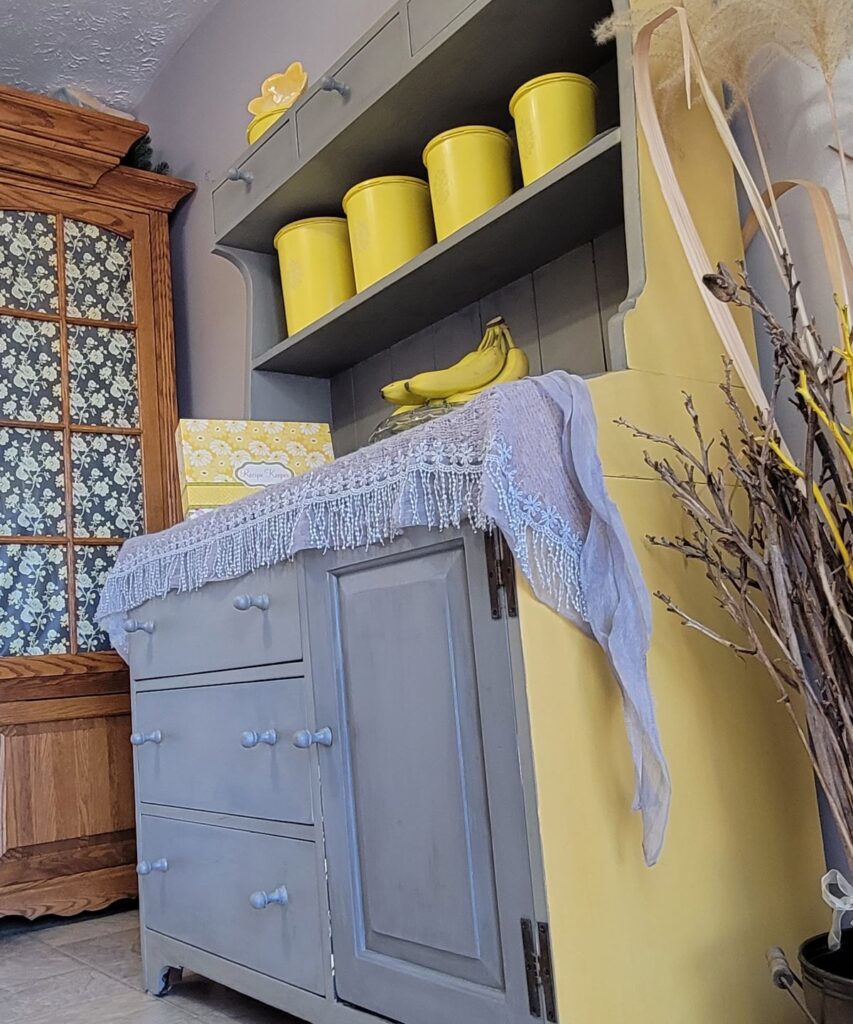
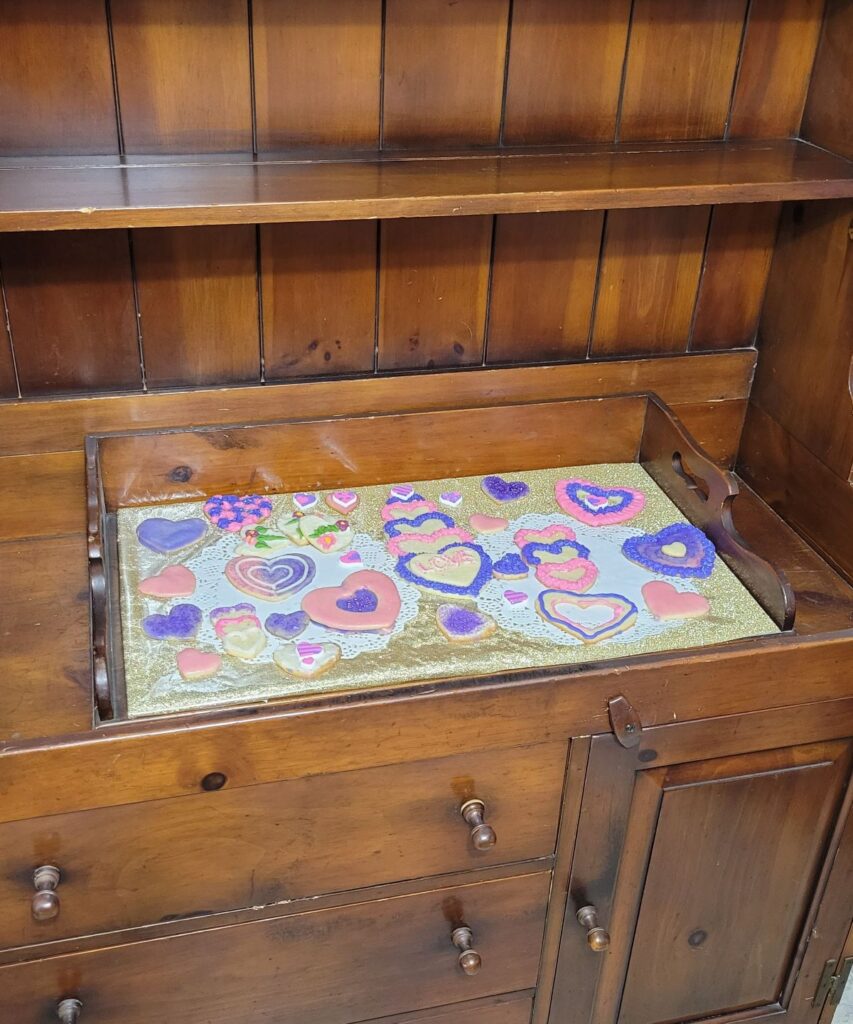
But wait, there’s more! I only laid the contact paper on the shelf without adhering it, in case I don’t want any yellow…
See? Now if I am styling something like Valentine cookies, I can have a neutral backdrop that won’t clash.
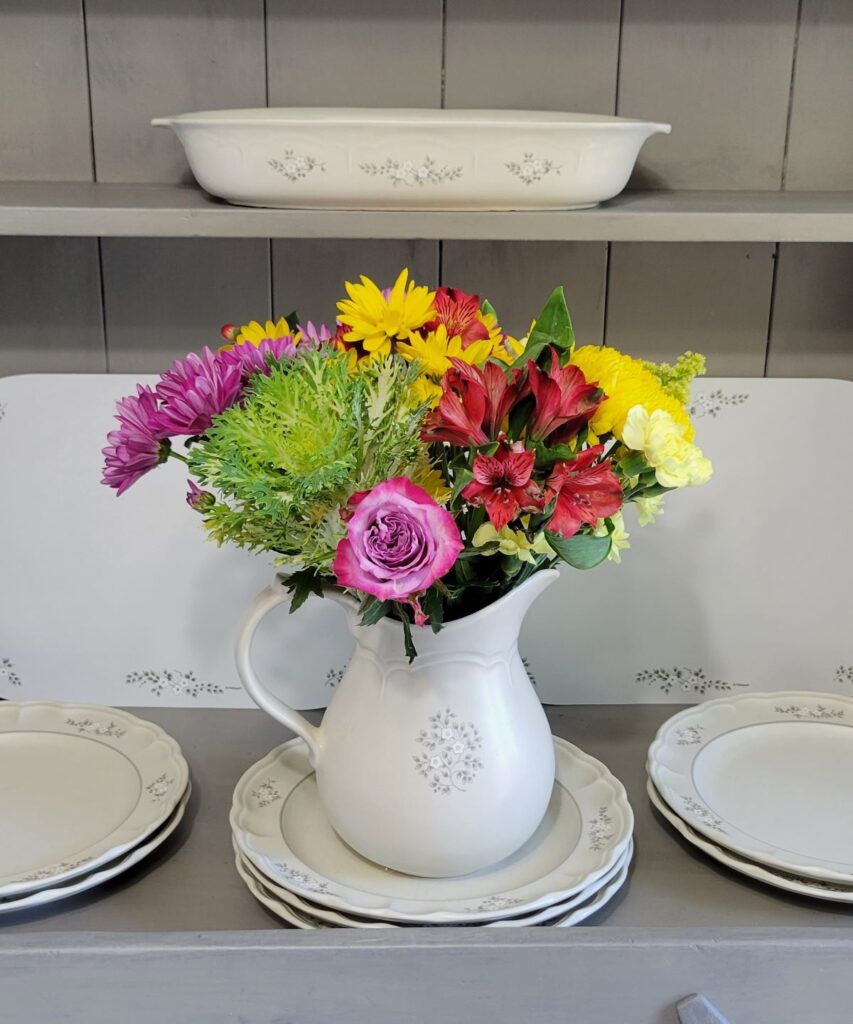
These are my Heirloom dishes from Pfaltzgraff, made in my own county here in the USA!
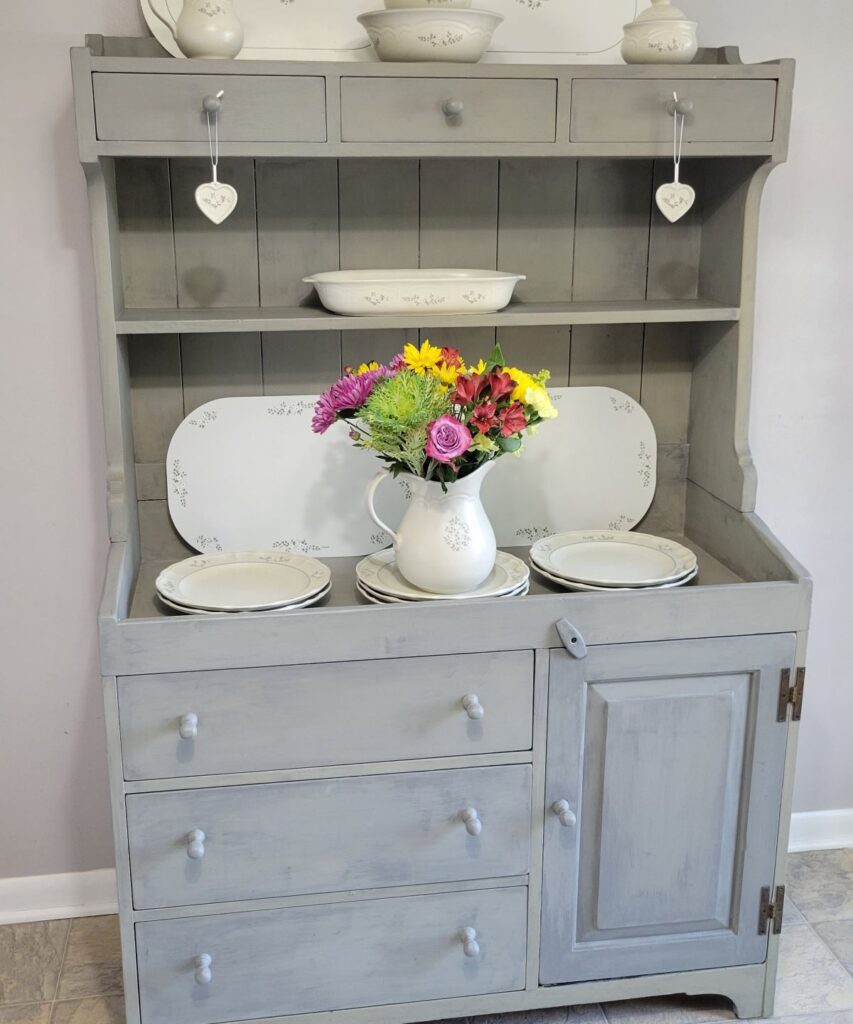
They look so good with my Miss Mustard Seed Milk Paint hutch!
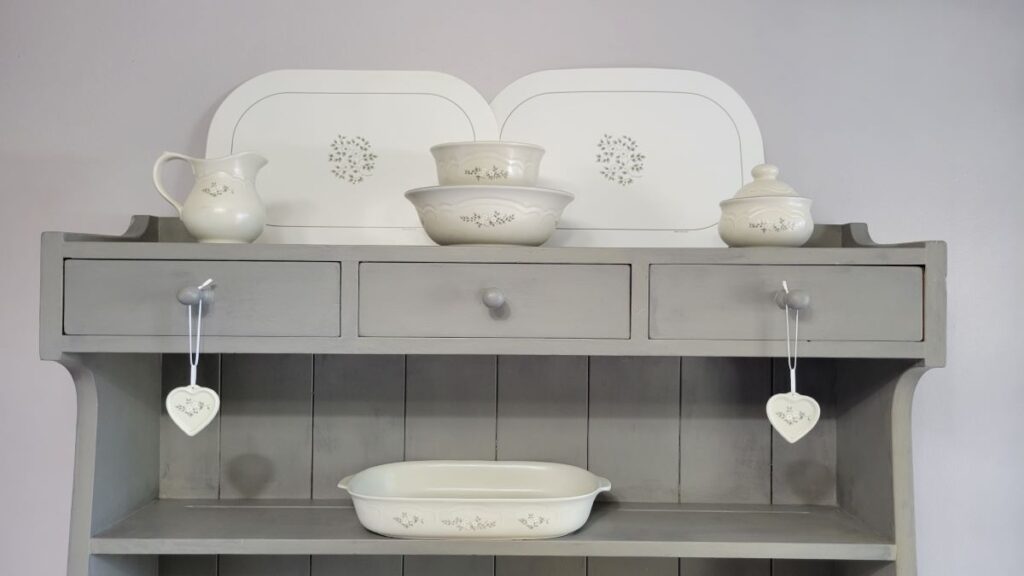
Most I have found at local thrift stores, but a few pieces I have ordered from Etsy.
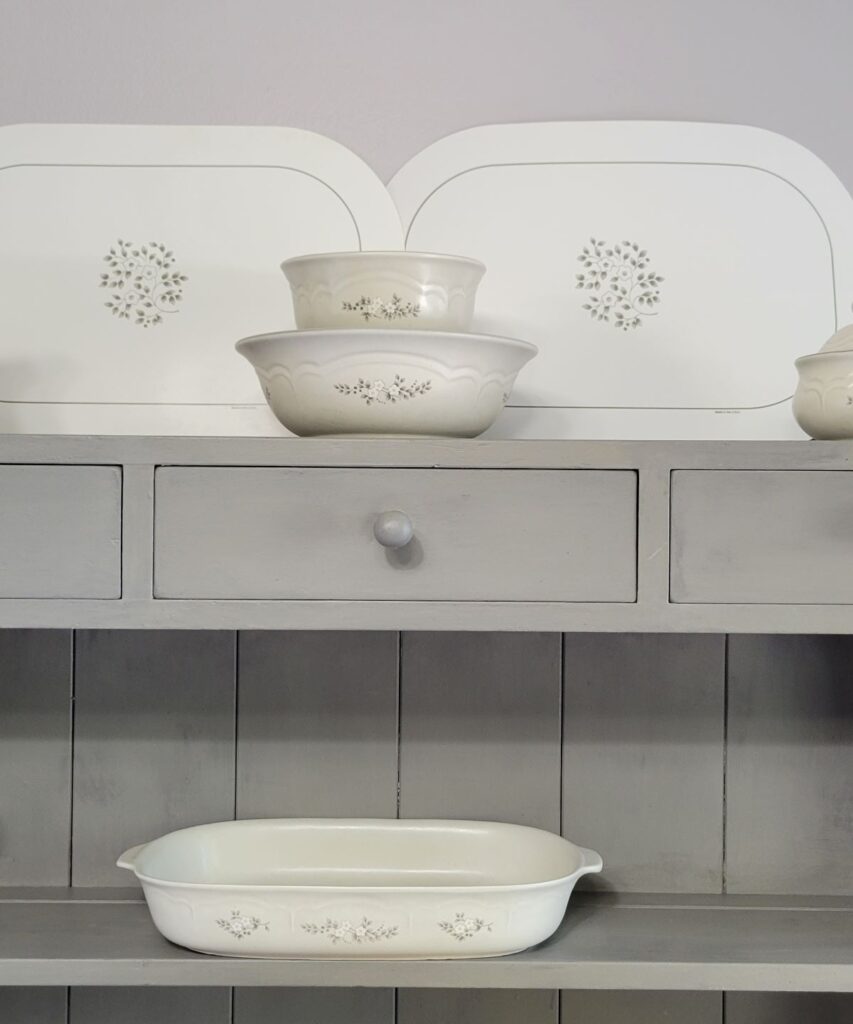
I love this pitcher for a vase.
So which way do you like the hutch better? Neutral or with the yellow?
More Details on How to Update an old Hutch with Milk Paint
I am not much of a yellow sort of person, unless they are sunflowers. I like blues, greens, and purples most of the time. But when I found the Laura Ashley gray and yellow floral contact paper mentioned above, I fell in love. It is no longer available, but you can find similar colored contact paper.
I love contact paper, and I used it in several places in my kitchen. So when I was thinking about what color to paint the hutch that I had found, I finally settled on Trophy Gray and Mustard Seed Yellow. I might have used the yellow more, except that I wanted to keep the front a neutral color.
Before I painted it, I had discovered what a gorgeous, easy backdrop it made for my food photos for B4 and Afters, and I didn’t want the yellow to clash with, say, Valentine Cookies or Christmas colors. And that is how I came to paint the sides yellow.
If you’re still not sure about my color combo choice, check out this Pin.
After the hutch was finished, I realized that…. my current comforter in my room is gray and yellow– and my husband is the one who picked it out!
Do you like the vintage yellow Tupperware canisters? I’ve collected them from various places over just the past few years. I grew up with similar bright yellow Tupperware canisters living on a bright yellow counter, so for most of my life I wanted a different color in my own kitchen. Is it a sign that I am growing older, that now I’m reversing that decision?!
When I was styling this hutch for the “After” photos, the yellow things in my kitchen started asking to be included. : ) I LOVE this spot, and it seems to fit in so seamlessly in my kitchen. Another thing I hadn’t realized when I chose Yellow and Gray was how well it went with my floor, which is cream and gray.
I mentioned above that originally I had wanted to use Linen. Miss Mustard Seed has several different shades of white which are just a bit different. I would suggest you try each of them out before deciding which white you like best. That’s what I want to do!
I hope that my review of painting a vintage hutch has been helpful to you! I’d love to hear from you in the comments below!
Now for the rest of the projects, below. I think you will enjoy the Zucchini Sisters’ project , who is next on the list.
Creating a Customized Pillow Cover With the Cricut
Creations Flowering Tea Cup Centerpiece
Easy and Beautiful Bottle Painting
Wood Art Gift Cards For Mother’s Day
Making a Tissue Paper Garland with Tassels
Pottery Barn Inspired Faux Textured Clay Vase DIY

Wow! You did a wonderful job on your hutch! I love your post and appreciate how detailed and thorough it was. I have never used MMSMP before, but would have been wanting to try it for some time. It looks great on your hutch. Seeing your dishes displayed on your hutch brought a smile to my face. My mom had that pattern when I was growing up. So fun to hop with you! Pinned!
Liberty, that was a big project, but worth it. Awesome to get a piece like this hutch for free. I love painting and repurposing discarded furniture. Yes, pieces like this do need to be sealed to prevent bleed-through. What wonderful storage and display space you will now have.
Liberty, what an amazing trash to treasure makeover! Your new hutch looks right at home in your kitchen…I’m glad you decided to keep it. I’ve used MMSMP before, too. It’s also great for when you want a vintage, chippy look. I love the neutral look when you styled it with your pretty Pfaltzgraff dishes. Thanks for sharing the tutorial. It was fun crafting with you!
It turned out so cute! I have some Miss Mustard Seed that I need to try! I just haven’t had the time. That was such a good idea to practice first!
This turned out beautifully! I love how you can change out the contact paper to get different backgrounds for your photos. I’m definitely going to try out MM milk paint after seeing your tutorial!
You definitely brought this piece back to life! Love how the white dishware looks against the painted cabinet.
Thank you, Marie!
Liberty, what a great transformation! I love your hutch with the new paint job! I did a similar thing with an old armoire and I do love using milk paint! Isn’t it funny how our tastes can come full circle? I hadn’t wanted blue in my house since I was a newlywed and now my house is all blue once again! The yellow items you styled your hutch with are a great contrast to your pretty gray finish!
Thank you so much, Chloe, and I’m glad you were able to comment successfully this time! : )
It’s it fun to take something dated and give it a fresh new look? I love your color choices and it looks fantasic. Great job and thanks for sharing
Thanks for sharing this. I have never used milk paint and I’ve been thinking about using it to paint some chairs. I’ve pinned for later.
Liberty, I have that habit of overlooking how much time a project will take! Your painted hutch turned out really cute. Using the stain blocker was smart, and something I should have used when I painted a dark piece of furniture with milk paint. Oh well, live and learn, right?
I especially like how the patterned paper was added, it ties everything in with the grey and yellow.
You did a great job making over this hutch. I loved seeing it styled with both your Pfaltzgraff and your great collection of vintage yellow Tupperware.
Thank you Paula, your comment means so much! I’m terrible at styling, and so I’m glad you liked both!
I love the paint combo you chose! Beautiful work and well written instructions!
You have some serious wood finishing skills, Liberty! Your updated hutch looks amazing! I love the neutral look the best, but both look fabulous! Great job!
What a transformation! I love the colors! Blessings, Cecilia @My Thrift Store Addiction
A labor of love and all your hard work really paid off Liberty, it turned out so beautifully! I love the colors you chose and all the different ways you’ve styled it! Great find and great redo!
Wow, it turned out gorgeous Libery. The yellow was a great choice; it’s a wonderful accent! I’ve never seen those vintage yellow Tupperware canisters before, but I think I remember avocado green ones!
Your process is so similar to mine Liberty – I often play with colours on the computer or a print-out and almost always do a test piece first before the real thing.
Great look in the kitchen; I would keep it too!
Bravo! Well done and love your choice of colors and a great tutorial!
Thank you, Mary!