
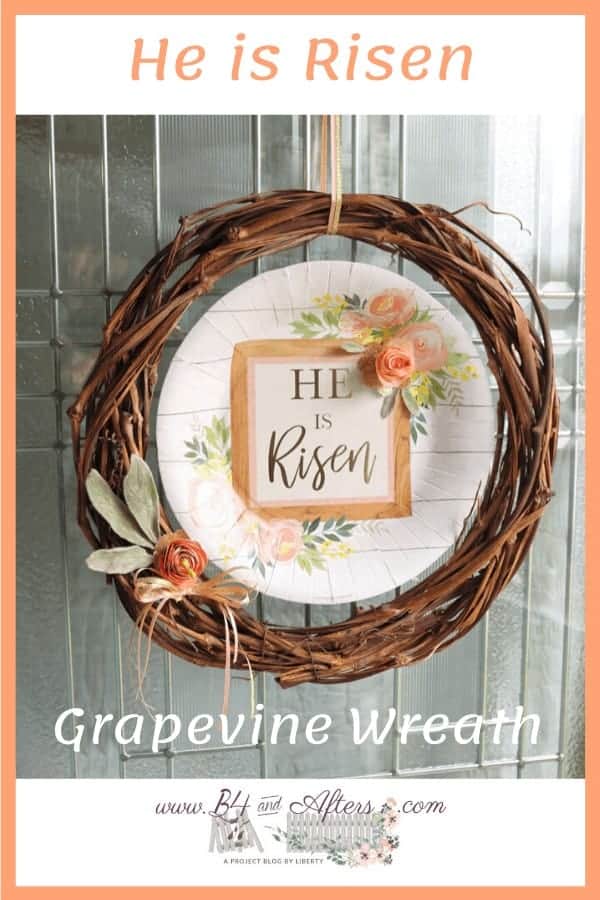
He Is Risen! (a Grapevine Wreath)
I am joining a fabulous group of bloggers hosted by Decorate and More with Tip as we show you different ways to create a grapevine wreath! I am so glad to be a part of this DIY challenge and appreciate them allowing me to join their group. All of the other blogger’s grapevine wreaths can be seen at the bottom of this post. If you are here from Decorate and More with Tip, then Welcome!
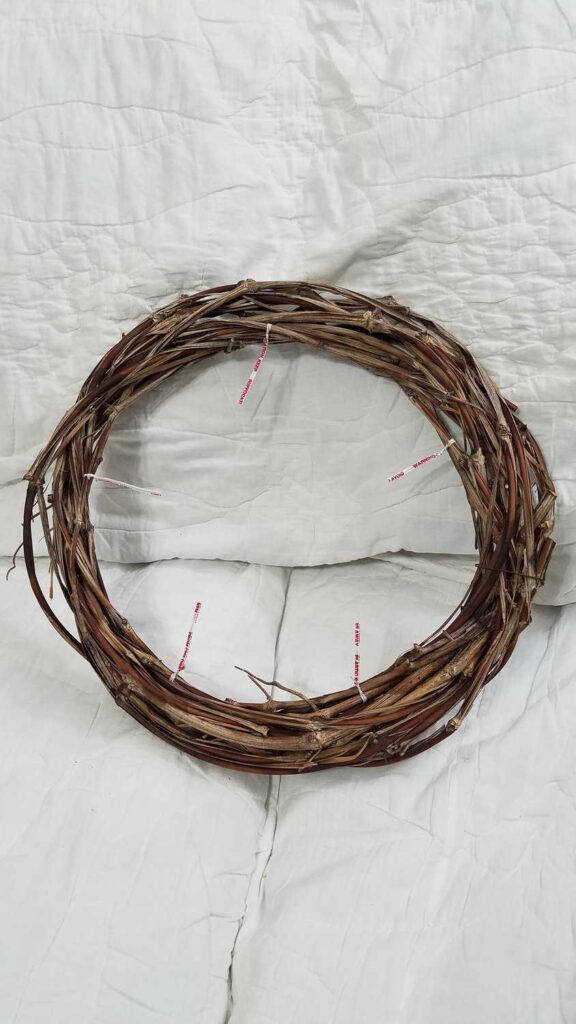
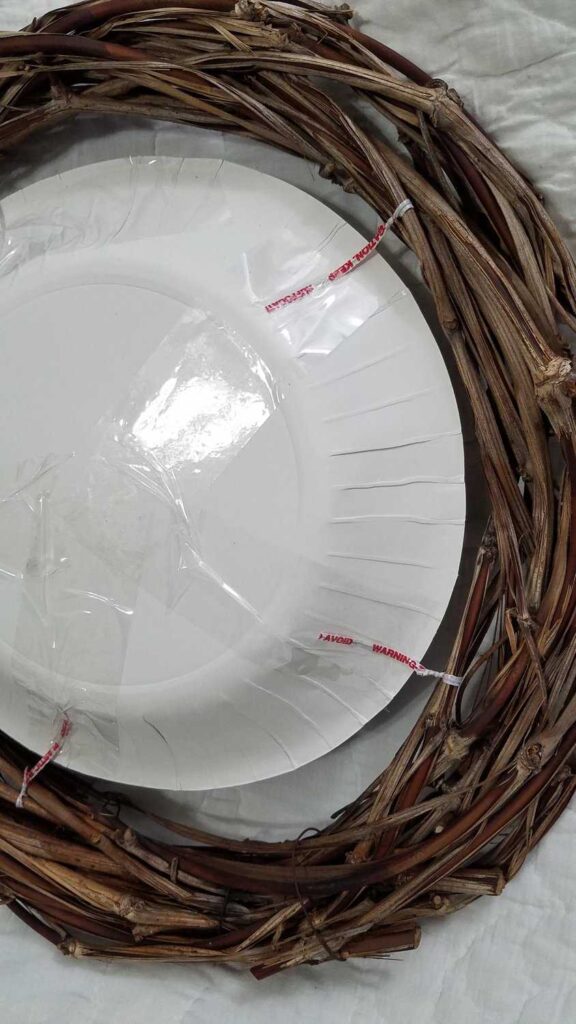
I began with a regular size grapevine wreath. Mine was about 15 inches across. I added bread twist ties to it.
Grapevine Wreath, Before
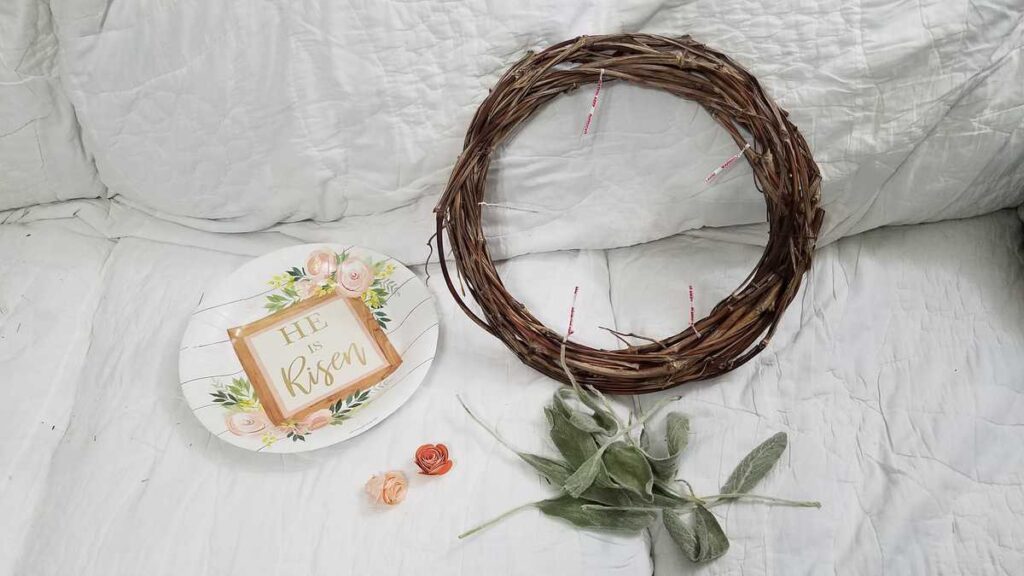
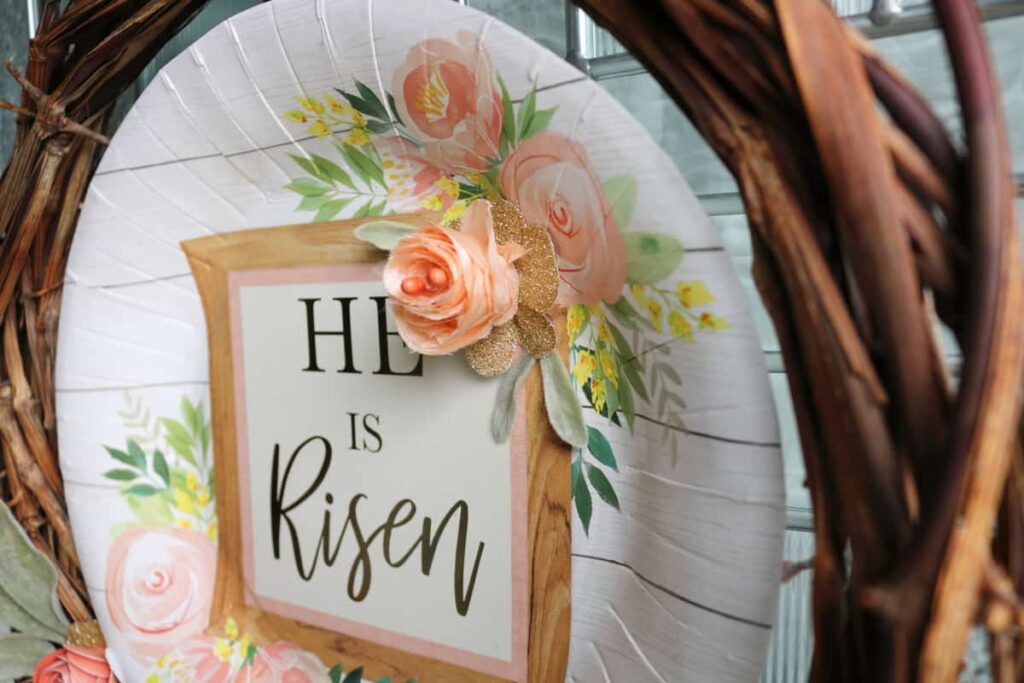
I wanted to make tissue paper flowers to go with my wreath, but I could not find any tissue paper just the right shade of peach to coordinate with my paper plate. Yes! I planned to use an Easter themed paper plate with the words “He is Risen” that I had found recently at Hobby Lobby.
The grapevine wreath reminds me of the crown of thorns that Jesus was forced to wear during his crucifixion. And so I think it is appropriate to pair it with the Resurrection themed paper plate.
I also planned to use some natural dried lamb’s ear leaves that I had dried out last fall.
Faith Inspired Projects


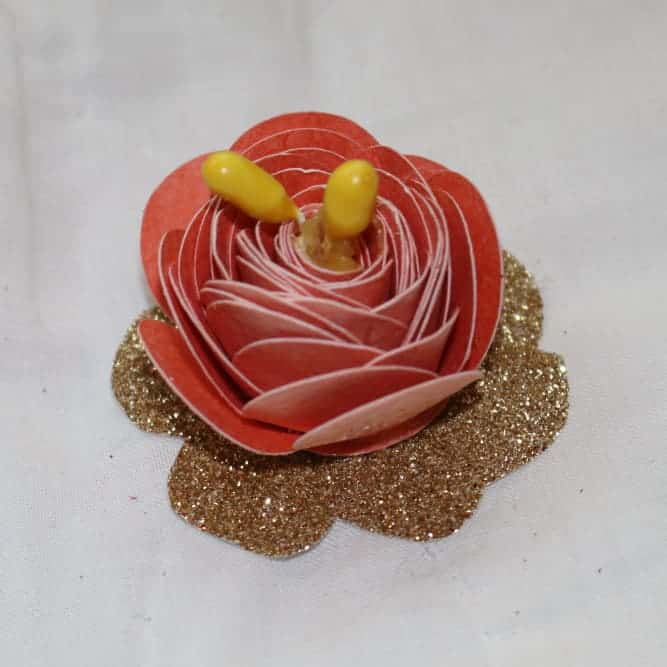
Since I couldn’t find peach tissue paper, I made two other flowers by using my Cricut to cut them out. Then I rolled them with a DIY quilling tool and hot glued them. One of the flowers I made out of silky fabric, and the other one I made out of cardstock. Here is a closeup of the cardstock flower. I added gold glittery paper on the bottom.
I used clear packing tape to attach the paper plate to the twist ties.
Then I attempted to arrange the lamb’s ear leaves in a pleasing arrangement before hot gluing everything together. But it did not look right to me! Something was off! I couldn’t figure out what it was. I am glad I had not glued anything together yet. I decided to “sleep on it” and finish it the next day. While I was drifting off, I thought, “tomorrow I will try smaller leaves. The leaves are too big.” What do you think?
This Did Not Look Right

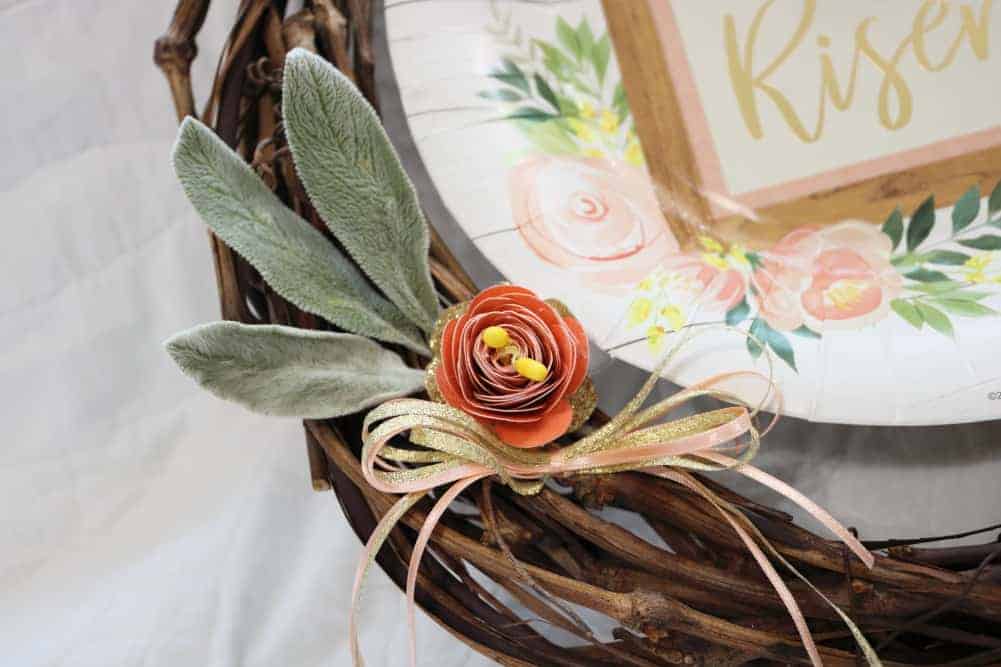
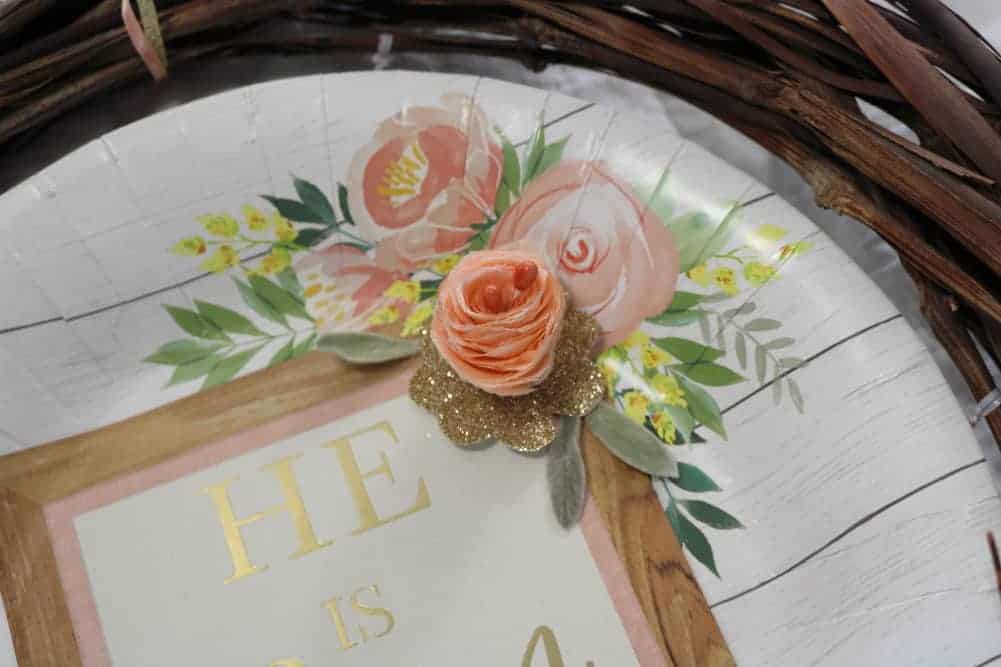
Sure enough, the next day I tried three small leaves, and they looked perfect! I added some gold and peach 1/8 inch ribbon from my stash. Now I know why the leaves were too big– they were overpowering my “He is Risen” plate. I wanted the paper plate to be the star of the show.
In the opposite corner I used my fabric flower. Here is what the plate looked like before I added the flower to this section.

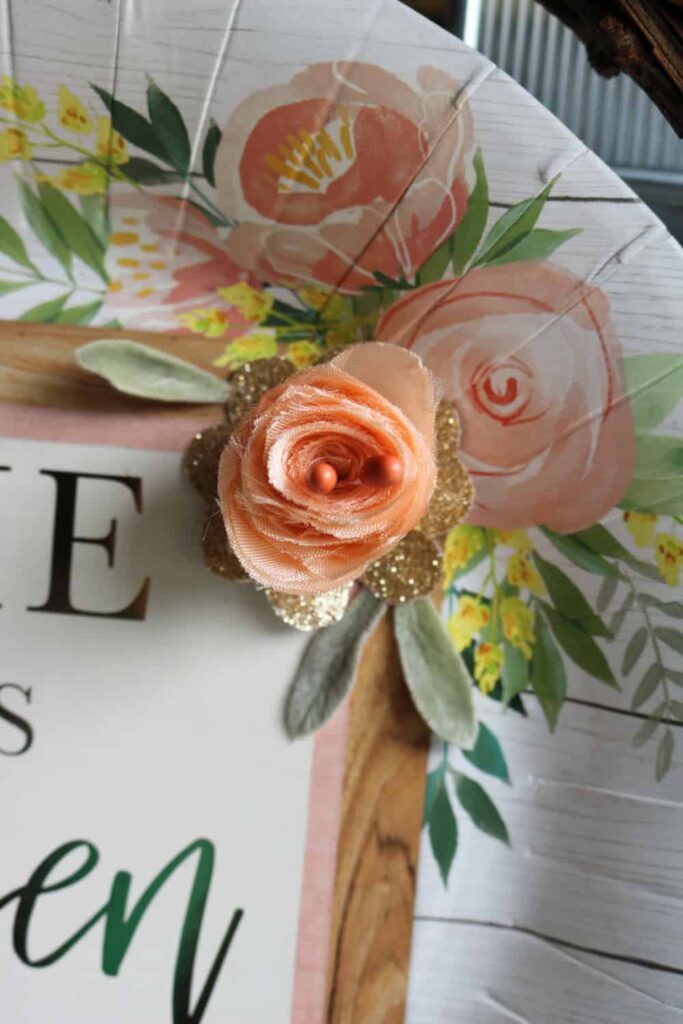
And here it is with the fabric flower. I put more gold glitter paper underneath, and added 3 very small lamb’s ear leaves.
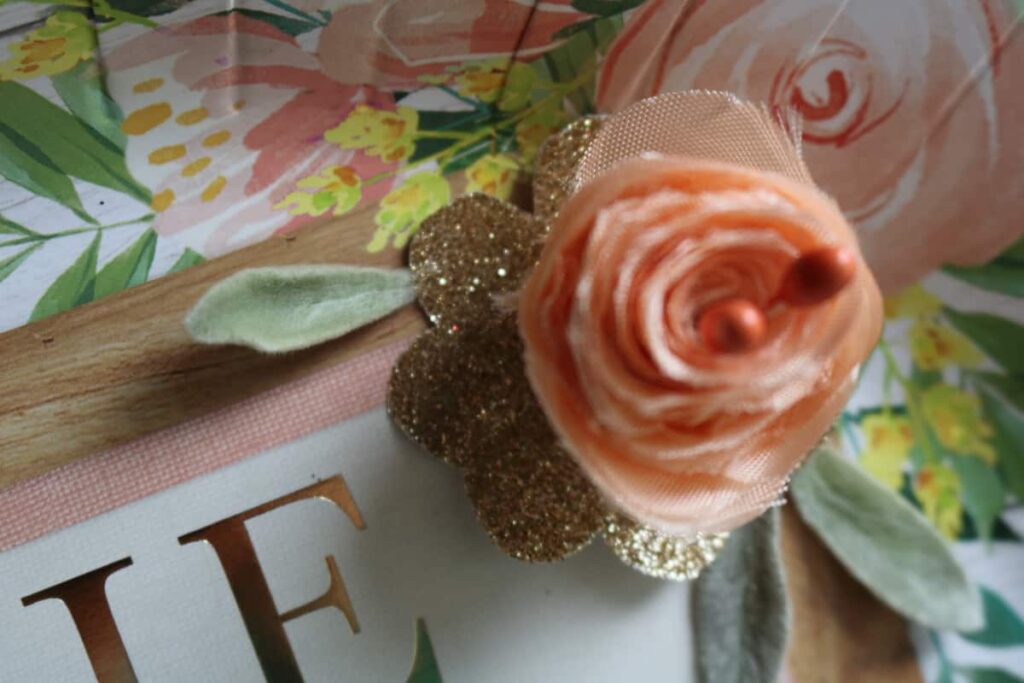
Here are some closeups of the fabric flower.
The leaves are still very soft to the touch, even though they are thoroughly dry. I’ve enjoyed using them so much that I plan to dry more leaves for future use in my decorating and crafting!
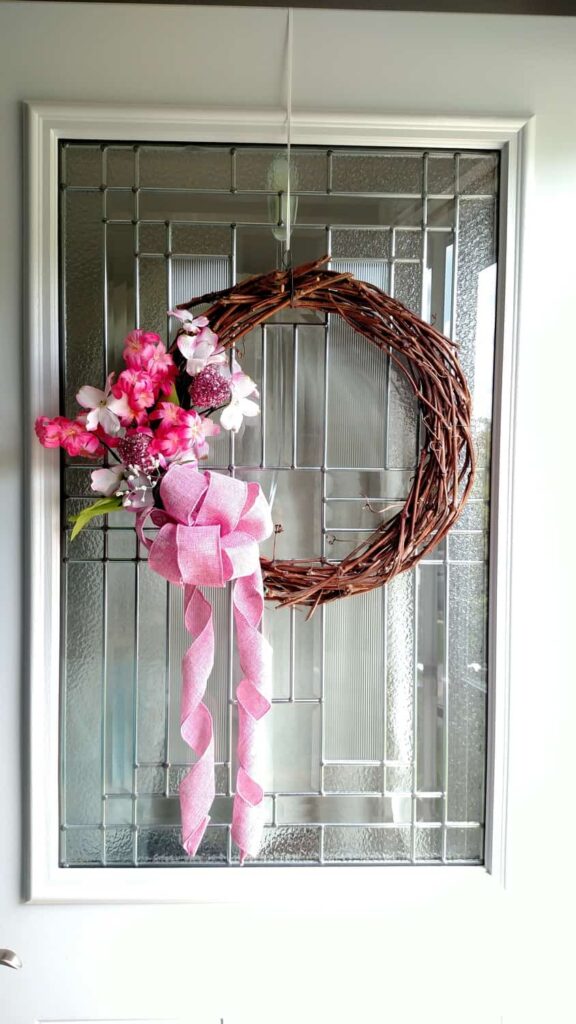
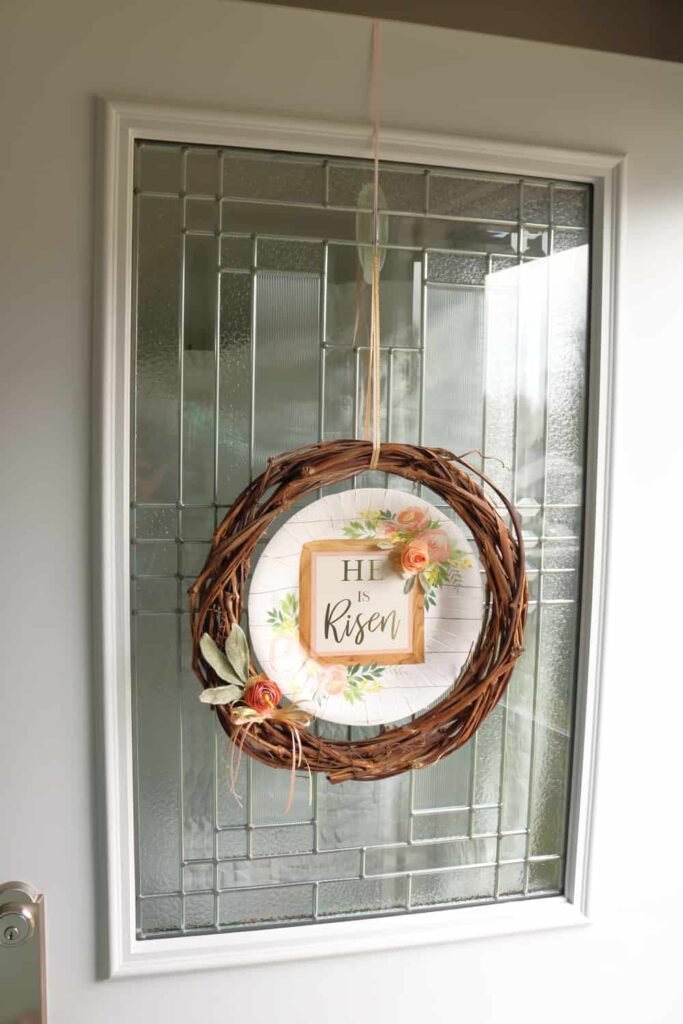
I used more of the peach and gold ribbon to hang my wreath from my front door. To see how I hang my wreaths from my glass half window door, Go Here.

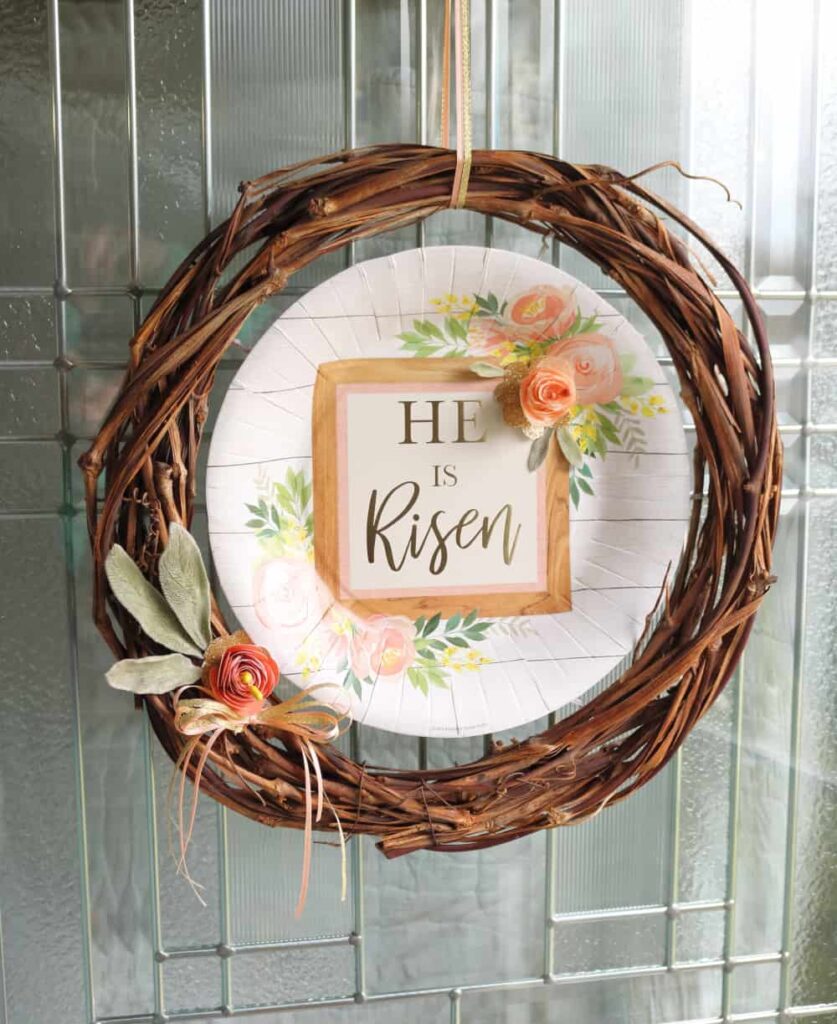
Here is my Easter themed Grapevine Wreath, all finished!
Grapevine Wreath, AFTER!
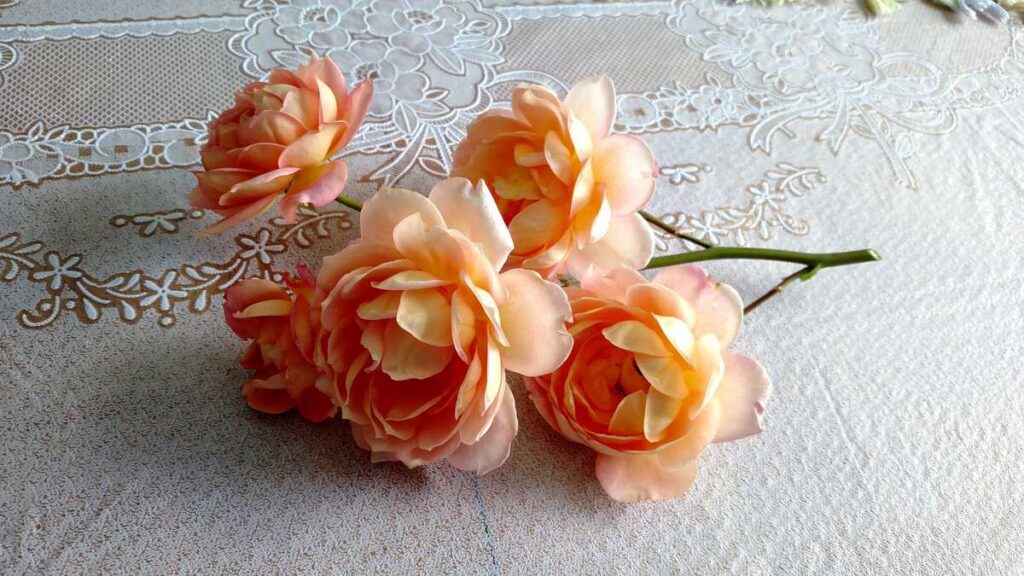
I love this shade of peach. I have a climbing rose that produces a lovely peach flower with a fruit-like fragrance. If I could figure out how to dry these and add them to my wreath, I would! Hmm… maybe I will try that…
I hope you have enjoyed seeing how I created my wreath, and that it inspires you in your own creative endeavors! Be sure to visit the other grapevine wreath creators listed below! Next after me is CD’s Country Living with another lovely grapevine wreath!


Liberty, first of all, so nice to meet you on the blog hop. I love my Cricut too and your flowers are beautiful. I never would have known that you used a paper plate for your sign. Love the message!! Very nice.
Thank you so much, Carol! Yes, I am excited to be included in the blog hop!
This is so creative! I didn’t realize this was a paper plate at first! So cool!
I love your wreath! Your paper flowers go perfect with the plate. Pinned and followed.
Your wreath and so simple and beautiful! I love how it came out. Great work!
Thank you, Jodi!
How clever! I love the colors of your flowers and the beautiful message of hope.
Thank you, Mary!
Your wreath is so pretty! I never would have thought to use a paper plate for the center. How creative!
I’m well known for my use of paper plates. : ) haha.
Liberty,
So pretty and when I saw this I thought it was a small sign. You’re so creative, love it!
Cindy
Thank you, Cindy! I’m so glad you like it!
Your wreath is so pretty Liberty. I love the colors in it and the paper plate idea is genius!
I couldn’t have done it, if Hobby Lobby hadn’t had such great paper plates!!
Your wreath turned out fabulous Liberty I just love the He is risen sign!! What a perfect and appropriate wreath for this time!!
Well done!
Teresa!
Thank you, Teresa!
Your wreath is stunning! I love it!
Thank you so much, Shae!
Liberty I had no idea you used a paper plate for the center. How adorable and budget friendly this is. I love your creativity. The colors are perfect for spring. Thanks for sharing your inspirational wreath. Very pretty.
Thanks for hopping with me on the DIY Challenge. Love you joined us!
Thanks for having me, Terrie! And I’m glad you like my wreath!
Awesome job! I never would have thought to have used a paper plate, this looks fabulous. Love the flowers too….
Thank you so much, Tammy! I’m famous for decorating with paper plates (I wish! : ) )
Your wreath is just the sweetest, Liberty! I love that you shared the true meaning of Easter with your pretty plate, and those peach flowers are dried lambs ear are perfect together! SO creative!
Thank you, Christine! I’m just thankful I was able to get them way back before #stayathome became a thing. The good old days….