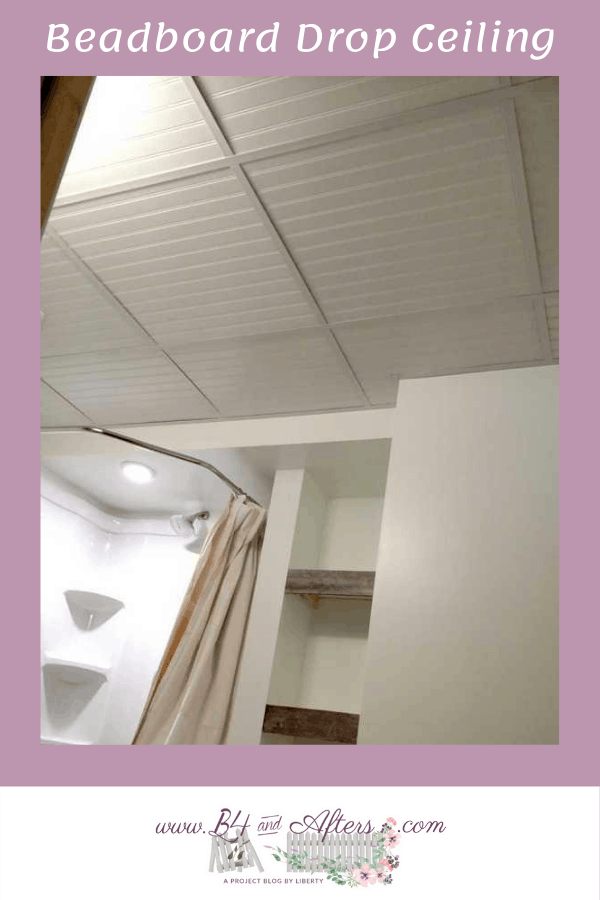
Beadboard Drop Ceiling
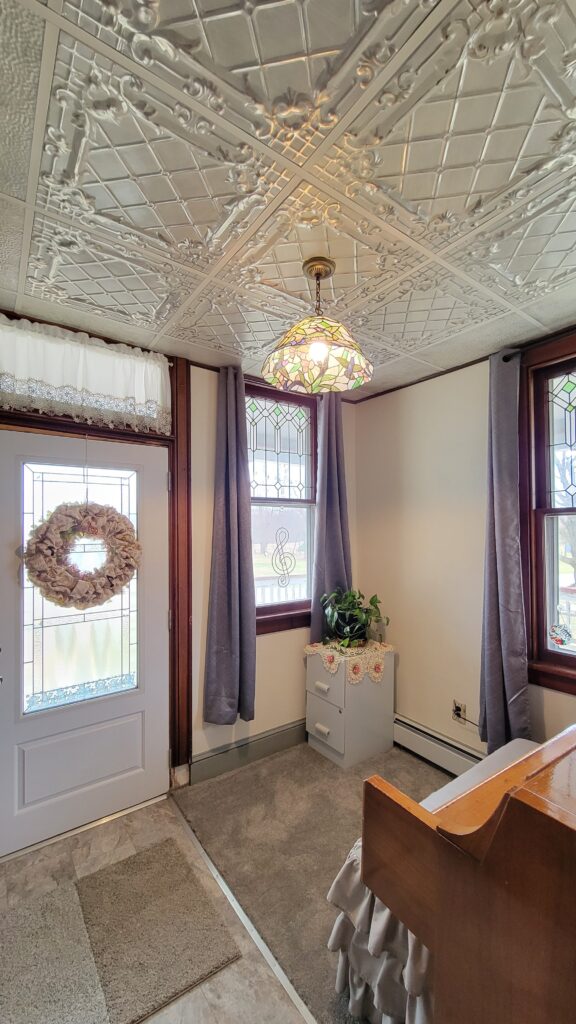
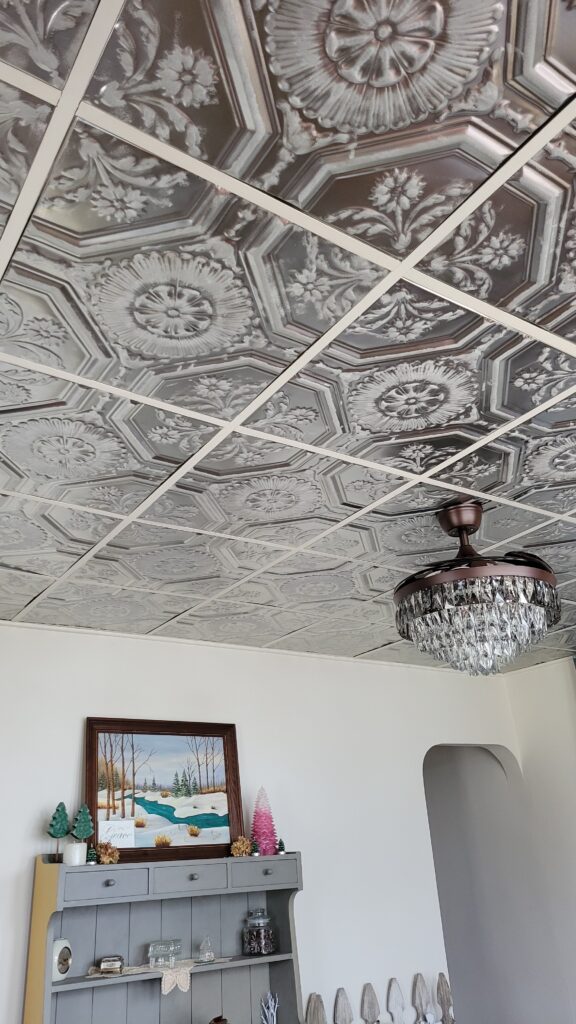
*Update: I’ve upgraded a drop ceiling with Tin Tiles now, too! We bought a house that had a bunch of drop ceilings…. and I learned how to make them pretty with my creative drop ceiling ideas.
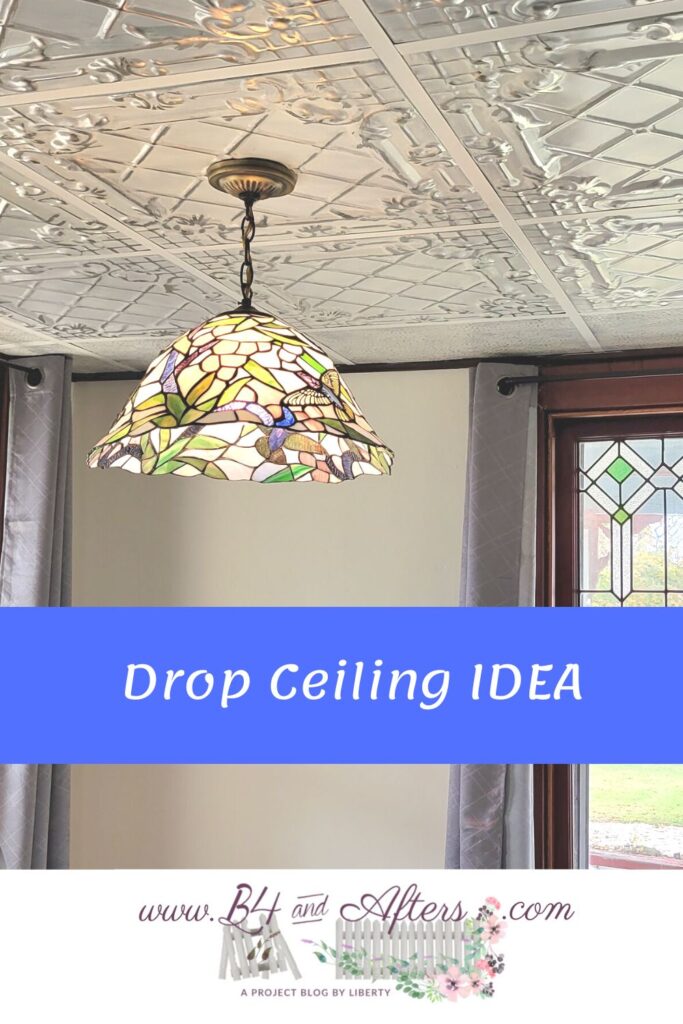


Not Sure How to Find a Nice Drop Ceiling Idea?
This post is the 7th in a series on the building of our Downstairs Bathroom. You can see the other posts here:
I had seen beadboard ceilings on Pinterest for a long time. I wanted to try it in our Downstairs Bathroom and I’m so glad that we did!
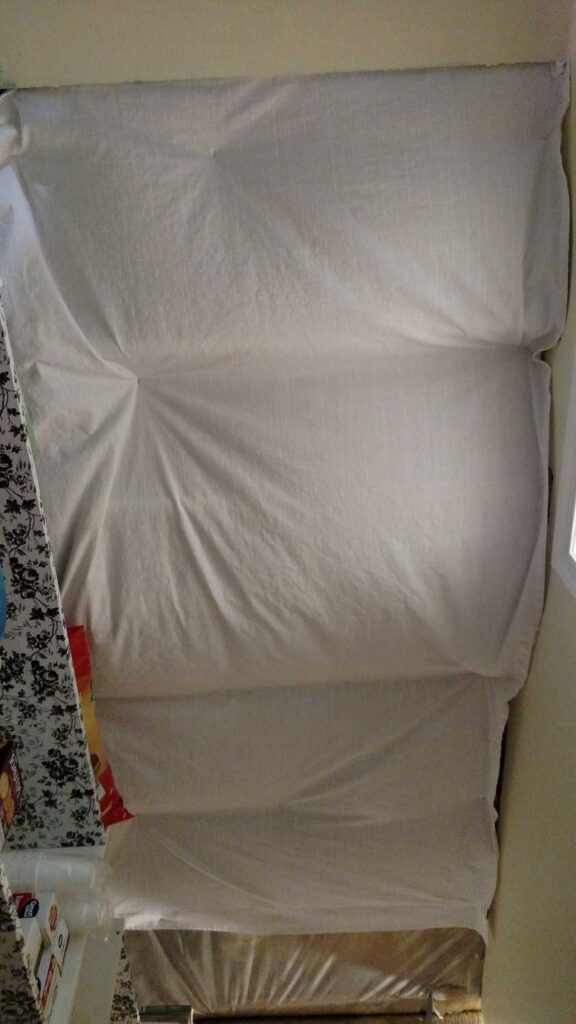
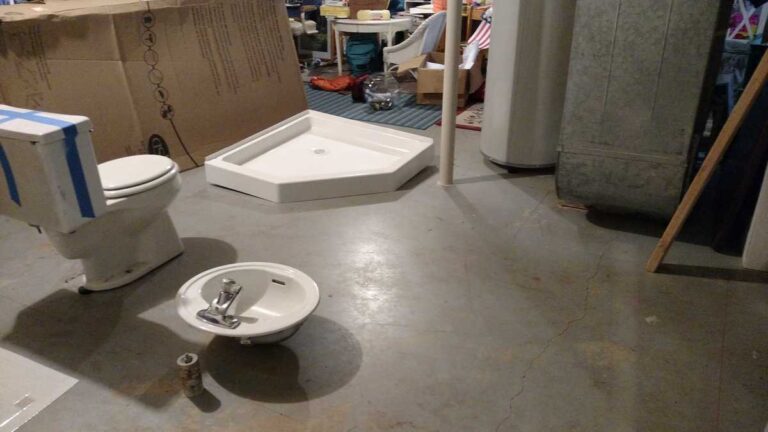
CEILING BEFORE

As you might imagine, the bathroom ceiling has all sorts of water pipes (including ones from the upstairs bathroom) and electrical things for the lights and fan that might need to be accessed for any number of reasons. So a drop ceiling was the most reasonable choice. But I have never cared for drop ceilings. They remind me of cold institutions like hospitals and stores with those 2 foot by 4 foot long rectangle shaped boring panels.

Follow me on YouTube
See my latest and greatest ideas on video!
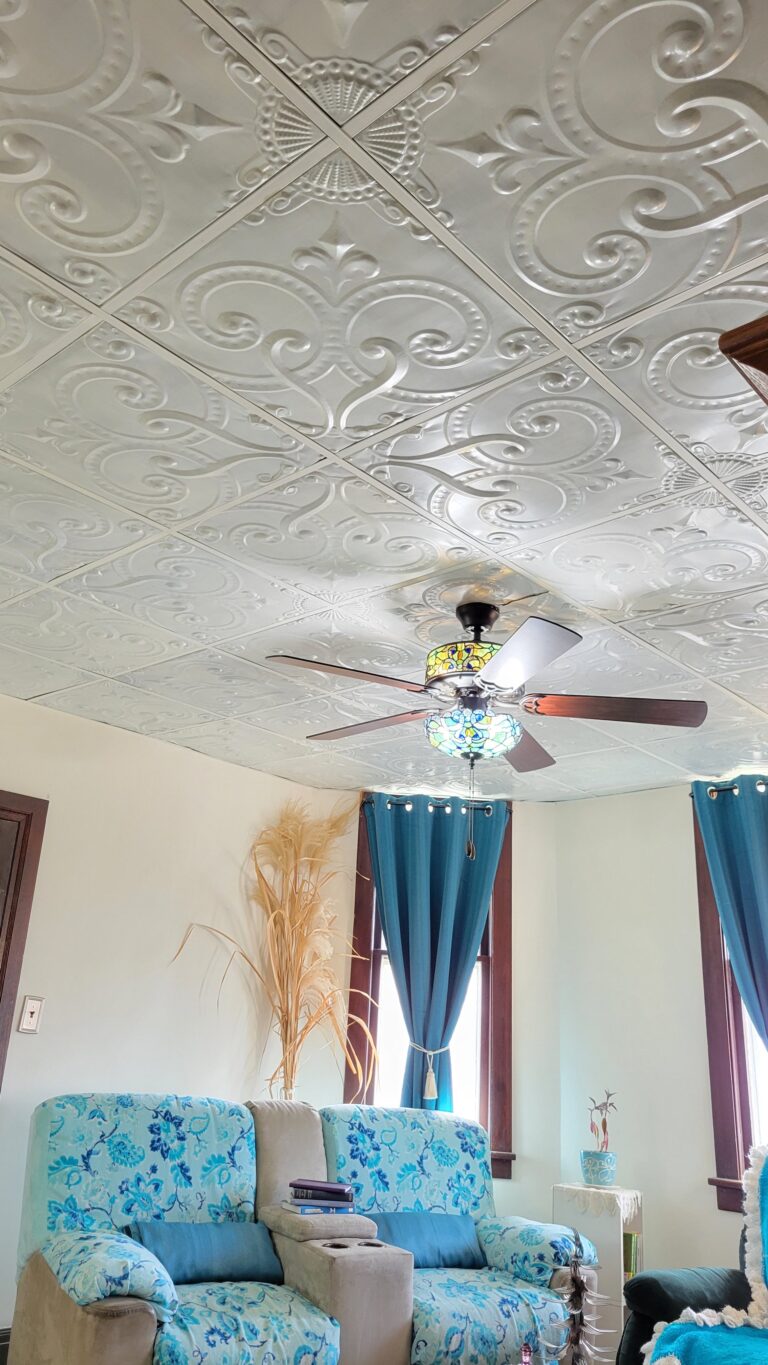
Drop Ceiling Ideas

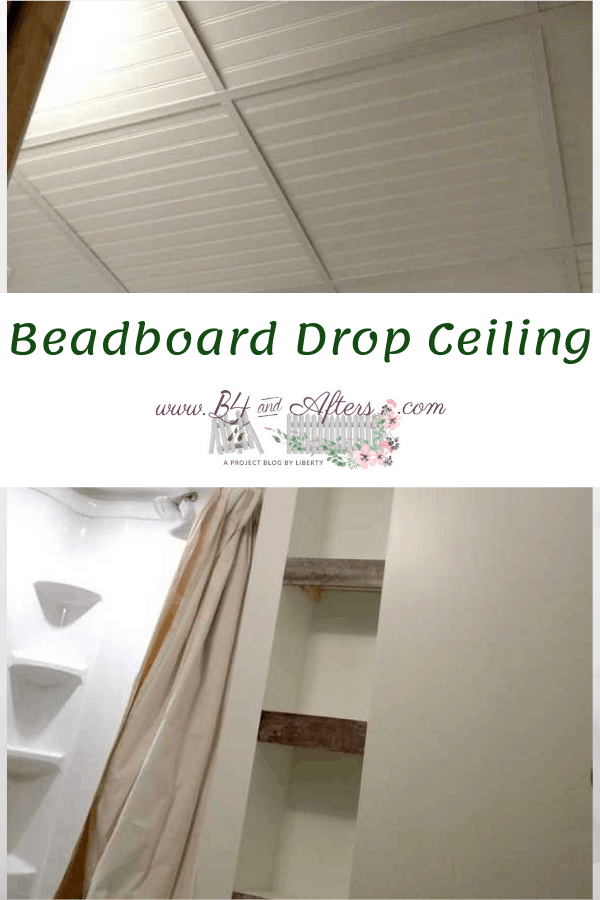
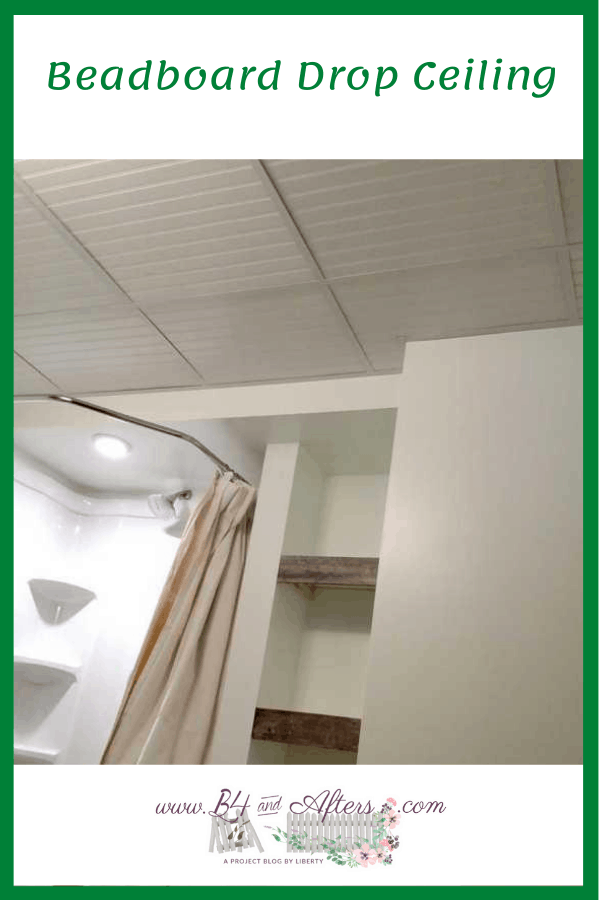
So for our basement bathroom ceiling I decided on 2 ft. by 2 ft. square panels, with bead board. (Is it beadboard or bead board?) The 4 ft. by 8 ft. panels came already primed white. You could paint them if you like for extra durability, but I did not paint ours and after 3 years they are just as new and nice as they were in the beginning. Our contractor cut the panels into 2 x 2 foot squares, lining up the lines in the wainscoting to look continuous across the ceiling.

More Details about my Beadboard Ceiling
In case you are looking for beadboard drop ceiling tiles…. please note that we did not purchase these tiles just like this. As I described above, we bought 4×8 panels, which were then cut to size at 24 inches by 24 inches.
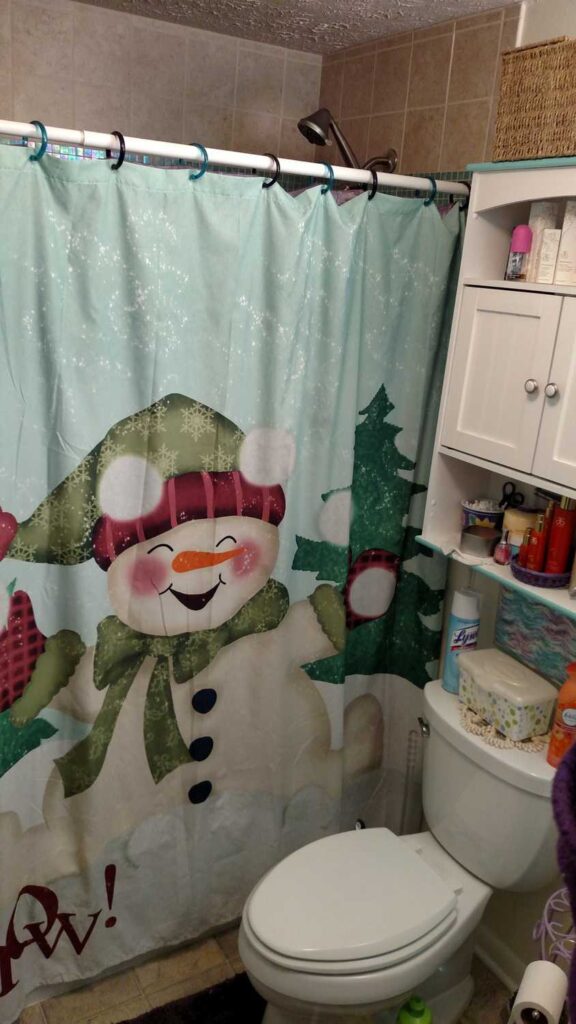
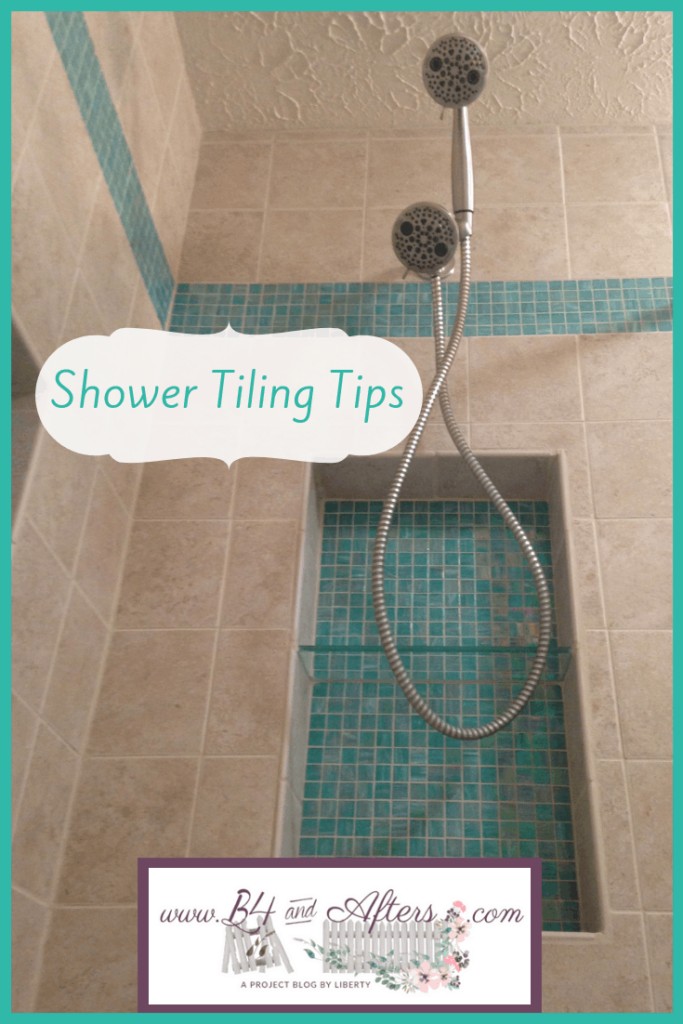
Also, notice that the beadboard panels (which are wood) are not directly over the shower. Over the shower is drywall with a light in it. I’m not sure if the panels would warp from too much moisture if they were directly over the shower. I use a heater instead of the ceiling fan. Maybe that helps.
I can tell you that we have had this ceiling for four years now, and even though I never painted the panels (Leaving them as they were bought- primed), they are holding up just fine!
If you would prefer to have PVC drop ceiling tiles in your bathroom, they are available, just not in a beadboard pattern.
Do you love Pinterest like I do?
I’ve saved over 16k pins of great ideas!
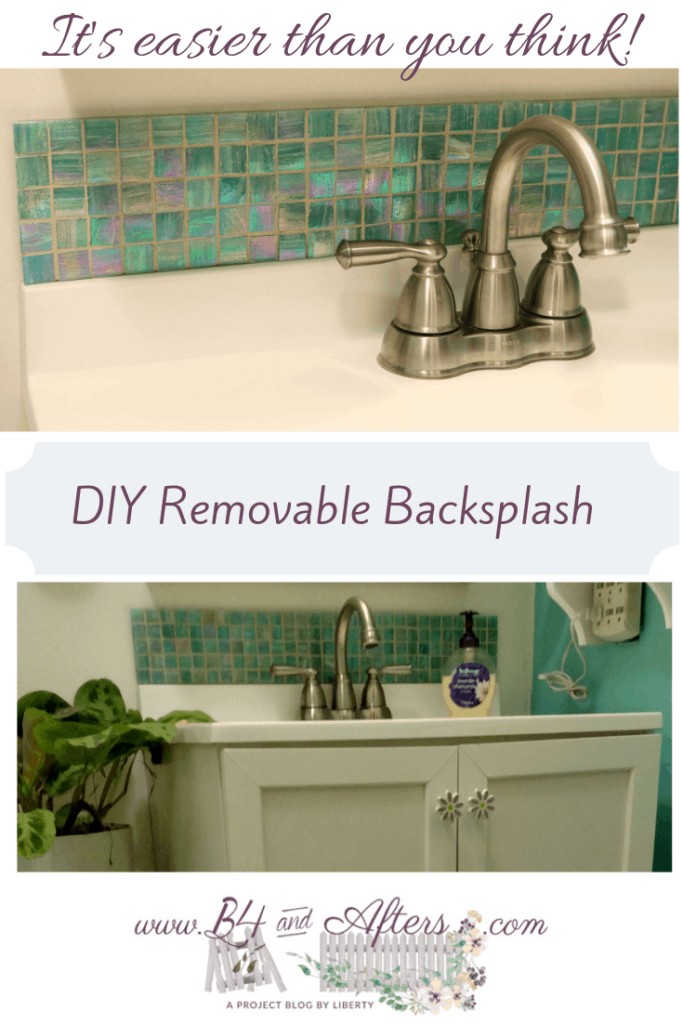
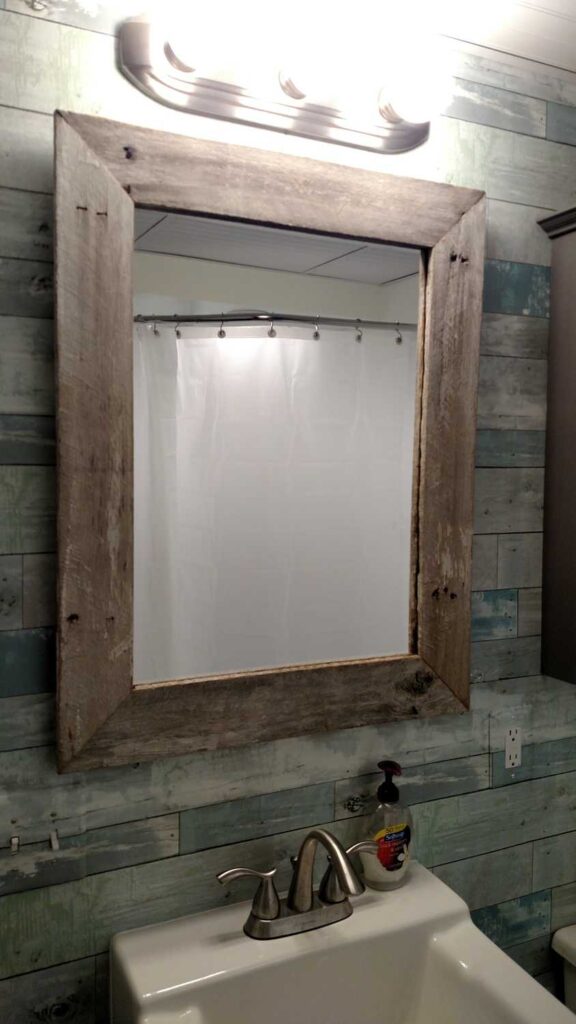
(In the picture below you can see the built in shelves. They are trimmed with upcycled fence pickets– and coordinate nicely with the matching picket fence framed mirror!)
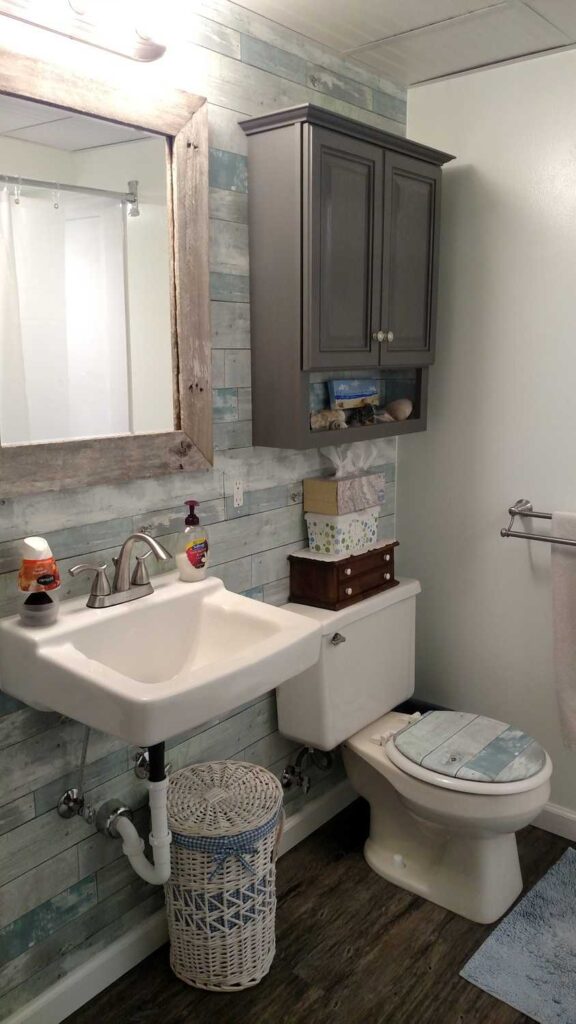
AFTER!!

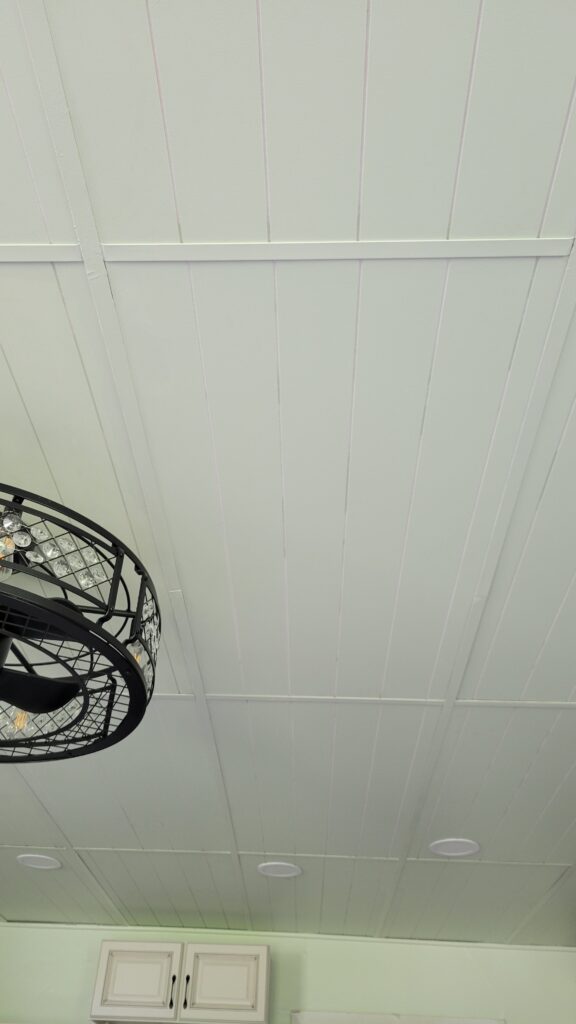
I am so happy with my choice to use beadboard in our basement bathroom as an alternative for drop ceiling tiles! In fact, I like it so much that we are finishing the rest of our basement ceiling with the same beadboard tiles.